Oh, hello there! Come on in, grab yourself a mug of something warm. I’m just thrilled you’re interested in Scrophularia auriculata. It’s a truly delightful plant, isn’t it? With its airy spikes of tiny, whimsical flowers, it brings such a lightness to the garden. I’ve been growing it for years, and truthfully, I find its gentle charm rather irresistible. And the best part? You can easily multiply it for yourself! Propagating this beauty is a wonderfully rewarding process, and I think you’ll find it quite manageable, even if you’re just starting out with your green thumb.
The Best Time to Start
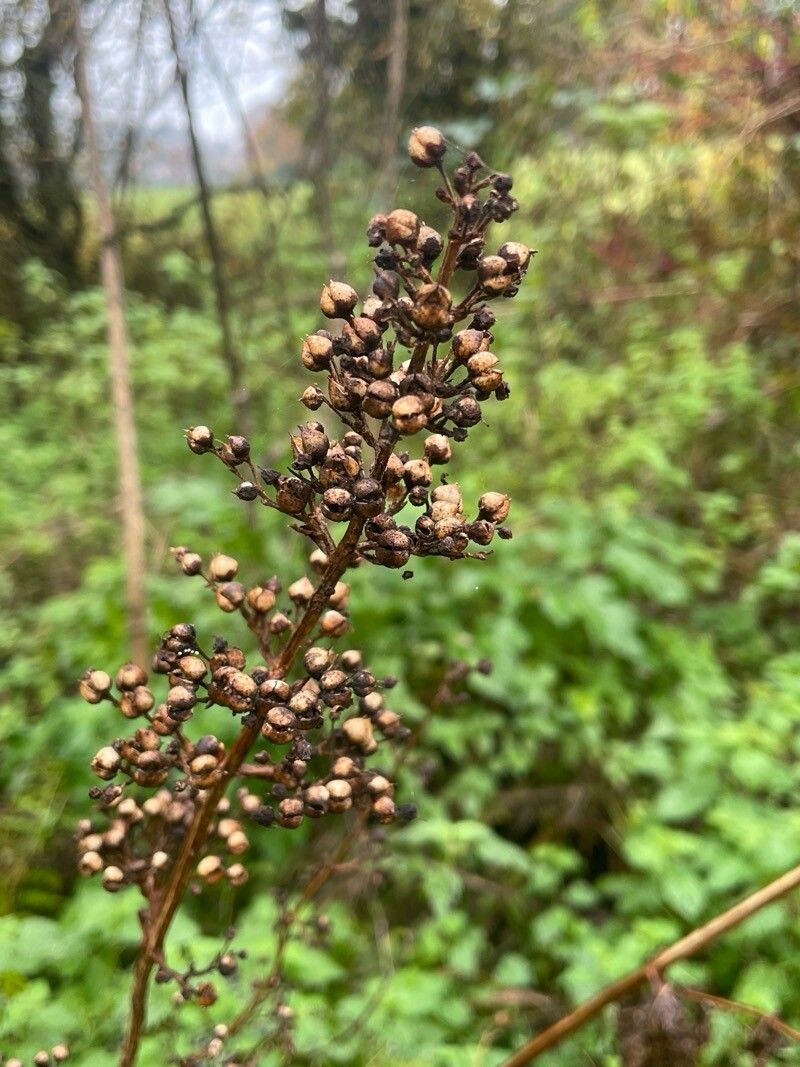
For Scrophularia auriculata, my absolute favorite time to get cuttings is in the late spring to early summer. This is when the plant is in full swing with its growing season. You’re looking for stems that are vigorous and have started to mature a bit – not the brand new, super-soft tips, but not the woody old stems either. Think of those semi-hardwood stems; they have the best balance of flexibility and resilience to root.
Supplies You’ll Need
Gathering your tools makes the whole process so much smoother. Here’s what I always have on hand:
- Sharp pruning shears or a clean knife: For taking precise cuttings.
- Rooting hormone (optional but helpful): A little powder or gel can really give your cuttings a boost.
- Well-draining potting mix: I like a blend of equal parts peat moss or coco coir, perlite, and a good quality potting soil.
- Small pots or seed trays: Clean ones are key to preventing disease.
- Plastic bags or a propagator: To create a humid environment for your cuttings.
- Watering can with a fine rose: For gentle watering.
Propagation Methods
Scrophularia auriculata is wonderfully versatile, and I’ve had great success with a couple of methods.
1. Stem Cuttings (My Go-To)
This is usually the easiest and most efficient way to get new plants.
- Take your cuttings: Using your clean shears, select healthy stems from your parent plant. Cut pieces about 4-6 inches long. Make the cut just below a leaf node – that little bump where a leaf attaches to the stem.
- Prepare the cuttings: Gently remove the lower leaves from your cuttings, leaving just a couple of leaves at the top. If you’re using rooting hormone, dip the cut end into the powder or gel according to the product’s instructions.
- Plant your cuttings: Fill your clean pots with your well-draining mix. Make a hole with a pencil or your finger and insert the cutting, ensuring the nodes where you removed leaves are buried. Firm the soil gently around the stem.
- Water and cover: Water the soil thoroughly but gently. Then, cover the pots with a plastic bag or place them in a propagator. This keeps the humidity high, which is crucial for cuttings to root without drying out.
2. Division (When You Have an Established Plant)
If you already have a mature Scrophularia auriculata, dividing it in early spring is another excellent option.
- Gently dig up the plant: Carefully lift the entire clump from the ground or its pot.
- Separate the divisions: Use your hands or a clean trowel to gently tease apart the rootball. Aim for sections that have their own roots and a few healthy shoots. You don’t need to be too aggressive; often, the roots will pull apart naturally.
- Replant: Pot up your divisions in new, good-quality soil. Water them in well and keep them consistently moist for the first few weeks as they re-establish.
The “Secret Sauce” (Pro Tips)
Here are a couple of things I’ve learned over the years that really make a difference:
- Don’t let the leaves touch the water in water propagation: While some plants root famously in water, I find Scrophularia auriculata is happier in soil. If you do try it in water, only have the bare stem submerged. Any leaves in the water will rot, which can then infect the whole cutting. Stick to soil for this one, in my experience.
- Bottom heat is your friend: If you have a heat mat available for starting seeds or cuttings, using it under your pots of Scrophularia cuttings can really speed up the rooting process. It mimics the warmth of spring soil and encourages root development.
Aftercare & Troubleshooting
Once your cuttings have taken root – and you’ll know this because you’ll see new growth – it’s time for a little extra care.
- Gradually introduce them to fresher air: If they’ve been under cover, start by removing the plastic bag for a few hours each day, then gradually increase the time until they’re happy uncovered.
- Keep them consistently moist: New roots are delicate. Don’t let them dry out, but also avoid waterlogged soil. Water when the top inch of soil feels dry.
- Troubleshooting: The main issue you might encounter is rot. This usually happens with too much moisture and poor air circulation. If a cutting looks yellow and limp, or you see a black, mushy base, it’s probably gone south. Don’t be discouraged! Just discard it and try again, ensuring your soil is well-draining and you’re not overwatering.
And there you have it! Propagating Scrophularia auriculata is a truly satisfying way to expand your collection or share these lovely plants with friends. Be patient with your little cuttings; sometimes it takes a few weeks to see significant root development. Just keep them happy and healthy, and soon you’ll have a whole garden of your own delightful Scrophularia. Happy planting!
Resource:
https://identify.plantnet.org/k-world-flora/species/Scrophularia%20auriculata%20L./data