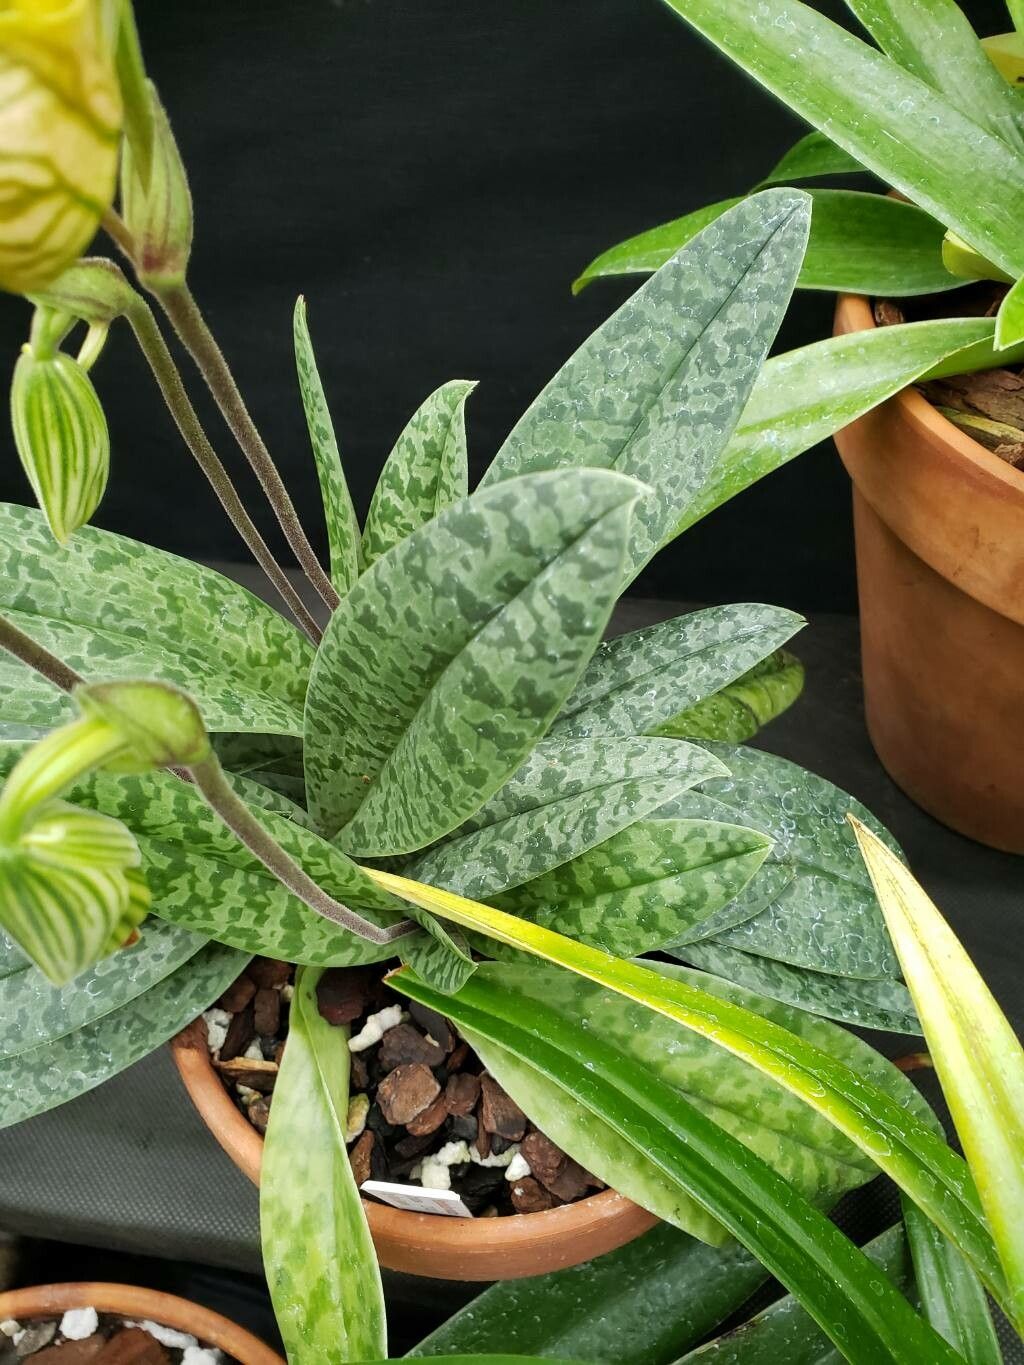
Hello fellow plant enthusiasts! Today, we’re diving into the wonderful world of propagating Paphiopedilum venustum, often called the “Velvet Slipper Orchid.” If you’ve ever admired those unique pouch-like flowers and wondered about multiplying your collection, you’re in the right place. There’s something incredibly satisfying about nurturing a new life from a piece of a beloved plant.
Why Propagate Paphiopedilum Venustum?
Paphiopedilum venustum is a real showstopper with its velvety texture and intricate patterns. Bringing more of these beauties into your home is a fantastic way to share the joy, fill out your collection, or even gift a living piece of art. Now, for the honest truth: propagating orchids, especially slipper orchids like P. venustum, can be a bit of a learning curve. It’s not quite as foolproof as rooting a pothos, but with a little patience and the right approach, it’s absolutely achievable. Don’t let that deter you – the reward is well worth the effort!
The Best Time to Start
For Paphiopedilum venustum, the prime time to propagate is during its active growing season. This usually means spring and early summer, when the plant is putting out new growth and has plenty of energy. You’ll see new leaves emerging and the plant feeling robust. Trying to propagate when the plant is resting or under stress is a recipe for disappointment.
Supplies You’ll Need
Gathering your supplies beforehand makes the whole process smoother. Here’s what you’ll want to have on hand:
- Sharp, sterile pruning shears or a clean knife: For making clean cuts. I always sterilize mine with rubbing alcohol.
- Potting medium: A well-draining mix is crucial. For slipper orchids, I like a blend of coarse bark, perlite, and a touch of sphagnum moss. You can also find specialized orchid mixes.
- Small pots or propagation containers: Clean plastic pots or even small plastic cups work well. Ensure they have drainage holes.
- Rooting hormone (optional but helpful): A powder or gel can give your cuttings a little boost. Look for one formulated for orchids or general cuttings.
- Spray bottle: For misting.
- Clear plastic bag or small propagation dome: To create a humid microclimate.
- Patience! This is the most important tool.
Propagation Methods: Division is Key
When it comes to Paphiopedilum venustum, the most straightforward and successful method is division. These orchids tend to form new growths, or “pups,” at the base of the mother plant.
Here’s how to do it:
- Gently remove the plant from its pot. Try to do this when the potting medium is slightly dry, making it easier to work with.
- Inspect the root system. You’re looking for distinct new growths that have their own set of roots. You want to divide the plant into sections, each with at least two to three healthy leaves and a decent root system.
- Use your sterile shears or knife to carefully cut through the rhizome (the thick stem connecting the growths). Make sure your cut is clean and goes through a part of the rhizome that separates the growths.
- If a division seems difficult to separate or you’re worried about damaging roots, don’t force it. Sometimes it’s better to leave it and try again later, or sacrifice a tiny bit of the mother plant’s root system to ensure the new pup has enough to survive.
- Pot up your divisions. Place each new division into its own small pot, filling around the roots with your prepared orchid mix. The goal is to have the base of the new growth sitting just at the surface of the medium.
The “Secret Sauce” (Pro Tips)
Here are a few things I’ve learned over the years that can really make a difference:
- Don’t overwater after dividing. This is probably the most common mistake. The new divisions need a chance to callous over any minor wounds. Water them lightly, and then let the medium dry out slightly before watering again. Soggy conditions are a direct invitation to rot.
- Provide high humidity, but with good air circulation. A plastic bag or dome can trap moisture, but make sure to open it for a few minutes each day to let fresh air in. This prevents fungal issues.
- Avoid direct sunlight. Until your new divisions have established themselves, they prefer bright, indirect light. Too much sun can scorch their delicate leaves.
Aftercare & Troubleshooting
Once your divisions are potted, keep them in that high-humidity environment but with that daily airing. The initial watering should be light. You’re looking for signs of new growth to tell you they’ve rooted. This can take several weeks, so again, patience is key!
Signs to Watch For:
- Wilting leaves: This can indicate insufficient root development or lack of water. Ensure the humidity is high.
- Yellowing leaves: A little bit can be normal as the plant adjusts, but widespread yellowing might mean too much light or overwatering.
- Mushy, dark areas: This is the dreaded rot. If you see this, act fast! Trim away the affected tissue with your sterile tool, ensuring you get all the rot. Let the wound dry, and consider repotting into fresh, dry medium.
Happy Propagating!
Propagating Paphiopedilum venustum is a journey, not a race. There will be times when it feels like you’re waiting forever, and maybe a cutting or two won’t make it. That’s all part of learning! But when you see that first new leaf unfurl on your division, it’s an incredibly rewarding feeling. Enjoy the process, learn from every step, and soon your home will be filled with even more of these stunning velvet slippers. Happy gardening!
Resource: