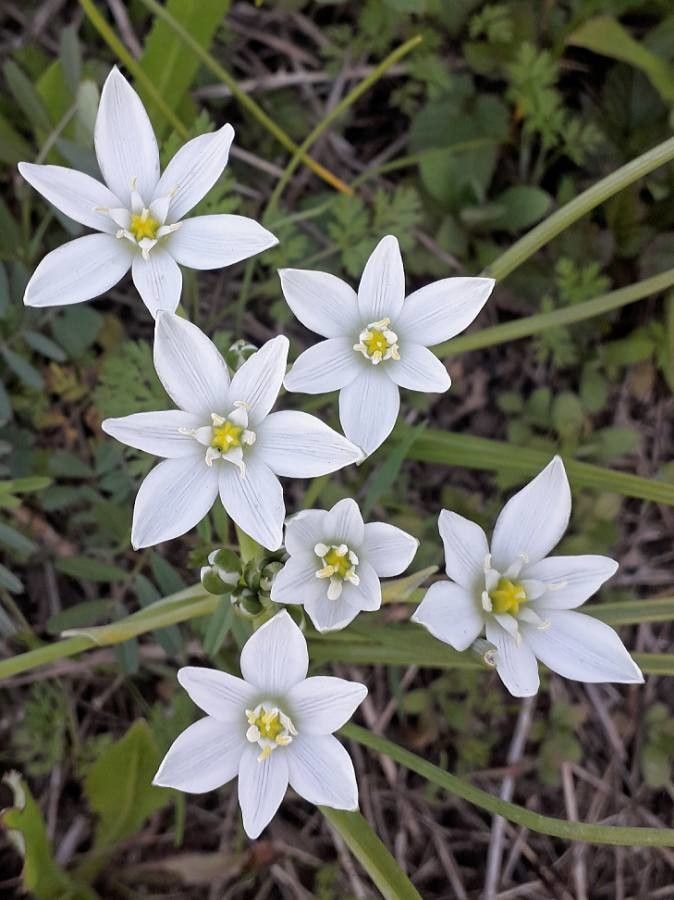
Hello there, fellow garden enthusiasts! Today, we’re going to delve into the wonderful world of propagating Star-of-Bethlehem, or Ornithogalum umbellatum. If you love those delicate, star-shaped white flowers that pop up in late spring, you’re in for a treat. There’s nothing quite like the satisfaction of turning one plant into many, and the good news? This little beauty is quite forgiving, making it a fantastic project for beginners to try their hand at.
The Best Time to Start
For Ornithogalum umbellatum, the best time to think about propagation is generally after flowering has finished, usually in late spring or early summer. This is when the plant has put its energy into producing those lovely blooms and, importantly, developing new offsets or bulblets at the base. Waiting until the foliage starts to naturally yellow and die back is also a good indicator that the bulbs have stored up plenty of energy and are ready to be divided.
Supplies You’ll Need
Before we get our hands dirty, let’s gather our tools:
- Trowel or small spade: For gently lifting the bulbs.
- Sharp pruning shears or a clean knife: To separate any attached bulblets.
- Well-draining potting mix: A blend of compost and perlite or sharp sand is ideal. You want something airy that won’t hold too much moisture.
- Small pots or seed trays: For your new baby plants to grow in.
- Watering can or spray bottle: For gentle watering.
- Gardening gloves: (Optional, but always a good idea!)
Propagation Methods: Division is Your Friend!
Ornithogalum umbellatum is primarily propagated through division. It’s the simplest and most effective method for this particular plant, as it naturally produces offsets.
Here’s how it’s done:
- Locate and Gently Excavate: Once the foliage has died back, or you’ve cut it back after flowering, carefully dig around the base of your existing Star-of-Bethlehem plant with your trowel. Aim to go a few inches out from the center to ensure you catch all the surrounding offsets. Gently lift the entire clump out of the soil.
- Identify the Offsets: You’ll notice that the main bulb has smaller bulblets attached to its sides or base. These are your future plants! They might be tightly clustered or a little spread out.
- Careful Separation: This is where your clean pruning shears or knife come in. Gently tease apart the offsets from the main bulb. If they are very tightly attached, you might need to make a clean cut. Try to retain as much of the bulb’s basal plate (where the roots grow from) as possible. Even a small bulblet can grow into a mature plant.
- Potting Up: Fill your small pots with your well-draining potting mix. Plant each separated offset about 2-3 inches deep, with the pointed tip facing upwards. Give them a good watering.
You can also plant the divisions directly into their intended garden spot, provided the soil is well-prepared and offers good drainage.
The “Secret Sauce” (Pro Tips)
Here are a couple of things I’ve learned over the years that can really make a difference:
- Give them Space to Breathe: When you’re planting your divided bulblets, don’t cram them too close together. They’ll grow better and be less prone to fungal issues if they have a little breathing room. Think of it as giving them their own personal space to establish.
- Embrace the Dormancy: Don’t be tempted to water them constantly if they show no signs of life. Star-of-Bethlehem bulbs need a period of drier dormancy. Once you’ve potted them up and given them that initial drink, let the soil mostly dry out between waterings. They’ll tell you when they’re ready to wake up!
Aftercare & Troubleshooting
Once your little Star-of-Bethlehems are potted, place them in a bright location, but avoid direct, scorching sunlight for the first few weeks. Keep the soil lightly moist, not soggy.
If you notice rotting or mushy bulbs, it’s usually a sign of overwatering. In this case, you might need to gently unpot them, discard the rotted sections, and repot them in fresh, drier soil. Sometimes, it’s best to just cut your losses with a rotted bulb and focus on the healthy ones. Patience is key here! With good care, you should see new shoots emerge within a few weeks to a couple of months.
A Encouraging Closing
Propagating Ornithogalum umbellatum is a truly rewarding experience. It’s a simple process that connects you more deeply with your garden. Be patient, enjoy the gentle unfolding of new life, and before you know it, you’ll have a patch of these beautiful starry blooms to share with friends or simply to enjoy all to yourself. Happy gardening!
Resource:
https://identify.plantnet.org/k-world-flora/species/Ornithogalum%20umbellatum%20L./data