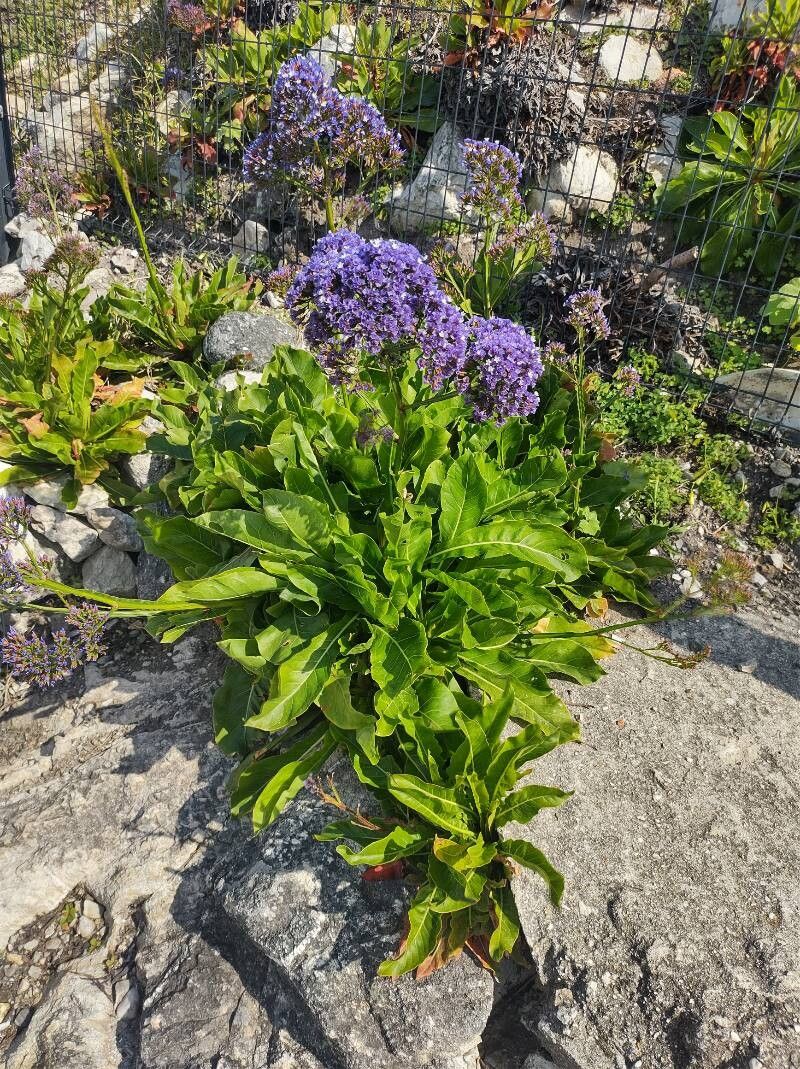
Hello, fellow garden enthusiasts! Today, we’re diving into the wonderful world of Limonium frutescens, or the Canarian Sea Lavender. If you’re looking for a plant that brings delicate, papery blooms in a spectrum of blues and purples to your garden or a vase, this is it. Propagating these beauties yourself is incredibly rewarding, not to mention cost-effective. While Limonium frutescens isn’t the absolute easiest plant to start from scratch for the very first-time propagator, with a little patience and attention, it’s definitely achievable and well worth the effort.
The Best Time to Start
For the highest success rate, aim to propagate your Limonium frutescens in late spring or early summer. This is when the plant is in its active growing phase, and the new stems are less woody and more pliable. You’re looking for healthy, semi-hardwood cuttings – stems that are firm but still bend a bit when you gently tug on them. Avoid very soft, new growth or old, woody stems.
Supplies You’ll Need
Gathering your supplies before you begin makes the whole process so much smoother. Here’s what I always have on hand:
- Sharp Pruning Shears or a Craft Knife: Clean, sharp tools are essential for making clean cuts, which heal better and are less prone to disease.
- Rooting Hormone: This isn’t always strictly necessary, but it can significantly boost your success rate by encouraging root development. I prefer a powdered rooting hormone for cuttings.
- Well-Draining Potting Mix: A cactus or succulent mix works wonderfully, or you can create your own by mixing equal parts perlite, coarse sand, and peat moss. The key is good drainage to prevent rot.
- Small Pots or Seedling Trays: About 3-4 inches in diameter is perfect for starting cuttings. Make sure they have drainage holes.
- Clear Plastic Bags or a Propagator: This creates a humid environment that cuttings need to thrive before they develop roots.
- Optional: Heat Mat: While not essential, a gentle bottom heat can really speed up the rooting process.
Propagation Methods
The most reliable way to propagate Limonium frutescens is by stem cuttings. It’s straightforward once you get the hang of it.
- Select and Prepare Your Cuttings: Choose a healthy mother plant. Using your clean shears or knife, take cuttings that are about 4-6 inches long. Make the cut just below a leaf node (where a leaf attaches to the stem).
- Remove Lower Leaves: Gently strip off the leaves from the bottom half of the cutting. This helps prevent them from rotting in the soil or water and exposes the nodes where roots will form.
- Apply Rooting Hormone: Dip the cut end of each stem into your rooting hormone. Tap off any excess.
- Potting the Cuttings: Fill your small pots with the well-draining mix. Make a pilot hole with a pencil or your finger. Insert the prepared cutting into the hole, making sure the nodes where you removed the leaves are below the soil line. Gently firm the soil around the stem.
- Create a Humid Environment: Water the soil lightly. Then, either cover the pot with a clear plastic bag (propping it up with a stick so it doesn’t touch the leaves) or place it in a propagator. This keeps humidity high, which is crucial.
- Placement: Place the pots in a bright location with indirect sunlight. Avoid direct sun, which can scorch the tender cuttings. If you’re using a heat mat, set it to a low temperature, around 70-75°F (21-24°C).
The “Secret Sauce” (Pro Tips)
Here are a few little tricks I’ve learned over the years that make all the difference:
- Don’t Let Leaves Touch the Water (if water propagating): While I generally recommend soil propagation for Limonium frutescens, if you do try water propagation, ensure the leaves never dip into the water. Only the cut stem should be submerged. Leaves in contact with water will quickly rot and can infect the entire cutting.
- Use Bottom Heat: I mentioned it before, but it’s worth reiterating. Placing your pots on a seedling heat mat provides consistent, gentle warmth from below, which is exactly what roots love. It significantly speeds up the rooting process compared to just ambient room temperature.
- Patience is a Virtue with Limonium: These plants can be a bit slow to root compared to some others. Don’t be tempted to pull them up to check for roots too soon! Give them at least 4-6 weeks before you gently tug on a cutting to feel for resistance, which indicates root formation.
Aftercare & Troubleshooting
Once you see new growth emerging, or feel that resistance when you gently tug, your Limonium frutescens cuttings have hopefully rooted!
- Acclimatize Gradually: If your cuttings were under cover, start by removing the plastic bag for a few hours each day, gradually increasing the time until they are fully exposed. This helps them adjust to normal humidity levels.
- Watering: Water when the top inch of soil feels dry. Ensure good drainage. Avoid overwatering, as this is a sure path to rot.
- Potted On: Once you have a well-established young plant with a good root system, you can pot it into a slightly larger pot with fresh, well-draining soil.
The most common issue you might encounter is rot. If your cutting turns mushy, black, or falls over suddenly, it’s likely succumbed to rot. This usually happens due to overwatering, poor drainage, or lack of air circulation. If you spot signs of rot early, you might be able to salvage the unrotted portion and try again, but often it’s a lost cause. Don’t despair! Every gardener has casualties.
A Encouraging Closing
Propagating Limonium frutescens is a beautiful way to multiply these airy, delicate blooms. It takes a bit of faith and a steady hand, but the reward of seeing tiny roots emerge and then nurturing them into full plants is immense. Be patient, observe your cuttings closely, and don’t be afraid to experiment. Happy propagating, and may your gardens be ever blooming!
Resource: