Hello fellow garden enthusiasts!
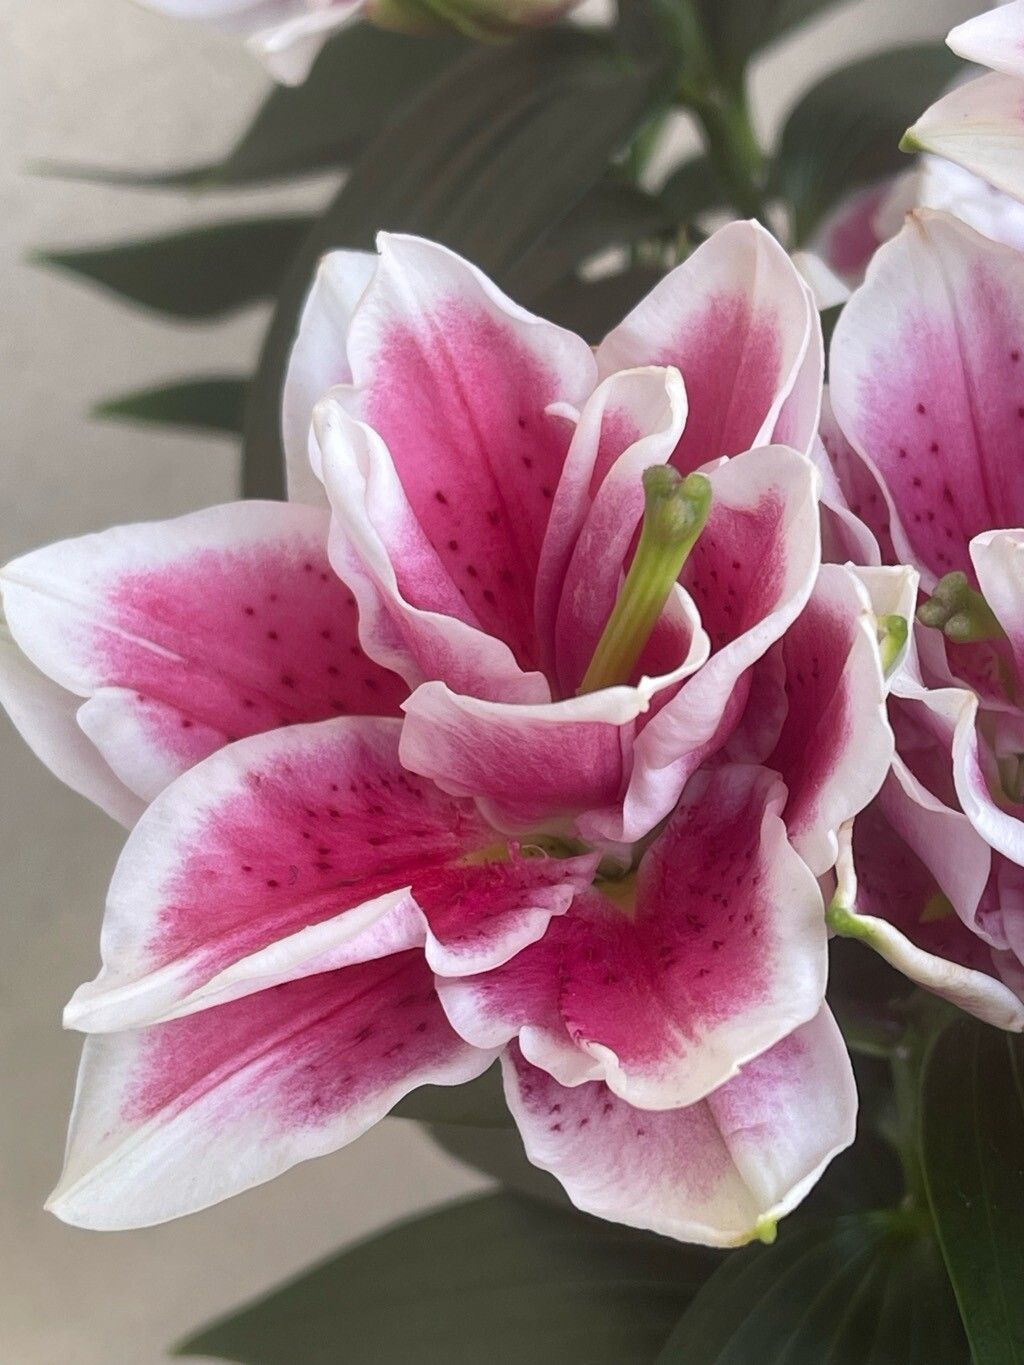
Lily of the Valley, or Lilium longiflorum, is such a classic, isn’t it? Those elegant trumpet-shaped white blooms just exude purity and grace, and their sweet fragrance can fill a spring afternoon. For many of us, it’s a staple for Easter bouquets, but honestly, they’re beautiful in the garden at any time. I find propagating them incredibly rewarding. It’s a wonderful way to multiply that beauty without breaking the bank, and to share these lovely plants with friends.
Now, if you’re just dipping your toes into the world of plant propagation, I’d say Lilium longiflorum leans towards the moderately easy side. It takes a little patience, but the rewards are well worth the effort.
The Best Time to Start
The absolute ideal time to propagate Lilium longiflorum is right after the plant has finished flowering, usually in late spring or early summer. This is when the bulbs are still plump with energy from the growing season but haven’t entered full dormancy yet. You want to catch them at this peak vigor.
Supplies You’ll Need
Gathering your tools beforehand makes the whole process smoother. Here’s what I usually have on hand:
- Sharp, sterilized pruning shears or a clean knife. Sterilization is key to prevent disease.
- A well-draining potting mix. I often use a blend of peat moss, perlite, and a bit of compost. A mix specifically for bulbs or cacti also works wonderfully.
- Small pots or trays with drainage holes. Yogurt cups with holes poked in the bottom can even be a good start!
- Rooting hormone (powder or liquid) – this is optional but can give your cuttings a good boost.
- Labeling stakes so you don’t forget what you planted where!
- A watering can with a fine rose attachment.
- A plastic bag or mini-greenhouse cloche to maintain humidity.
Propagation Methods
For Lilium longiflorum, I find the most successful methods involve working with the bulbs themselves.
Bulb Division
This is by far the most common and effective way to propagate these lilies.
- Gently excavate: Wait until your lily has finished blooming and the foliage has started to yellow and die back. Carefully dig around the base of the plant, trying not to damage the bulbs. Once you have a good sense of the bulb cluster, gently lift it from the soil.
- Clean and separate: Gently brush off the excess soil from the bulbs. You’ll likely see the main bulb with smaller bulblets attached. Carefully separate these bulblets from the main bulb. You want to ensure each bulblet has at least one tiny root or scale attached. If they’re tightly joined, a sharp, sterilized knife can help.
- Prepare for planting: If you’re not planting them immediately, let the separated bulblets air dry for a day or two in a cool, dry place. This helps any cuts heal over.
- Plant them out: Fill your small pots with your well-draining potting mix. Plant the bulblets about 1-2 inches deep, with the pointed end facing upwards. Water them in lightly.
- Provide humidity: Cover the pots with a plastic bag or a cloche to retain moisture. Place them in a bright spot, out of direct sunlight.
Scaling (Less Common, but Possible)
This method involves taking individual scales from a bulb.
- Harvest scales: After carefully excavating a bulb (just like in division), gently pull off a few of the outer, healthy-looking scales from the main bulb. They should detach easily.
- Treat with hormone (optional): You can dip the cut end of each scale into rooting hormone at this point.
- Plant the scales: Place the scales pointy-end down in shallow trays filled with your potting mix, burying about half of the scale.
- Mimic conditions: Cover the tray to maintain high humidity, and place it in a warm, bright location. New bulblets will hopefully form at the base of the scale over time.
The “Secret Sauce” (Pro Tips)
Here are a couple of things I’ve learned over the years that make a big difference:
- Don’t be afraid of a little scar: When you separate bulblets, sometimes there’s a small bit of the parent bulb still attached. That’s perfectly fine! Just ensure there’s at least one little root nub or a firm scale.
- Bottom heat is your friend: For scaling especially, providing gentle bottom heat (using a seedling heat mat) can significantly speed up root and bulblet formation. Just keep it on the lower setting.
Aftercare & Troubleshooting
Once your bulblets are planted, keep the soil consistently moist but not waterlogged. You should start to see a tiny shoot emerge within a few weeks to a couple of months, depending on the conditions.
The most common issue you might face is rot. This is usually a sign of too much moisture and/or poor drainage. If you see a mushy, dark base on your cutting or bulblet, it’s likely gone south. Discard it immediately and ensure your potting mix is airy and drains well for future attempts. If you see signs of mold, increase ventilation slightly.
A Encouraging Closing
Be patient with your new little lilies! Propagation is a journey, and sometimes nature likes to take its own sweet time. Don’t get discouraged if not every attempt is a roaring success. Each bulb you divide or scale you plant is a step towards more of those beautiful, fragrant blooms. Enjoy the process of nurturing new life, and happy gardening!
Resource:
https://identify.plantnet.org/k-world-flora/species/Lilium%20longiflorum%20Thunb./data