Hello there, fellow garden enthusiasts! It’s so lovely to have you pull up a chair and chat gardening with me today. We’re going to dive into something truly special: propagating Lasthenia californica, also known as California Goldfields.
Why You’ll Love Growing California Goldfields
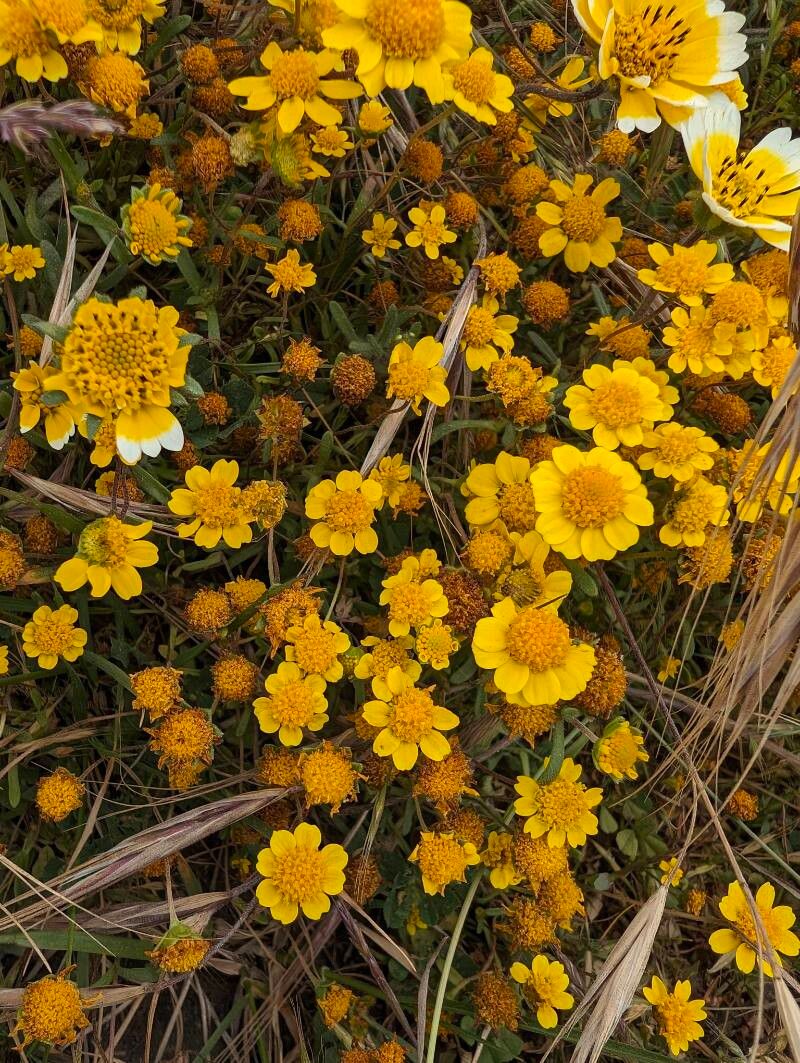
If you’ve ever seen a field carpeted in these sunny, cheerful blooms, you’ll understand their magic. Their vibrant yellow petals remind me of pure sunshine, and they bring an unbeatable burst of native beauty to any garden. Propagating them is incredibly rewarding because you can fill your garden, share with friends, or even create a stunning display for a special occasion. And for newcomers to the plant propagation world? I’m happy to report that Lasthenia californica is quite beginner-friendly. You’ll be surprised at how straightforward it can be!
The Best Time to Start
The sweet spot for propagating Lasthenia californica is usually in the late spring or early summer. This is when the plant is in its active growing phase, post-flowering, and has plenty of energy to put into developing new roots. You’re looking for stems that are firm but not woody.
Supplies You’ll Need
Gathering your tools beforehand makes the whole process smoother. Here’s what I always have on hand:
- Sharp, clean pruning shears or a craft knife: For making clean cuts.
- Rooting hormone (optional but recommended): Look for a powder or gel specifically for stem cuttings.
- Small pots or seed trays: With drainage holes, of course!
- A good quality potting mix: I prefer a mix that’s light and well-draining. A blend of peat moss or coco coir, perlite, and a bit of compost works wonders.
- A spray bottle: For misting.
- Clear plastic bags or a propagator: To create a humid environment.
- Labels: To keep track of your efforts!
Propagation Methods: Stem Cuttings are Your Friend!
For Lasthenia californica, stem cuttings are my go-to method. It’s efficient and gives you the best chance of success.
- Take Your Cuttings: In late spring or early summer, select a healthy stem from a mature Lasthenia californica plant. Using your clean shears, cut a piece about 3-4 inches long. Make your cut just below a leaf node (where a leaf attaches to the stem).
- Prepare the Cutting: Gently remove the lower leaves from the stem, leaving just a couple of leaves at the top. This prevents them from rotting in the soil.
- Dip in Rooting Hormone (Optional): If you’re using rooting hormone, dip the cut end of the stem into it, tapping off any excess. This helps to encourage root development.
- Plant Your Cuttings: Fill your small pots or trays with your prepared potting mix. Make a small hole in the center of the soil with your finger or a pencil. Insert the cutting into the hole, ensuring the leaf nodes are buried. Gently firm the soil around the stem.
- Water Gently: Water the soil thoroughly but gently. You don’t want to dislodge the cuttings.
The “Secret Sauce” (Pro Tips)
Now, for a couple of little tricks I’ve picked up over the years that can really make a difference:
- Keep it Humid, But Not Soggy: After potting your cuttings, I like to place the pots into clear plastic bags, creating a mini-greenhouse. Seal the bag loosely or use a propagator lid. This high humidity is crucial for preventing the cuttings from drying out before they can form roots. Make sure the leaves don’t touch the sides of the plastic bag, as this can lead to rot. I check them daily and mist if the soil surface looks dry.
- Warmth Encourages Roots: Lasthenia californica loves a bit of warmth to kickstart root growth. If your environment is a bit on the cooler side, try placing your pots on a gentle heat mat designed for propagation. It doesn’t need to be scorching hot, just a cozy warmth from below.
Aftercare & Troubleshooting
Once you start seeing signs of new growth – tiny leaves unfurling or a little resistance when you gently tug on the stem – it means roots are forming!
- Acclimatize Gradually: As your cuttings develop roots, start to gradually increase ventilation. Open the plastic bag or propagator lid for longer periods each day over a week. This helps the new plant get used to a less humid environment.
- Signs of Success: You’ll know your cuttings have rooted when they feel firm and show healthy new leaf growth. At this point, you can carefully transplant them into their own individual pots. Continue to water them consistently but allow the soil to dry slightly between waterings.
- Troubleshooting Rot: The most common issue you might encounter is rot, which often looks like a mushy, black stem. This is usually caused by overwatering or poor drainage. If you see this, sadly, the cutting is likely lost. Remove it immediately to prevent it from affecting other cuttings. Ensure your soil is well-draining and that you’re not keeping the soil constantly waterlogged.
Happy Gardening!
Propagating Lasthenia californica is a wonderful way to connect with nature and multiply the joy these vibrant flowers bring. Don’t get discouraged if not every cutting takes; it’s all part of the learning process. Be patient, enjoy watching your little plants grow, and before you know it, you’ll have a garden bursting with sunshine! Happy propagating!
Resource:
https://identify.plantnet.org/k-world-flora/species/Lasthenia%20californica%20DC.%20ex%20Lindl./data