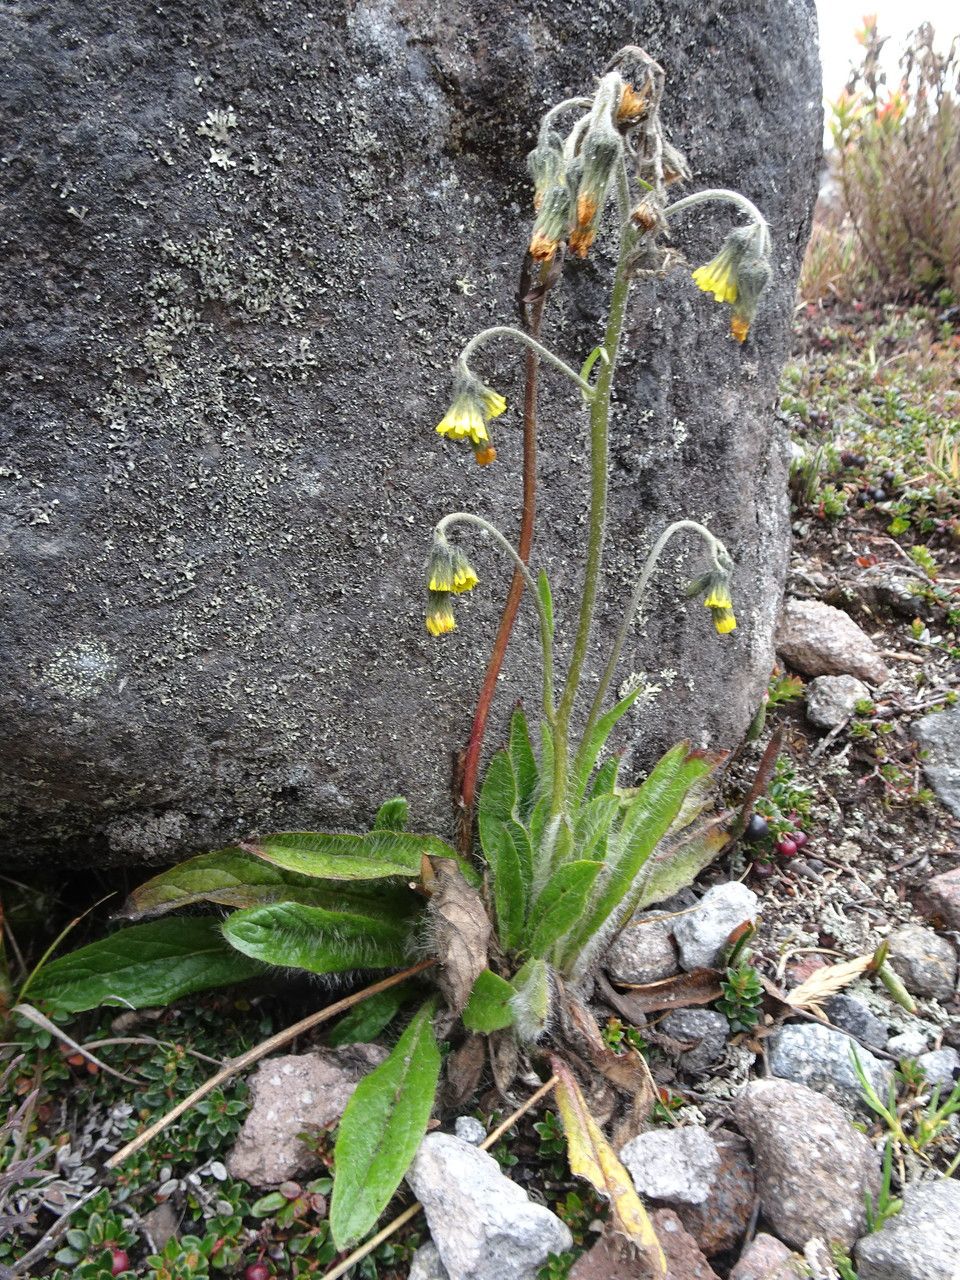
Hello there, fellow garden enthusiasts! Today, we’re diving into the delightful world of Hieracium avilae. If you’ve ever admired its striking silvery foliage and charming daisy-like flowers, you’re not alone. This plant adds such a wonderful texture and shimmer to any garden, and happily, it’s not as intimidating to propagate as you might think. In fact, I find it quite forgiving, making it a lovely project even if you’re just starting your propagation journey. The reward of seeing a tiny cutting unfurl new leaves and grow into a robust plant is truly special.
The Best Time to Start
For the highest success rate with Hieracium avilae, aim to propagate in late spring to early summer. This is when the plant is actively growing and has plenty of energy reserves to put into developing new roots. You can also try in early autumn, but success might be a little more hit-or-miss as the plant starts to wind down for winter. Look for stems that are firm and robust, not overly woody or yet to bloom.
Supplies You’ll Need
Gathering your supplies beforehand makes the whole process so much smoother. Here’s what I always have on hand:
- Sharp pruning shears or a clean, sharp knife: For making clean cuts.
- Rooting hormone (optional but recommended): A powder or gel can give your cuttings a helpful boost.
- Well-draining potting mix: A good blend of potting soil, perlite, and a bit of sand works wonders. I often use a mix specifically formulated for succulents or cacti.
- Small pots or trays: About 3-4 inches in diameter are perfect for cuttings. Make sure they have drainage holes!
- Plastic bags or a propagation dome: To create a humid environment.
- Watering can with a fine rose: For gentle watering.
- Labels and a marker: To keep track of what you’ve planted!
Propagation Methods
Hieracium avilae is a star when it comes to propagating via stem cuttings. It’s straightforward and usually yields great results.
-
Take Your Cuttings: Select healthy, non-flowering stems. Using your sharp pruning shears or knife, make a clean cut just below a leaf node (the point where a leaf joins the stem). Aim for cuttings that are about 4-6 inches long. Remove the lower leaves from the cutting, leaving only a few at the top.
-
Prepare the Cuttings: If you’re using rooting hormone, dip the cut end of the stem into the powder or gel. Tap off any excess.
-
Potting Up: Fill your small pots with your well-draining potting mix. Make a small hole in the center of the soil with your finger or a pencil. Insert the cut end of the stem into the hole, ensuring that at least one leaf node is below the soil surface. Gently firm the soil around the cutting.
-
Create Humidity: Water the soil gently. Then, cover the pot with a plastic bag or place it under a propagation dome. This helps to retain moisture and create a humid environment, which is crucial for root development. Place the pots in a bright location, but out of direct sunlight, which can scorch the delicate cuttings.
The “Secret Sauce” (Pro Tips)
Now, for a couple of little tricks I’ve picked up over the years that really help!
- Don’t let the leaves touch the water! When you water your cuttings after potting, make sure the soil is moist but not soggy. If any of the leaves from the lower part of the cutting are in contact with water sitting in a tray, they are much more prone to rot. Always ensure the pot drains freely.
- Bottom heat is your friend. While not strictly essential for Hieracium avilae, placing your pots on a gentle heat mat can significantly speed up root formation. It mimics the warmth of spring soil and gives those roots a real nudge. Just make sure it’s not too hot – you don’t want to cook your cuttings!
Aftercare & Troubleshooting
Once your cuttings are potted, the waiting game begins! Check the moisture levels regularly. The soil should be consistently lightly moist, never waterlogged. Mist the leaves occasionally if you’re not using a bag or dome.
You’ll know your cuttings are taking root when you see new growth appearing, or if you gently tug on the cutting and feel resistance. This usually takes anywhere from 3 to 6 weeks.
If you notice your cuttings wilting and looking sad, it could be a sign of underwatering, or conversely, rot. Rot is often characterized by a mushy, dark stem at the soil line. Unfortunately, if rot sets in, it’s usually too late to save that particular cutting. This is why using well-draining soil and avoiding overwatering is so critical.
A Encouraging Closing
Propagating plants is a journey, and a little patience goes a long way. Don’t get discouraged if not every cutting makes it – that’s part of the learning process! Celebrate the successes, learn from any setbacks, and most importantly, enjoy the magic of growing something new with your own two hands. Happy propagating!
Resource:
https://identify.plantnet.org/k-world-flora/species/Hieracium%20avilae%20Kunth/data