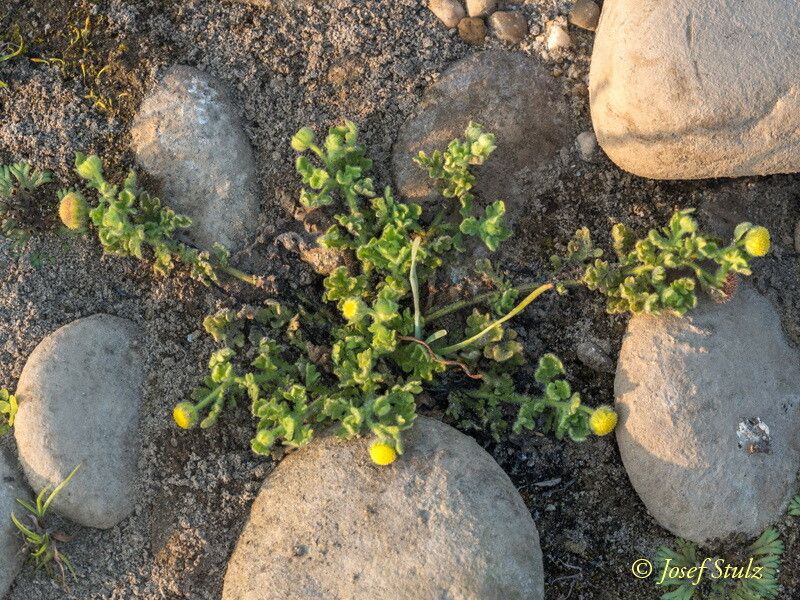
Hello there, fellow plant lovers! If you’ve ever admired the delicate, feathery foliage and cheerful blooms of Grangea maderaspatana and thought, “I wish I had more of that!”, then you’re in the right place. This delightful plant, often found gracing sunny borders with its charm, is surprisingly easy to share. Propagating it yourself is a wonderfully rewarding way to expand your garden or share the joy with friends. I’ve found Grangea maderaspatana to be quite forgiving, making it an excellent plant for even those just dipping their toes into the world of propagation.
The Best Time to Start
Timing is everything, as they say, and for Grangea maderaspatana, the sweet spot is late spring to early summer. This is when the plant is in its active growing phase. You’ll have plenty of healthy, new growth to work with, which generally roots more readily than older, tougher stems. Think of it as harvesting when the plant is most vibrant – that’s when its energy for new life is at its peak.
Supplies You’ll Need
Before we get our hands dirty, let’s gather our tools. A little preparation goes a long way:
- Sharp, clean pruning shears or a sharp knife: Essential for making clean cuts.
- A good quality potting mix: I prefer a blend of peat moss, perlite, and vermiculite for excellent drainage and aeration. You can also buy pre-made seed starting or propagation mixes.
- Small pots or trays: Clean containers with drainage holes are a must.
- Rooting hormone (optional but recommended): This isn’t strictly necessary for Grangea maderaspatana as it roots quite well on its own, but a little dip can give your cuttings a boost. Look for a powder or gel form.
- A spray bottle: For keeping your cuttings moist.
- Plastic bags or a mini greenhouse: To create a humid environment.
- A sunny, bright location: But avoid direct, scorching sun, especially when your cuttings are just starting.
Propagation Methods
Grangea maderaspatana is a champion of propagation, and stem cuttings are my go-to method. It’s straightforward and highly successful.
Stem Cuttings
- Select your material: Look for healthy, non-flowering stems on your mature plant. Aim for stems that are about 4-6 inches long and have plenty of leaves.
- Make the cut: Using your clean shears or knife, make a clean cut just below a leaf node. A leaf node is where a leaf attaches to the stem, and it’s where roots are most likely to form.
- Prepare the cutting: Gently remove the lower leaves from the bottom half of the stem. This prevents them from rotting when buried in the soil. If your cutting has any flower buds, snip those off too; we want the plant’s energy to go into rooting, not flowering.
- Apply rooting hormone (optional): Dip the cut end of the stem into your rooting hormone, tapping off any excess.
- Plant your cuttings: Fill your small pots or trays with your prepared potting mix. Make a small hole in the center of the soil with your finger or a pencil. Gently insert the cut end of the stem into the hole, ensuring at least one leaf node is buried. Firm the soil gently around the stem.
- Water and cover: Water the soil thoroughly until it’s evenly moist. Then, cover the pots with a clear plastic bag or place them in a mini greenhouse. This traps humidity, which is crucial for cuttings to root. Make sure the leaves don’t touch the inside of the plastic.
The “Secret Sauce” (Pro Tips)
Over the years, I’ve picked up a few tricks that seem to make a real difference with cuttings like these:
- Bottom heat is your friend: If you have a way to provide gentle warmth from below, like a propagation mat, do it! Cuttings root so much faster when the soil is warm. It mimics that lovely spring ground temperature perfectly.
- Don’t overwater: While humidity is key, soggy soil leads to rot. The goal is consistently moist, not waterlogged. I always check the soil moisture with my finger before watering. If it feels damp, I leave it.
- Patience is a virtue: Sometimes, cuttings can take several weeks to show signs of rooting. Resist the urge to tug on them to check! Look for new leaf growth or a slight resistance when you gently try to lift the cutting.
Aftercare & Troubleshooting
Once you see signs of new growth, that’s your signal that roots are forming! At this point, you can gradually begin to acclimate your new plants to lower humidity. Start by opening the plastic bag for a few hours each day, then extend the time until they can be left uncovered. Keep them in bright, indirect light and continue to water them when the top inch of soil feels dry.
The most common issue you might encounter is rot. If you see your cutting turning brown, mushy, or slimy, it’s likely a sign of too much moisture and not enough air circulation. Unfortunately, once rot sets in, it’s hard to save the cutting. This is why good drainage and avoiding overwatering are so important from the start.
A Little Bit of Green Goodness
There you have it – a simple, straightforward way to multiply your Grangea maderaspatana plants. Don’t be discouraged if your first attempt isn’t perfect. Gardening, and propagation in particular, is a journey of learning and observing. Be patient, enjoy the process of nurturing these little bits of green life, and soon you’ll have a veritable garden full of these lovely plants to enjoy and share. Happy propagating!
Resource:
https://identify.plantnet.org/k-world-flora/species/Grangea%20maderaspatana%20(L.)%20Poir./data