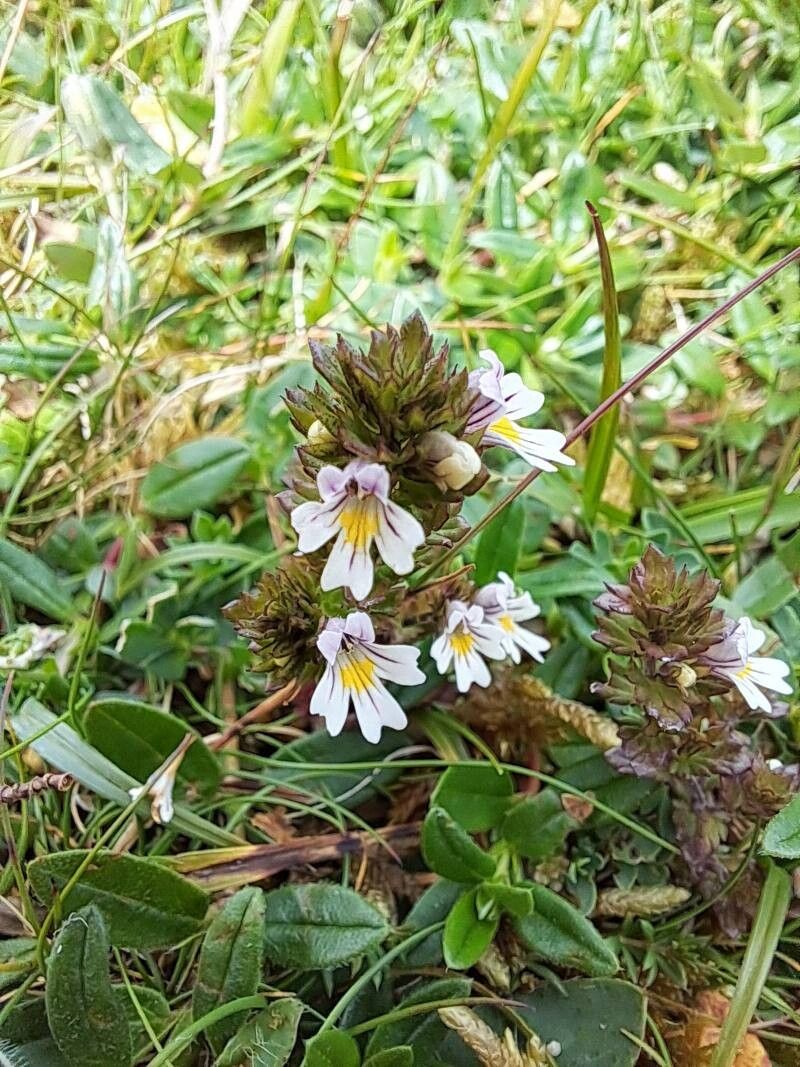
Oh, hello there! Come on in, grab a mug. Today, we’re diving into the delightful world of Euphrasia tetraquetra, often called Eyebright. If you’re looking for a charming, unique addition to your garden that also happens to have a bit of botanical history, you’re in for a treat. Eyebright is a lovely little plant, often found in alpine meadows and coastal areas, with its delicate white or pale pink flowers. Propagating it feels like coaxing a small miracle into existence, and trust me, it’s incredibly rewarding when you see those tiny roots take hold. Now, is it a beginner’s plant? Hmm, let’s just say it appreciates a bit of gentle guidance. It’s not the easiest to propagate, but absolutely achievable with a little patience and the right approach.
The Best Time to Start
For Euphrasia tetraquetra, your best bet is to aim for late spring or early summer. This is when the plant is actively growing and has plenty of energy to put into developing new roots. You want to be working with stems that are starting to get a bit woody at the base but still have plenty of green, pliable growth higher up. Think of it as catching the plant at its most vigorous!
Supplies You’ll Need
Before we roll up our sleeves, let’s gather our essentials. Having everything ready makes the process so much smoother.
- A sharp, clean pair of pruning shears or a razor blade. Sterilization is key here to prevent disease.
- A well-draining potting mix. I like to use a blend of equal parts perlite and a good quality seed-starting mix. Eyebright hates soggy feet.
- Small pots or trays with drainage holes. Yogurt cups with holes poked in the bottom work in a pinch!
- A plastic bag or propagator lid to create a humid environment.
- Rooting hormone (optional, but it can give you a helpful boost).
- A spray bottle filled with clean water.
Propagation Methods
Euphrasia tetraquetra is most successfully propagated from stem cuttings and sometimes via division in the spring when the plant is just waking up. Let’s focus on those cuttings, as they tend to be more reliable.
Stem Cuttings
- Taking the Cuttings: Gently select a healthy stem from your mother plant. Using your sharp shears, take cuttings about 3-4 inches long. Make your cut just below a leaf node – that’s the point where a leaf grows from the stem.
- Preparing the Cuttings: Carefully remove the lower leaves from the cutting, leaving just a few at the very top. This prevents them from rotting when they’re buried. If you’re using rooting hormone, dip the cut end into it now, tapping off any excess.
- Planting the Cuttings: Fill your small pots with your prepared, moistened potting mix. Use a pencil or your finger to poke a small hole in the center of each pot. Gently insert the cut end of your Eyebright cutting into the hole, ensuring the leaf nodes you bared are below the surface of the soil. Firm the soil gently around the cutting.
- Creating Humidity: After planting, give the cuttings a light misting with your spray bottle. Then, cover the pot with a plastic bag or propagator lid. This is crucial for keeping the humidity high, which is vital for cuttings to develop roots without drying out.
The “Secret Sauce” (Pro Tips)
Now, here are a couple of little tricks I’ve learned over the years that really make a difference with these more delicate plants.
- Avoid “Swamp Cooler” Syndrome: When you’re misting your cuttings or watering your pots, be mindful of the water. Don’t let the leaves of your cuttings sit directly in water or be constantly submerged. This is a fast track to rot. The goal is high humidity around the leaves, not drenched ones.
- Embrace the Warmth (But Gently): Eyebright cuttings really appreciate a bit of warmth from below, especially if your propagation area is a bit cooler. A propagator mat set on a low setting can significantly speed up rooting. It encourages root formation without baking the top growth.
Aftercare & Troubleshooting
Once your cuttings are planted and covered, your job isn’t done!
- Placement: Place your pots in a bright spot, but out of direct, harsh sunlight. Too much sun will scorch those tender cuttings.
- Watering: Check the soil moisture regularly. It should feel like a wrung-out sponge – moist but not wet. You might only need to mist every few days, depending on your conditions. Ventilate the propagator occasionally to prevent mold.
- Rooting Signs: You’ll know your cuttings are rooting when you see signs of new growth at the top, or if you gently tug on a cutting (don’t do this too often!) and feel some resistance. This usually takes 4-8 weeks.
- Troubleshooting: The most common issue you’ll encounter is rot. If you see black, mushy stems, it’s usually a sign of too much moisture and not enough air circulation. Sadly, a rotted cutting is a lost cause, but don’t get discouraged! Just try again with your next batch, paying closer attention to drainage and ventilation. Brown, crispy leaves can indicate it’s too dry or getting too much sun.
A Little Patience Goes a Long Way
Propagating Euphrasia tetraquetra is a journey. There might be a few setbacks, but the thrill of seeing those first roots appear, and then nurturing a whole new plant from a tiny cutting, is an unmatched garden joy. Be patient, observe your cuttings closely, and enjoy the process. Happy gardening!
Resource:
https://identify.plantnet.org/k-world-flora/species/Euphrasia%20tetraquetra%20(Bréb.)%20Arrond./data