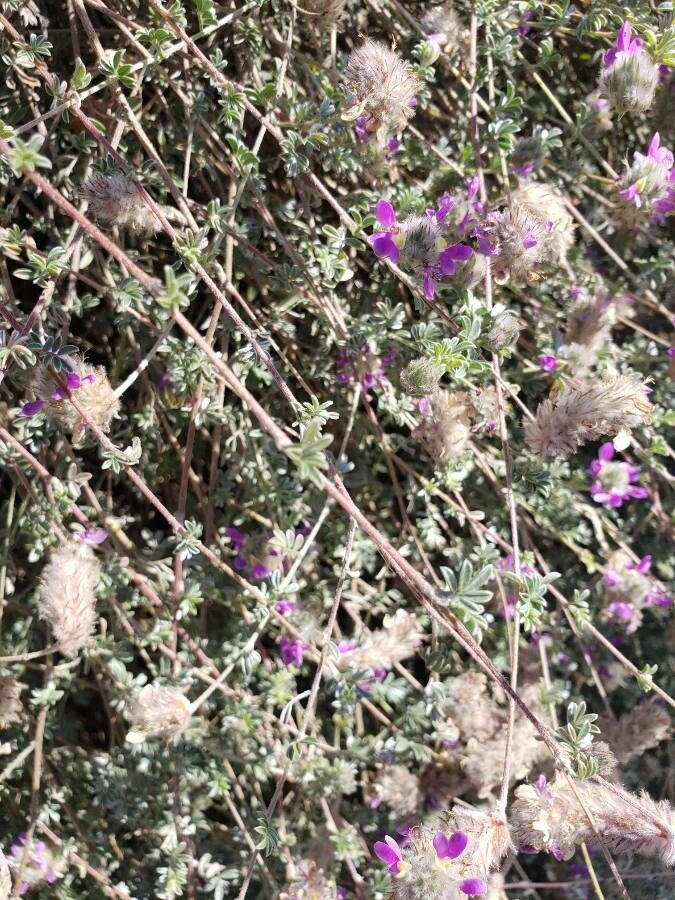
Oh, hello there! Pull up a chair and let’s chat about one of my absolute favorite desert dwellers: Dalea pulchra. You know, that gorgeous shrub with the lovely purple blooms, often called Fairy Duster? It’s just such a joy to have in the garden, attracting all sorts of pollinators with its vibrant display. And the best part? Sharing that beauty is surprisingly achievable. Propagating Dalea pulchra is a wonderful way to fill your garden or even share cuttings with friends. While it’s not tricky, it does have a couple of little quirks that make success even sweeter.
The Best Time to Start
For Dalea pulchra, I’ve found that late spring or early summer is the sweet spot. This is when the plant is actively growing, and those woody stems have enough energy to put down roots. You’re looking for stems that are firm but not completely old and woody. Think “semi-hardwood” – pliable, but with a bit of substance.
Supplies You’ll Need
Gathering your tools before you start makes everything so much smoother. Here’s what I always have on hand:
- Clean, sharp pruning shears or a sharp knife: For making clean cuts.
- A rooting hormone powder or gel: This is a great little helper to encourage root development. Not strictly mandatory, but it definitely boosts success rates.
- A well-draining potting mix: I usually mix equal parts perlite and peat moss, or use a good quality cactus and succulent mix. The key is excellent drainage!
- Small pots or propagation trays with drainage holes: Clean them thoroughly before use.
- Plastic bags or a humidity dome: To create a mini-greenhouse effect.
- Labels and a marker: You’ll want to know what you planted and when!
- A small trowel or dibber: For making holes in the soil.
Propagation Methods
Dalea pulchra is most reliably propagated from stem cuttings. It’s straightforward and rewarding.
Stem Cuttings:
- Take Your Cuttings: With those clean shears, select a healthy stem that’s about 4-6 inches long. Cut just below a leaf node (where a leaf attaches to the stem).
- Prepare the Cuttings: Gently remove the leaves from the bottom half of the cutting. You want to leave a few leaves at the top for photosynthesis, but not so many that they’ll draw too much moisture from the stem. If your leaves are very large, you can even cut them in half.
- Apply Rooting Hormone: Dip the cut end of the stem into your rooting hormone, tapping off any excess.
- Plant Your Cuttings: Fill your clean pots with your well-draining potting mix. Use your dibber or trowel to make a hole in the center of each pot. Carefully insert the cutting into the hole, making sure the end with the rooting hormone is nestled in the soil. Gently firm the soil around the stem.
- Water Gently: Water the soil just enough to moisten it. You don’t want it soggy.
- Create a Humid Environment: Cover the pots with a plastic bag, securing it around the rim with a rubber band, or place them inside a larger clear plastic bag. Alternatively, use a humidity dome. This traps moisture and keeps the cuttings from drying out.
The “Secret Sauce” (Pro Tips)
Here are a couple of things that have really made a difference for me over the years:
- Bottom Heat Rocks: If you have the space, placing your propagation tray on a seedling heat mat can dramatically speed up the rooting process. It mimics the warm soil that plants love and really encourages those roots to get going.
- Don’t Let Leaves Touch the Water (If Water Propagating): While I focus on soil for Dalea pulchra, if you ever try water propagation with other plants, remember this golden rule: ensure the leaves are well above the water line. Any foliage submerged in water is a prime spot for rot to set in, and that’s the fastest way to lose your cutting.
Aftercare & Troubleshooting
Once your cuttings are planted, place them in a spot that gets bright, indirect light. Direct sun can scorch them. Keep the soil consistently moist but not waterlogged. You can check the moisture by gently poking your finger into the soil.
You’ll know your cuttings have rooted when you see new leaf growth or feel a slight resistance when you gently tug on the cutting. This usually takes anywhere from 3 to 8 weeks, depending on the conditions.
The most common issue you’ll encounter is rot. If a cutting turns mushy and black, it’s usually a sign of too much moisture or poor drainage, or that it just didn’t take. Don’t be discouraged! Just remove the affected cutting and learn from it. Ensure your soil is as well-draining as possible for future attempts.
A Encouraging Closing
Propagating plants is such a meditative and rewarding practice. Be patient with your little Dalea cuttings. Some will take, and some might not, and that’s all part of the gardening adventure! Enjoy the process, celebrate every tiny new leaf, and soon you’ll have more of that beautiful Dalea pulchra to enjoy. Happy propagating!
Resource:
https://identify.plantnet.org/k-world-flora/species/Dalea%20pulchra%20Gentry/data