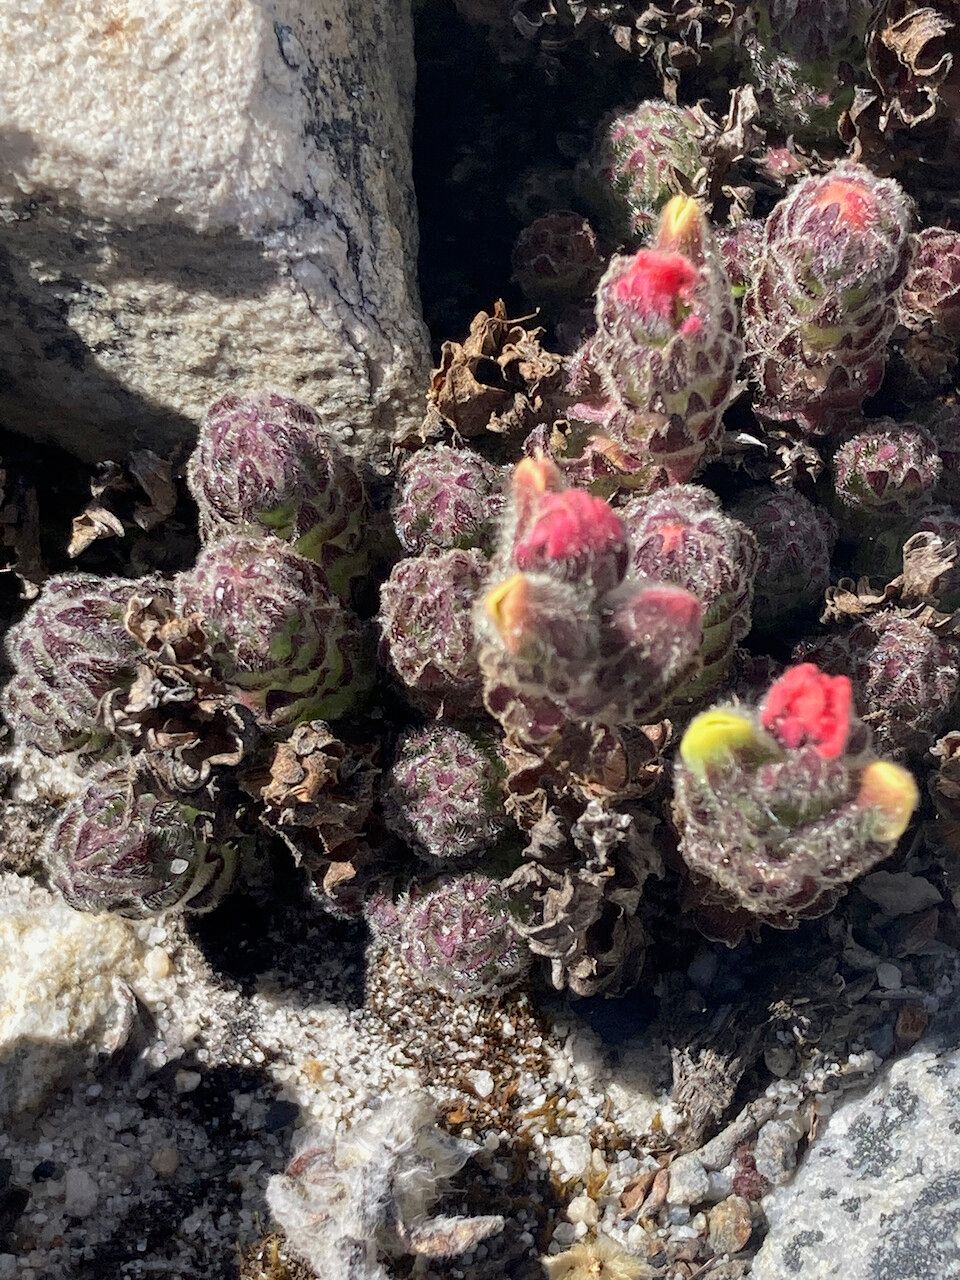
Hello, fellow plant enthusiasts! It’s so lovely to have you stop by my little corner of the internet. Today, we’re diving into the world of Castilleja paramensis, a plant that brings such vibrant color and charm to any garden. Its fiery blooms are like little bursts of sunshine, and trust me, successfully propagating it is a truly rewarding experience. While it can be a tad fussy, it’s not out of reach for the adventurous beginner with a patient heart.
The Best Time to Start
For Castilleja paramensis, the sweet spot for propagation is typically late spring to early summer. This is when the plant is actively growing and has plenty of energy to dedicate to forming new roots. We’re looking for healthy, non-flowering stems that are firm but not woody. Think of it as trying to capture the plant at its peak vigor!
Supplies You’ll Need
Ready to get your hands dirty? Here’s what you’ll want to have on hand:
- Sharp, clean pruning shears or a craft knife: Precision is key to clean cuts.
- Rooting hormone (powder or gel): This gives your cuttings a little extra encouragement.
- Well-draining potting mix: A good blend is about half perlite and half peat moss or coco coir. Good drainage is non-negotiable.
- Small pots or seed trays: Clean ones, please!
- Plastic bags or propagation domes: To create a humid environment.
- Watering can with a fine rose: Gentle watering is important.
- Optional: Heating mat: Bottom heat can really speed things up.
Propagation Methods: Let’s Get Growing!
The most reliable method for Castilleja paramensis is through stem cuttings. It’s quite straightforward once you get the hang of it!
- Take Your Cuttings: Using your clean shears, select a healthy stem and make a clean cut just below a leaf node. A leaf node is that little bump on the stem where leaves emerge. Aim for cuttings that are about 4-6 inches long. Remove any lower leaves, leaving just a few at the top.
- Apply Rooting Hormone: Dip the cut end of the stem into your chosen rooting hormone, ensuring it’s coated. Gently tap off any excess.
- Plant the Cuttings: Fill your small pots with the well-draining potting mix. Make a small hole in the center with your finger or a pencil. Insert the cutting, making sure the leaf nodes are buried where you want roots to form. Gently firm the soil around the base of the cutting.
- Create a Humid Environment: Water the soil lightly until it’s moist but not waterlogged. Then, cover the pot with a plastic bag or a propagation dome. This helps maintain the humidity the cuttings need to prevent wilting.
- Provide the Right Conditions: Place your pots in a bright spot that receives indirect sunlight. Avoid direct sun, which can scorch the delicate cuttings. If using a heating mat, place the pots on top of it to provide gentle bottom warmth.
The “Secret Sauce” (Pro Tips)
Now, here are a few things I’ve learned over the years that can make a big difference:
- Don’t let the leaves touch the water: If you opt for water propagation (though cuttings are more reliable here), make sure only the stem is submerged, not the leaves. Yellowing leaves are a sign they’re rotting.
- Bottom heat is a game-changer: While not strictly essential, a gentle warmth from below (around 70-75°F or 21-24°C) significantly encourages root development. It’s like giving your little cuttings a cozy embrace!
- Be patient with leaf pruning: For stem cuttings, I sometimes’ll even snip off about a third of the remaining leaves. This reduces water loss from the leaves, allowing more energy to go into root formation.
Aftercare & Troubleshooting
Once you start to see signs of root development – often indicated by a slight tug on the cutting and new growth emerging – it’s time to move to the next stage. Gradually acclimate your new plants to normal room humidity by opening the plastic bag or dome a little each day over a week. Water whenever the top inch of soil feels dry.
The most common issue you’ll encounter is rot. If your cuttings turn mushy, dark, and start to smell, it’s usually a sign of too much moisture and not enough airflow. If you see this, remove the affected cutting immediately to prevent it from spreading. Overwatering is the biggest culprit here, so err on the side of slightly too dry rather than too wet.
A Gentle Farewell
Propagating Castilleja paramensis is a journey, and like any good journey, there are moments of anticipation and perhaps a few bumps along the way. Don’t get discouraged if your first attempts aren’t perfect. Keep trying, observe your plants, and enjoy the process of nurturing new life. Happy gardening!
Resource: