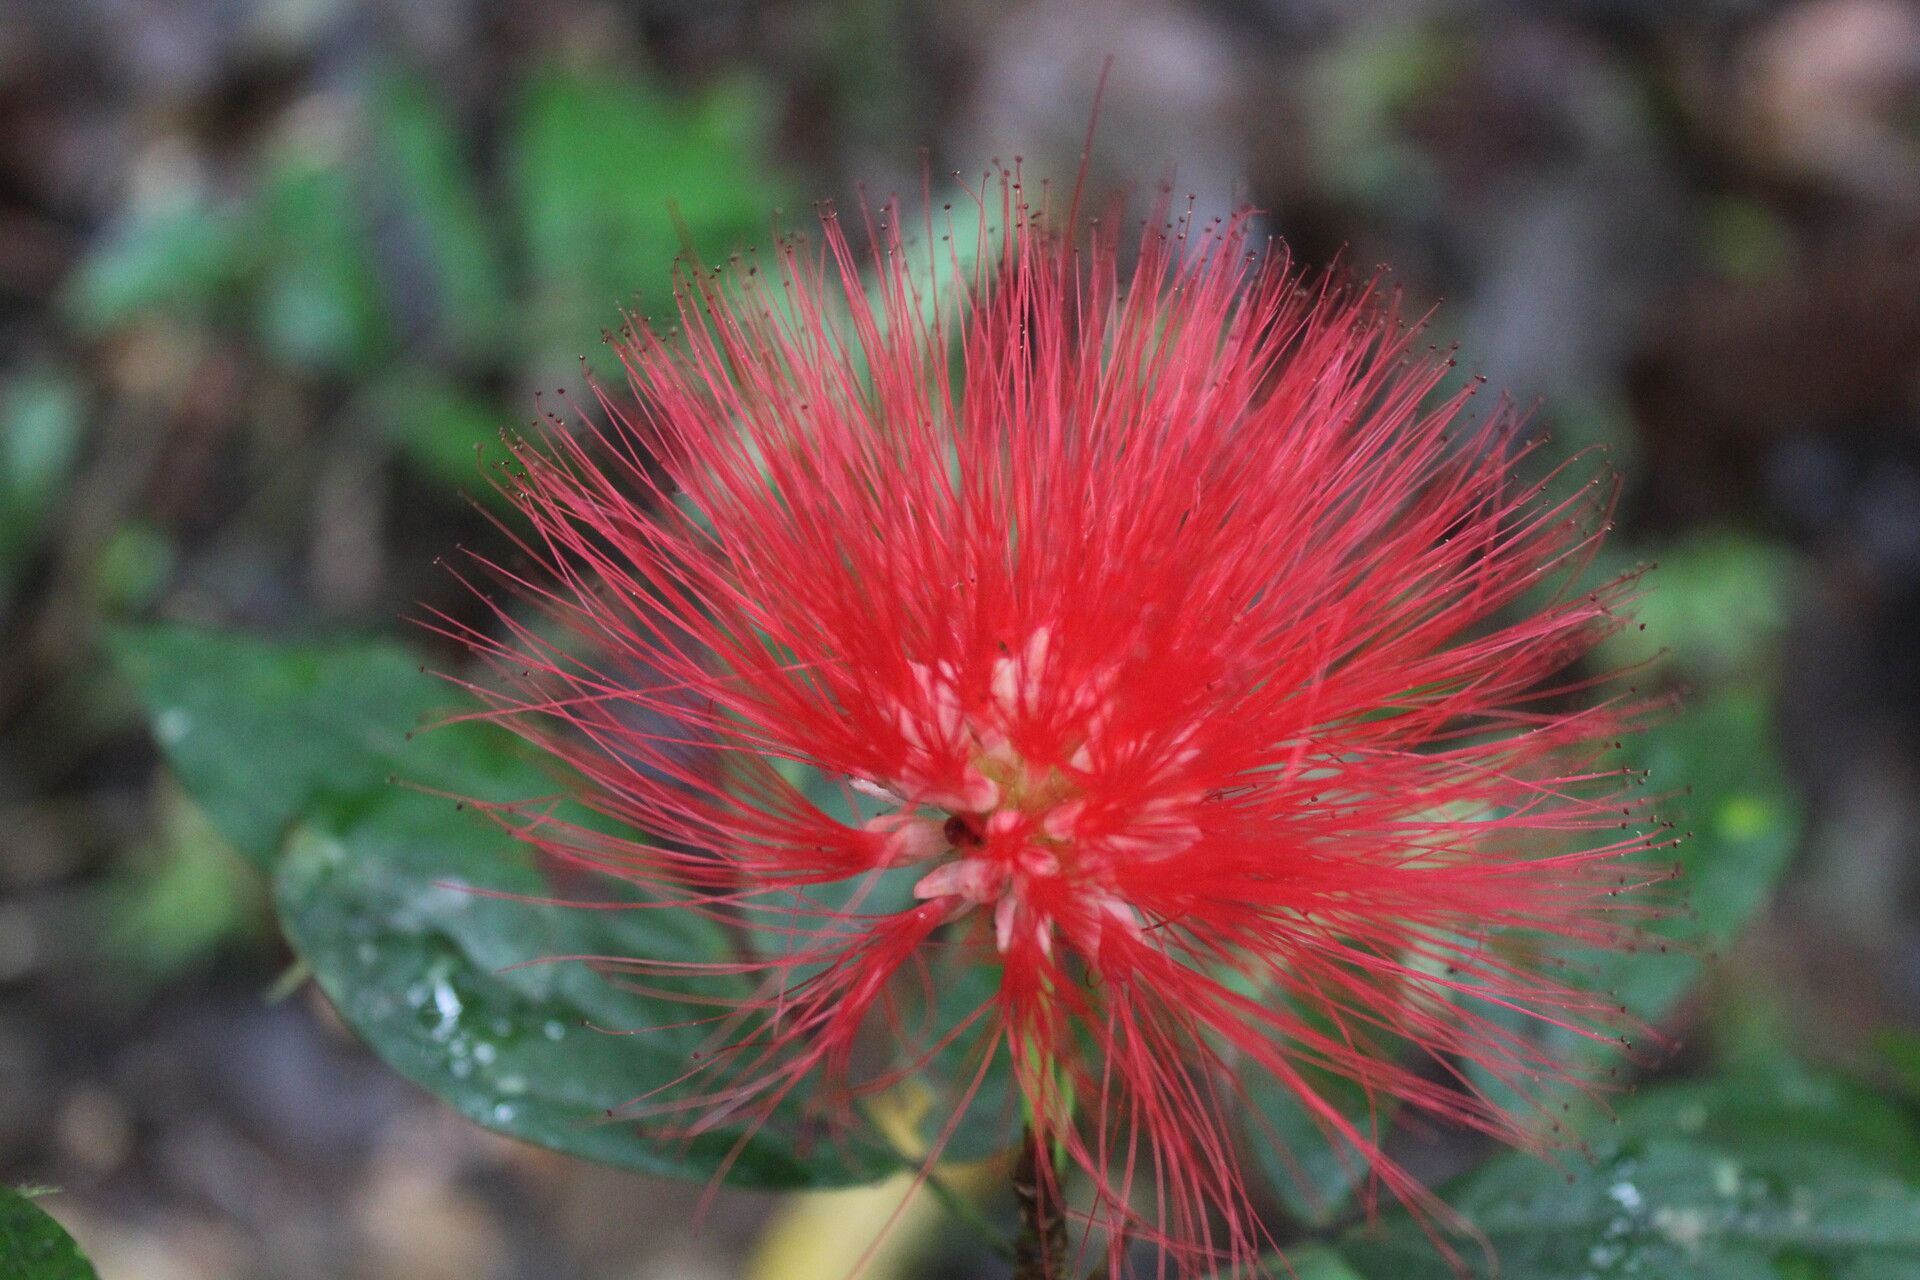
Hello there, fellow plant enthusiasts! I’m so excited to chat with you today about a truly enchanting plant: Calliandra rhodocephala, also known as the Mexican Powderpuff or by its more poetic Spanish name, ‘Rosa de Mexico’. This beauty, with its vibrant, fuchsia-pink pom-pom flowers that resemble bursts of confetti, is an absolute showstopper. If you’ve ever admired one of these beauties, you might be wondering if you can bring that magic into your own garden. The good news is, yes, you absolutely can! And propagating it yourself? Well, that’s a particularly rewarding journey. Now, I’ll be honest, Calliandra can be a tad finicky for complete beginners, but with a little patience and the right approach, you’ll be successful.
The Best Time to Start
When it comes to coaxing new life from your Calliandra, spring and early summer are your golden ticket. This is when the plant is in its most vigorous growth phase. You’ll want to look for semi-hardwood cuttings. These are stems that have started to mature, so they’re not super soft and floppy like brand-new growth, but they haven’t gotten tough and woody either. Think of them as being just right – firm but flexible.
Supplies You’ll Need
Gathering your materials before you dive in makes everything so much smoother. Here’s what I always have on hand:
- Sharp Pruning Shears or a Craft Knife: Clean, sharp tools are crucial for making clean cuts that heal well.
- Rooting Hormone: This isn’t strictly mandatory, but it significantly boosts your success rate, especially with more challenging plants like Calliandra. Look for one with a good concentration of IBA.
- Well-Draining Potting Mix: I usually opt for a blend of equal parts perlite and seed-starting mix or a good quality chrysanthemum bark mix. The key is excellent drainage – these plants hate soggy feet!
- Small Pots or Propagation Trays: Clean pots with drainage holes are a must. You can certainly reuse old ones, just be sure to sterilize them first.
- Clear Plastic Bags or a Propagation Dome: This creates a humid environment for your cuttings to thrive in.
- Labels and a Marker: To keep track of what you’ve planted and when!
- Optional: Bottom Heat Mat: This can really speed up root development.
Propagation Methods
While division can work, stem cuttings are generally the most reliable and productive way to propagate Calliandra rhodocephala.
Stem Cuttings: Your Best Bet
- Take Your Cuttings: On a bright, but not scorching, day in spring or early summer, select healthy, vigorous stems. You’re looking for pieces about 4-6 inches long. Make your cut just below a leaf node, which is the little bump where a leaf attaches to the stem. This is where the magic of root development happens.
- Prepare the Cuttings: Gently remove any lower leaves from your cuttings. You want to expose the nodes where roots will form. Leave just a couple of leaves at the very top to help with photosynthesis. If your top leaves are large, you can trim them in half to reduce water loss.
- Apply Rooting Hormone: Dip the cut end of each stem into your rooting hormone powder or gel. Tap off any excess. It’s like giving your cutting a little boost of encouragement!
- Pot Them Up: Fill your small pots with your well-draining potting mix. Make a small hole with a pencil or your finger in the center of the mix, deep enough for the cutting. Gently insert the hormone-coated end of your cutting into the hole, and then firm the mix gently around the stem.
- Water and Cover: Water the pots thoroughly until water drains from the bottom. Then, cover each pot with a clear plastic bag, securing it around the rim with a rubber band or tape. If you’re using a propagation tray, you can cover the whole thing with a clear dome. This will keep the humidity high, which is essential.
- Provide Light and Warmth: Place your pots in a bright spot but out of direct, intense sunlight. A north-facing window is often perfect. If you have a bottom heat mat, now’s the time to use it – aim for a soil temperature of around 70-75°F (21-24°C).
The “Secret Sauce” (Pro Tips)
Here are a couple of things I’ve learned over the years that seem to make a real difference:
- Wipe, Don’t Wash: When you’re preparing your cuttings and removing lower leaves, often a gentle wipe with a damp cloth is all you need. Trying to wash off any sap or debris can sometimes damage the delicate tissues, especially on the stem itself.
- The Humidity Hug: That plastic bag or dome isn’t just for show. It’s creating a mini-greenhouse. Make sure the leaves are NOT touching the inside of the plastic. If they do, they can start to rot. Just fluff up the bag or adjust the dome so the leaves have room to breathe within their humid little world.
Aftercare & Troubleshooting
Once your cuttings are potted, patience is your best friend. You’ll want to check the moisture of the soil regularly, but don’t let it get waterlogged. The goal is consistently damp, not soggy.
You should start to see signs of rooting within 4-8 weeks, sometimes longer. The best indicator is new leaf growth at the top of the cutting. You can also give a very gentle tug – if there’s resistance, you’ve got roots!
What about common problems? The biggest enemy of cuttings is rot, which usually stems from overwatering or poor drainage. If you notice a cutting turning mushy, blackening, or smelling foul, it’s likely beyond saving, and it’s best to discard it to prevent it from affecting others. Yellowing leaves can sometimes indicate too much or too little water, so feel the soil. Sometimes, it’s just the cutting adjusting.
A Little Encouraging Wrap-Up
Propagating plants, especially those as special as Calliandra rhodocephala, is such a rewarding experience. It connects you more deeply to your plants and, before you know it, you’ll have new little beauties to share or admire. Don’t be discouraged if your first attempt isn’t perfect. Each cutting is a learning opportunity! Enjoy the process, and soon you’ll be celebrating those first tiny roots. Happy gardening!
Resource:
https://identify.plantnet.org/k-world-flora/species/Calliandra%20rhodocephala%20Donn.Sm./data