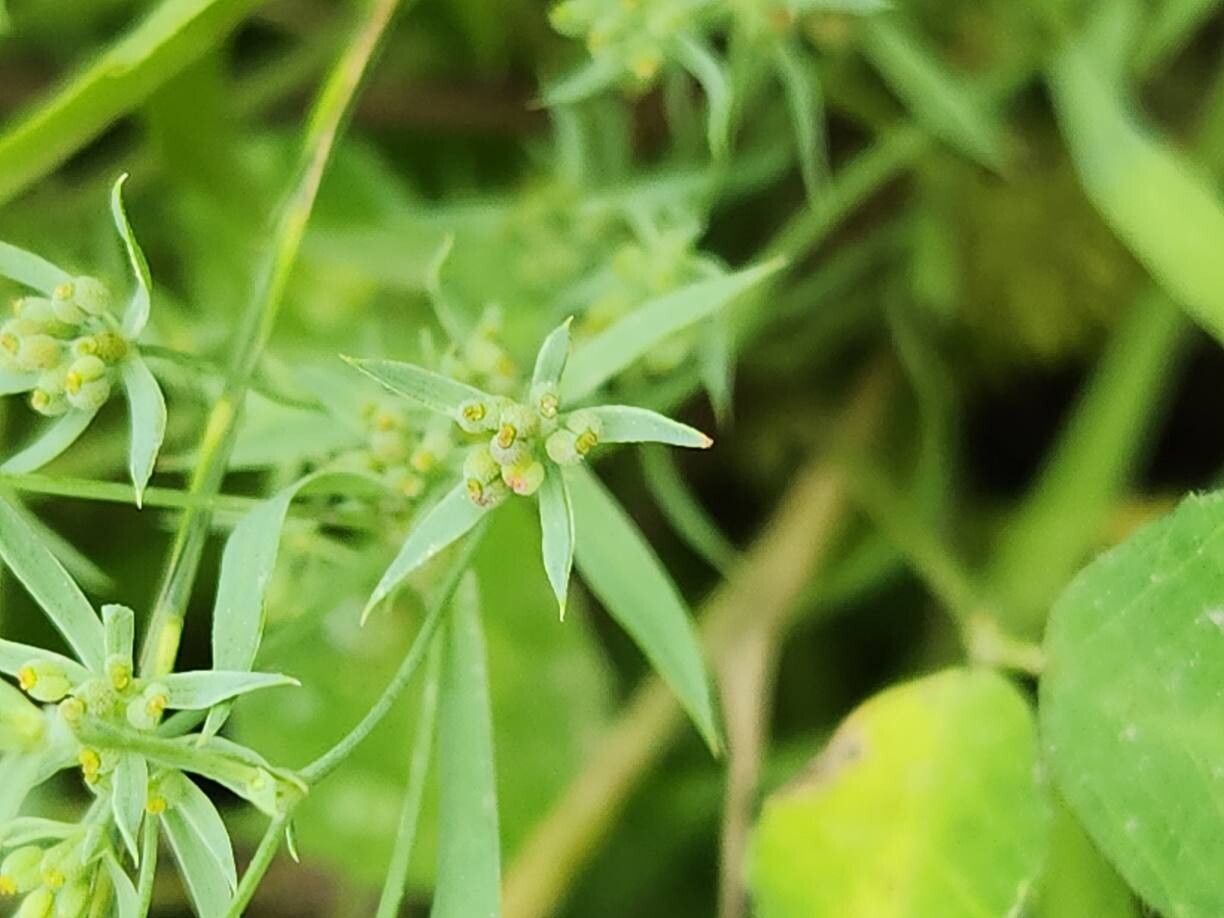
Oh, hello there! Pull up a chair and let’s chat about Bupleurum semicompositum. If you’re looking for a plant that brings a airy, delicate charm to your garden, this might be just the ticket. With its fine, almost wispy foliage and clusters of tiny, cheerful yellow blooms, it’s a fantastic filler plant that looks at home in cottage gardens and modern designs alike. And the best part? It’s surprisingly rewarding to multiply! Many folks find Bupleurum semicompositum a delightfully easy plant to propagate, even if you’re just starting out on your propagation journey.
So, why go through the effort of making more? Well, besides the joy of success (and who doesn’t love that?), it’s a wonderful way to secure more of a plant you love for free. Imagine filling your garden beds or sharing these beauties with gardening friends!
The Best Time to Start
For Bupleurum semicompositum, the sweet spot for propagation is when the plant is actively growing. I find late spring or early summer to be ideal. You want to take cuttings from healthy, non-flowering stems. These young, vigorous shoots have the most energy to put into root development. Waiting until the plant has established itself after winter, but before it’s gone full bloom, gives you the best chance of success.
Supplies You’ll Need
Getting your tools ready makes the whole process smoother. Here’s what you should have on hand:
- Sharp pruning shears or a clean, sharp knife: For making clean cuts. I always sterilize mine with rubbing alcohol before and after use.
- A good quality potting mix: I prefer a light, well-draining mix. A blend of peat moss or coco coir, perlite, and a bit of compost works wonders. You can also buy specific seedling or cutting mixes.
- Small pots or trays: Clean ones, of course! Small cell trays or 4-inch pots are usually perfect.
- Rooting hormone (optional but recommended): A powder or gel can significantly speed up root formation.
- Plastic bags or a propagation dome: To create a humid environment for your cuttings.
- Watering can with a fine rose: For gentle watering.
- Labels: So you don’t forget what you’ve planted (we’ve all been there!).
Propagation Methods
Bupleurum semicompositum is quite happy to be grown from stem cuttings. It’s straightforward and yields great results.
-
Taking the Cuttings: On a healthy, actively growing stem, locate a section that doesn’t have any flower buds. Make a clean cut just below a leaf node (where a leaf attaches to the stem). You’re looking for pieces that are about 4-6 inches long. Remove the lower leaves, leaving just a couple at the very top. This prevents them from rotting when they sit in the soil.
-
Applying Rooting Hormone (Optional): Dip the cut end of the stem into your rooting hormone, tapping off any excess. This step gives your cutting a little boost!
-
Planting the Cuttings: Fill your small pots or trays with your prepared potting mix. Make a small hole in the center of the soil with your finger or a pencil. Insert the cutting into the hole, ensuring the bottom leaves are above the soil line. Gently firm the soil around the cutting to ensure good contact.
-
Creating Humidity: Water the soil gently until it’s moist but not soggy. Then, place your pots inside a plastic bag, sealing it loosely, or cover them with a propagation dome. This traps moisture and creates the high humidity that cuttings need to develop roots.
-
Placement: Put your planted cuttings in a bright spot, but out of direct sunlight. Too much sun can scorch the tender cuttings.
The “Secret Sauce” (Pro Tips)
Here are a couple of little tricks that have made a big difference in my propagation success:
- Bottom Heat is Your Friend: If you can, place your pots on a heated propagator mat. This gentle warmth from below encourages root development far more effectively than just ambient room temperature. It’s a game-changer, especially for trickier plants.
- Don’t Drown Your Dreams: While humidity is crucial, avoid waterlogged soil at all costs. Rot is the enemy of cuttings! If the soil feels overly wet, carefully tip out any excess water from the pot. I often find myself lifting the plastic bag or dome for a few minutes each day to let some air circulate.
Aftercare & Troubleshooting
Once your cuttings have rooted, you’ll start to see new growth emerging. This is a sure sign of success! Keep them in their humid environment for another week or two, and then gradually acclimate them to normal conditions. This means opening the plastic bag a little more each day, or taking the dome off for longer periods.
When new leaves are actively forming, it’s time to let them go. Water them regularly, keeping the soil consistently moist but not waterlogged. You can transplant them into slightly larger pots once they’ve developed a decent root system.
Now, for the less fun part: troubleshooting. The most common issue you’ll encounter is rot. If you see your cuttings wilting and turning mushy at the base, it’s likely due to too much moisture combined with poor air circulation. Unfortunately, once rot sets in, it’s very difficult to save them. This is why good drainage and avoiding overwatering are so critical. Yellowing leaves can sometimes indicate insufficient light.
A Little Patience Goes a Long Way
Propagating plants is a journey, and sometimes it takes a bit of patience. Don’t get discouraged if your first attempt isn’t perfect. Every cutting you take is a learning experience. Observe your plants, adjust your methods, and most importantly, enjoy the process of bringing new life into your garden. Happy growing!
Resource:
https://identify.plantnet.org/k-world-flora/species/Bupleurum%20semicompositum%20L./data