Bringing Bearberry Home: Your Guide to Propagating Arctostaphylos uva-ursi
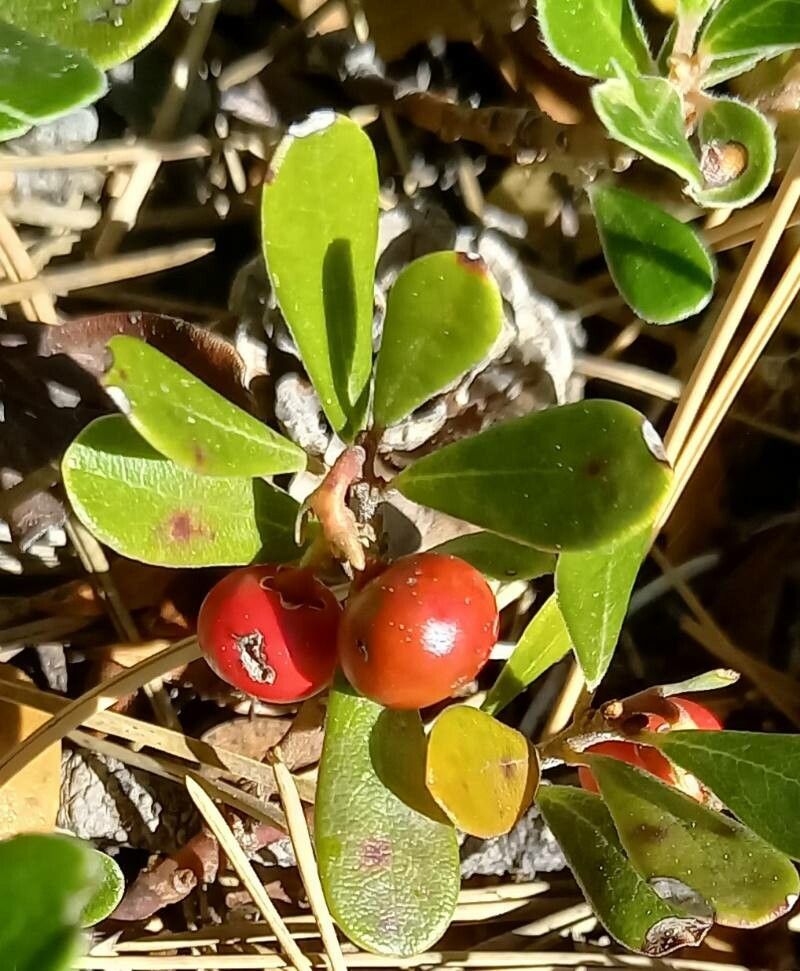
There’s something truly special about Arctostaphylos uva-ursi, commonly known as Bearberry. Its glossy, evergreen leaves create a beautiful, low-growing carpet, and those little red berries in the fall? Utterly charming! I’ve found that coaxing new life from this groundcover is a deeply satisfying endeavor, even if it requires a bit of patience. For beginners, I’d say it’s moderately challenging – not impossible, but definitely a plant that rewards careful attention.
When to Get Your Hands Dirty
The sweet spot for propagating Bearberry is generally late spring to early summer. This is when the plant is actively growing and has plenty of energy to put into developing roots. You’ll want to select semi-hardwood cuttings – those that are firm but still have a bit of flexibility. Think of it as the plant’s “teenage” phase, a perfect time for transformation.
Your Bearberry Propagation Toolkit
Here’s what you’ll want to have ready:
- Sharp, clean pruning shears or a sharp knife: For making clean cuts.
- Rooting hormone powder or gel: This significantly boosts your chances of success.
- A well-draining potting mix: I prefer a blend of coarse sand, perlite, and a bit of peat moss – about a 2:1:1 ratio works wonders. Avoid heavy, garden soil.
- Small pots or propagation trays: With drainage holes, of course!
- A clear plastic bag or propagation dome: To create a humid environment.
- Labels and a permanent marker: So you don’t forget what you planted where!
- Water spray bottle: For keeping things moist.
Let’s Get Growing: Stem Cuttings
This is hands-down my favorite method for Bearberry. It’s reliable and yields the most new plants for your efforts.
- Take Your Cuttings: On a cool morning, select healthy stems that are about 4-6 inches long. Make a clean cut just below a leaf node (where a leaf attaches to the stem). Remove the bottom leaves, leaving just a few at the very top.
- Prepare the Cuttings: Dip the cut end into your rooting hormone. Gently tap off any excess.
- Plant Them Up: Fill your pots with your special well-draining mix. Make a small hole in the center with a pencil or your finger. Insert the treated cutting into the hole, ensuring the leaf nodes are below the soil surface. Firm the soil gently around it.
- Create a Humid Haven: Water the cuttings thoroughly after planting. Then, cover the pots with a clear plastic bag, sealing it at the bottom. This will trap humidity, which is crucial. If you have a propagation dome, even better!
The “Secret Sauce” from My Garden
- Bottom Heat is Your Friend: While not strictly essential, placing your pots on a heat mat set to a gentle warmth (around 70-75°F) really encourages root development. It mimics the warmth of the soil in warmer months and gives those roots a little nudge.
- Don’t Let Leaves Touch the Water (If Water Propagating): Though I prefer cuttings in soil, if you’re dabbling with water propagation (which can be trickier for Bearberry), always ensure no leaves are submerged. Rot sets in notoriously fast. Stick to soil for this one.
- Patience with the Hormone: Don’t be tempted to overdo the rooting hormone. A light dip is all they need. Too much can actually hinder root formation.
Nurturing Your New Sprouts
Once your cuttings are planted, place them in a bright, indirect light location. Avoid direct sun, as it can scorch those young leaves. Keep the soil consistently moist, but never soggy. Check the humidity inside your bag regularly; if you see condensation, open it for a few minutes to let it air out.
You’ll know your cuttings are rooting when you feel a gentle resistance if you try to tug them slightly. It might take anywhere from 4-10 weeks, so hang in there! Once they’ve got a good root system, you can gradually acclimate them to drier air by opening the plastic bag for longer periods each day. Once they seem happy and stable, they’re ready to be transplanted into their own small pots.
Watch out for signs of rot – wilting that doesn’t improve with watering, or a mushy, discolored stem. If you see this, sadly, that cutting is likely lost. The key is good drainage and not overwatering.
The Joy of Growing On
Propagating Bearberry is a wonderful way to expand your native plant collection or share these beauties with fellow gardeners. It’s a process that teaches you to observe, be patient, and celebrate every little sign of life. Don’t be discouraged if every cutting doesn’t make it; gardening is always a learning curve. Just keep trying, and soon you’ll have more of that lovely Bearberry to enjoy. Happy propagating!
Resource:
https://identify.plantnet.org/k-world-flora/species/Arctostaphylos%20uva-ursi%20(L.)%20Spreng./data