Hey there, fellow plant lovers! Today, we’re diving into the wonderfully rewarding world of propagating Tapinanthus pentagonia. If you’re drawn to its unique beauty and wish you had more of these striking plants gracing your space, you’re in the right place. I’ve spent years coaxing new life from cuttings, and I’m excited to share my secrets with you!
Why Propagate Tapinanthus pentagonia?
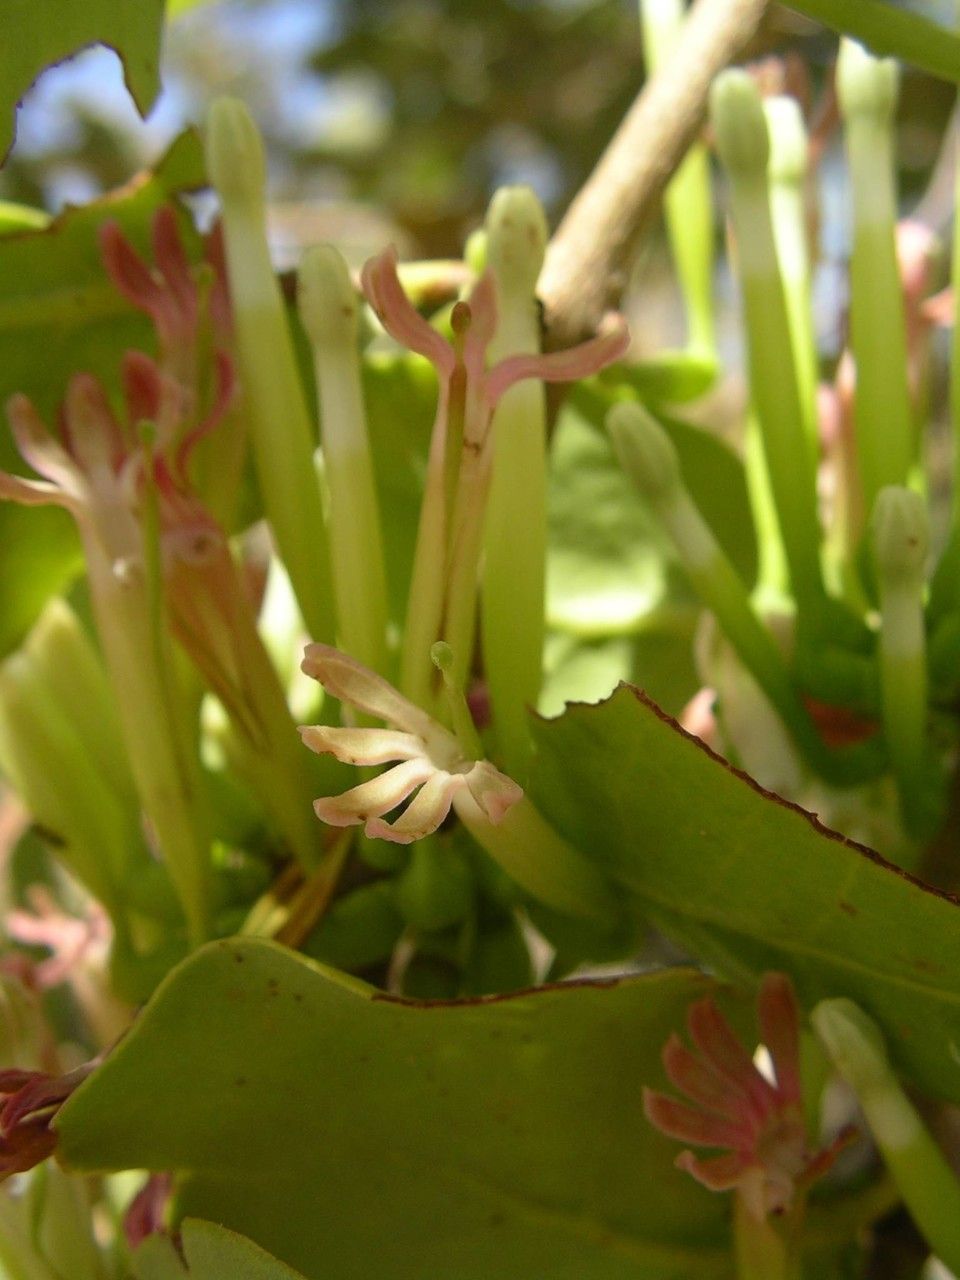
These beauties offer such a distinctive presence in the garden, don’t they? Their architectural form and intriguing flower displays are a real conversation starter. Propagating them allows you to expand your collection, share the love with friends, and really connect with the magic of plant growth. Now, if you’re a complete beginner Tapinanthus pentagonia can be a tad on the trickier side, but don’t let that deter you! With a little patience and these tips, you’ll be well on your way.
The Best Time to Start
For Tapinanthus pentagonia, I’ve found that late spring or early summer is your golden window. This is when the plant is in its most vigorous growth phase. Look for stems that are firm and active, but not overly woody. You want that lively, green energy!
Supplies You’ll Need
Here’s a little toolkit to get you started:
- Sharp Pruning Shears or a Craft Knife: Cleanliness is key here!
- Rooting Hormone Powder (Optional, but Recommended): This gives your cuttings a helpful boost.
- Well-Draining Potting Mix: I like a blend of coarse sand, perlite, and a good quality potting soil. Think of it as giving your cuttings plenty of air to breathe!
- Small Pots or Propagation Trays: Choose containers that have drainage holes.
- Plastic Bags or a Propagator Lid: To create a humid environment.
- Watering Can with a Fine Rose: For gentle watering.
Propagation Methods: Let’s Get Our Hands Dirty!
We’ll focus on stem cuttings, as this is generally the most reliable method for Tapinanthus pentagonia.
Stem Cuttings
- Select Your Stem: Find a healthy, non-flowering stem that’s about 4-6 inches long.
- Make the Cut: Using your clean shears or knife, make a clean cut just below a leaf node. This is where the magic of root formation often begins.
- Prepare the Cutting: Gently strip off the lower leaves, leaving only a couple at the very top. This prevents them from rotting once you pot it up.
- Apply Rooting Hormone: Dip the cut end of the stem into your rooting hormone, tapping off any excess.
- Plant Your Cutting: Fill your small pot with your well-draining mix. Make a hole with your finger or a pencil and insert the prepared cutting. Gently firm the soil around it.
- Water Gently: Water thoroughly but carefully. You want the soil to be moist, not waterlogged.
- Create Humidity: Cover the pot with a clear plastic bag or place a lid over your propagation tray. This traps moisture and creates a mini greenhouse effect.
The “Secret Sauce” (Pro Tips)
Now, for a couple of my tried-and-true tips that can make all the difference:
- Don’t Let Leaves Touch the Water! (If you were to consider water propagation, which I often avoid for Tapinanthus). But even with soil, ensure no leaves are buried in the soil or touching standing water. Rot is the enemy here!
- Bottom Heat is Your Friend: If you happen to have a heated propagator mat, placing your pots on it can significantly speed up root development. Those gentle roots love a bit of warmth from below.
- Be Patient with the “Wiggle Test”: Don’t be tempted to tug on your cuttings to check for roots too early. Wait until you feel a gentle resistance when you lightly wiggle the stem. This usually takes several weeks.
Aftercare & Troubleshooting
Once your cuttings show signs of new growth (tiny leaves popping out!), it’s time to adjust your care.
- Gradual Acclimatization: Slowly remove the plastic bag or propagator lid over a few days to allow the new plant to adjust to the ambient humidity.
- Consistent Moisture: Keep the soil consistently moist but not soggy. Water when the top inch of soil feels dry.
- Bright, Indirect Light: Place your new plants in a location with bright, indirect sunlight. Avoid harsh, direct sun, which can scorch tender new growth.
The most common sign of trouble is rot, which usually manifests as a mushy, black stem. This often happens if the cuttings are kept too wet and have poor air circulation. If you see this, unfortunately, it’s often best to discard the affected cutting and start again, perhaps with a slightly different soil mix or a bit more air circulation.
Keep Growing, Keep Trying!
Propagating any plant is a journey, and Tapinanthus pentagonia is no exception. There might be a few failures along the way, but each one is a learning opportunity. Don’t get discouraged! With these tips and a little bit of gardener’s intuition, you’ll soon be enjoying more of these stunning plants. Happy propagating!
Resource:
https://identify.plantnet.org/k-world-flora/species/Tapinanthus%20pentagonia%20(DC.)%20Tiegh./data