Oh, hello there! I’m so glad you’re interested in the Syagrus itacambirana. This palm, with its elegant arching fronds and slender trunk, truly brings a touch of the tropics right to your garden or home. It’s a real showstopper, and honestly, coaxing a new one into existence from an existing plant? That’s one of gardening’s most satisfying triumphs.
Now, about beginners. If you’re just dipping your toes into propagation, Syagrus itacambirana can be a bit of a moderately challenging project. It’s not impossible, mind you, but it requires a little more patience and attention than, say, a simple pothos. But don’t let that deter you! With a bit of know-how and a good dose of optimism, you’ll be well on your way.
The Best Time to Start
The sweet spot for propagating Syagrus itacambirana is really when the plant is in its most vigorous growth phase. That usually means late spring through mid-summer. You want to tap into that surge of energy the plant has when the days are long and warm. Avoid trying this when the plant is stressed, perhaps from winter chill or recent repotting.
Supplies You’ll Need
Gathering your tools beforehand makes the whole process smoother, doesn’t it? Here’s what I always have on hand:
- Sharp, sterile pruning shears or a clean knife: Essential for making clean cuts.
- Well-draining potting mix: I like a blend of coarse sand, perlite, and coco coir for palms. This ensures no wet feet!
- Rooting hormone powder or gel: This is a real game-changer, encouraging those roots to form faster.
- Small pots or containers: Choose ones that are not too large for the new cuttings.
- Clear plastic bags or a humidity dome: To maintain a humid environment for your cuttings.
- Watering can with a fine rose: For gentle watering.
- Optional: Heat mat: This can provide gentle warmth from below, mimicking tropical soil temperatures.
Propagation Methods
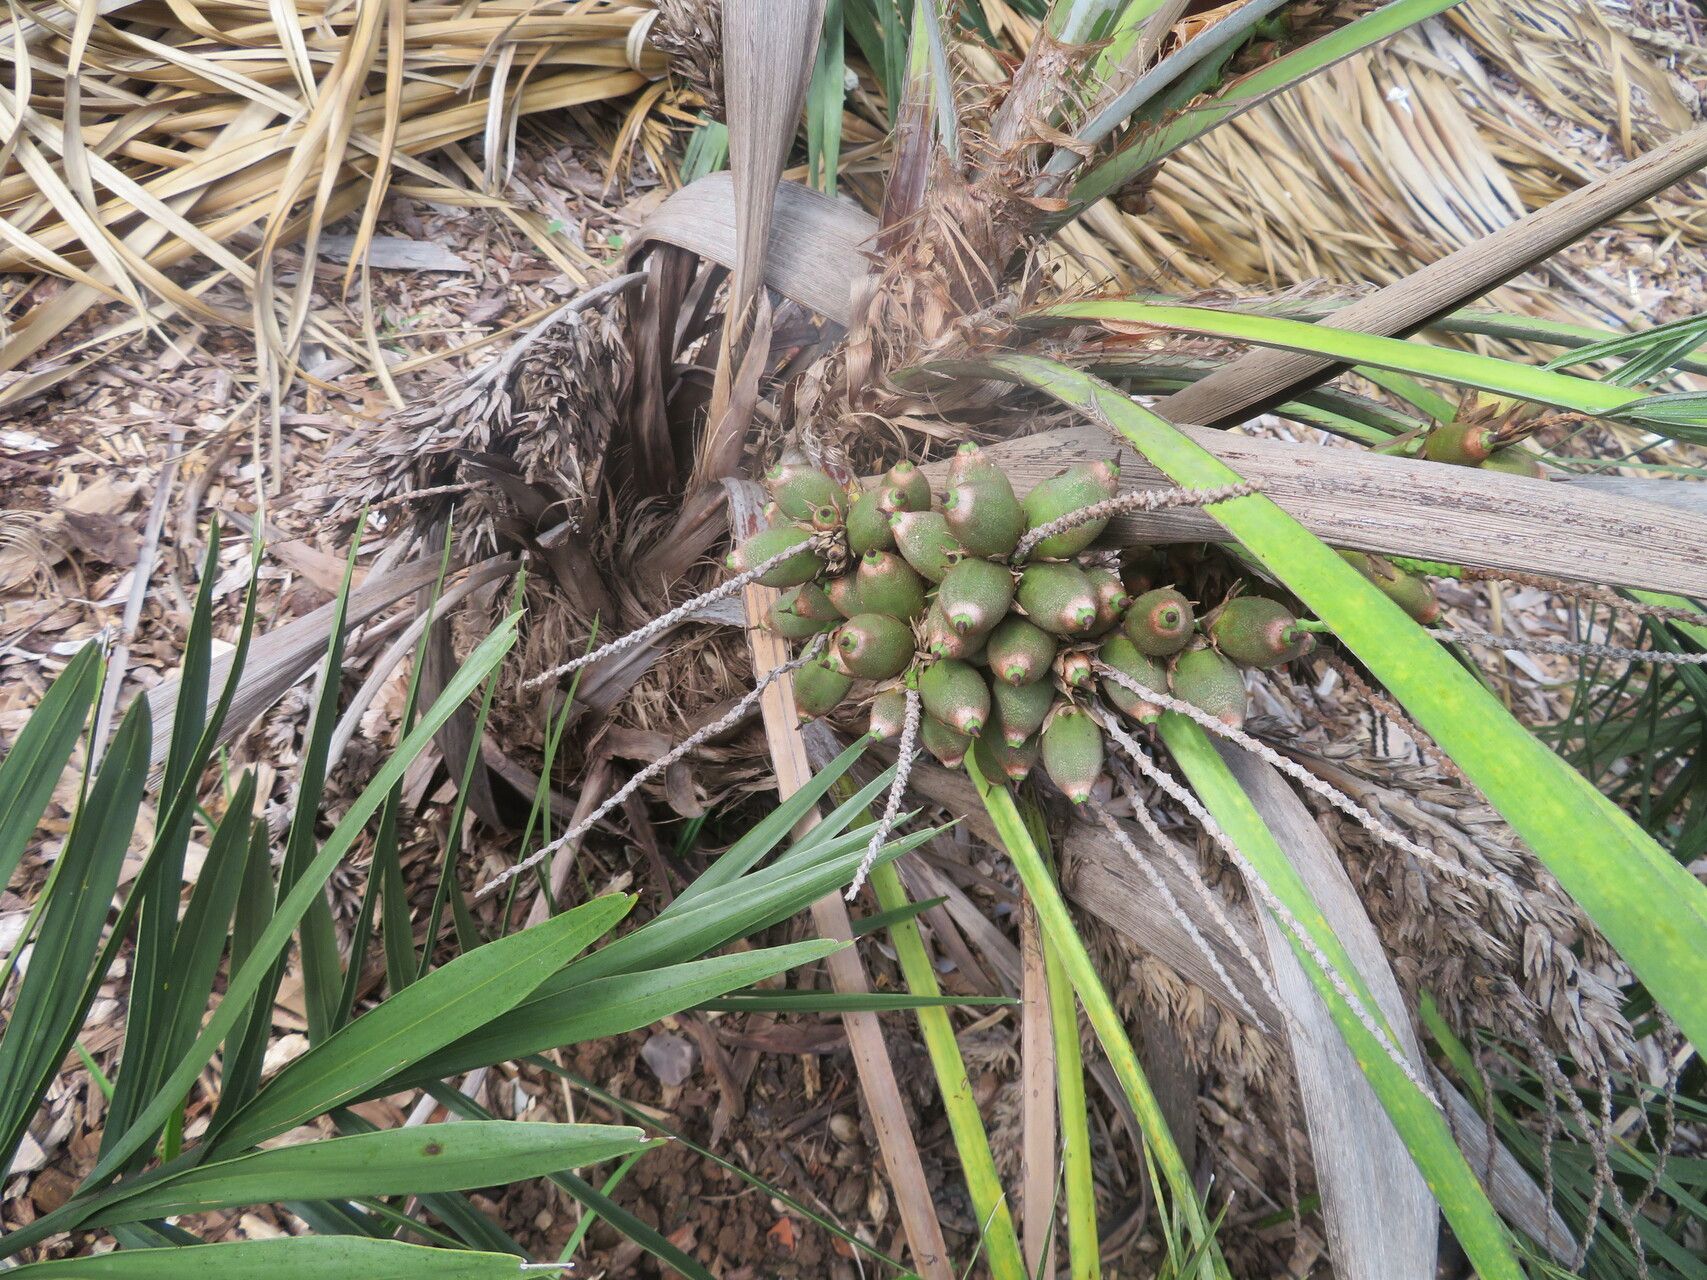
For Syagrus itacambirana, the most reliable method I’ve found is division of offsets, sometimes called pups. This palm tends to produce them at its base.
Division of Offsets (Pups):
- Gently examine your parent plant. Look for smaller shoots emerging from the base of the main trunk. These are your potential new plants! They should ideally have a few leaves of their own.
- Carefully remove the plant from its pot. This is often the easiest way to access the offsets without damaging the parent. If it’s in the ground, you’ll need to excavate around the base.
- Identify where the offset attaches to the mother plant. You want to find a natural separation point.
- Using your sharp, sterile pruning shears or knife, carefully cut the offset from the parent plant. Try to get a piece that includes some of its own roots, if possible.
- Inspect the base of the offset. If there’s any damaged or rotted tissue, carefully trim it away.
- Apply rooting hormone to the cut surface of the offset. This is your little boost to encourage root development.
- Plant the offset in its own pot. Use your well-draining palm mix. The goal is to plant it at roughly the same depth it was growing before.
- Water gently and place the potted offset in a bright, but indirect light spot.
The “Secret Sauce” (Pro Tips)
Here are a couple of things I’ve learned over the years that can really make a difference:
- Don’t overpot! It’s tempting to give your new baby palm a big pot, but smaller pots actually encourage roots to grow more vigorously. A pot that’s just a bit larger than the offset’s root ball is perfect to start.
- Patience with moisture is key. After planting your offset and watering, resist the urge to water again too soon. Let the top inch of soil dry out slightly before watering again. This prevents the dreaded rot from setting in.
- Warmth is your friend. If you can provide gentle bottom heat with a heat mat, it can significantly speed up root formation. Tropical plants love that warmth seeping up from beneath!
Aftercare & Troubleshooting
Once your offset is potted, the journey isn’t over! Keep it in a location with bright, indirect light. Avoid direct sun, as this can scorch its delicate new leaves. Maintain consistent moisture, but again, avoid waterlogging.
What if things go wrong? The most common culprit is root rot. You’ll notice this if the leaves turn yellow, then brown and mushy, and the base of the plant feels soft. This is usually a sign of too much moisture. If you spot it early, you might be able to save it by repotting into dry, fresh soil and watering much more sparingly. A lack of growth, after a few weeks, isn’t always a bad sign; some plants just take their time establishing.
A Little Encouragement
Propagating any plant can feel like a leap of faith, but with palms like the Syagrus itacambirana, the rewards are immense. Be patient with your new little palm baby. Watch for those subtle signs of progress. Gardening is a journey, and every new plant you grow is a testament to your care and dedication. Happy propagating!
Resource: