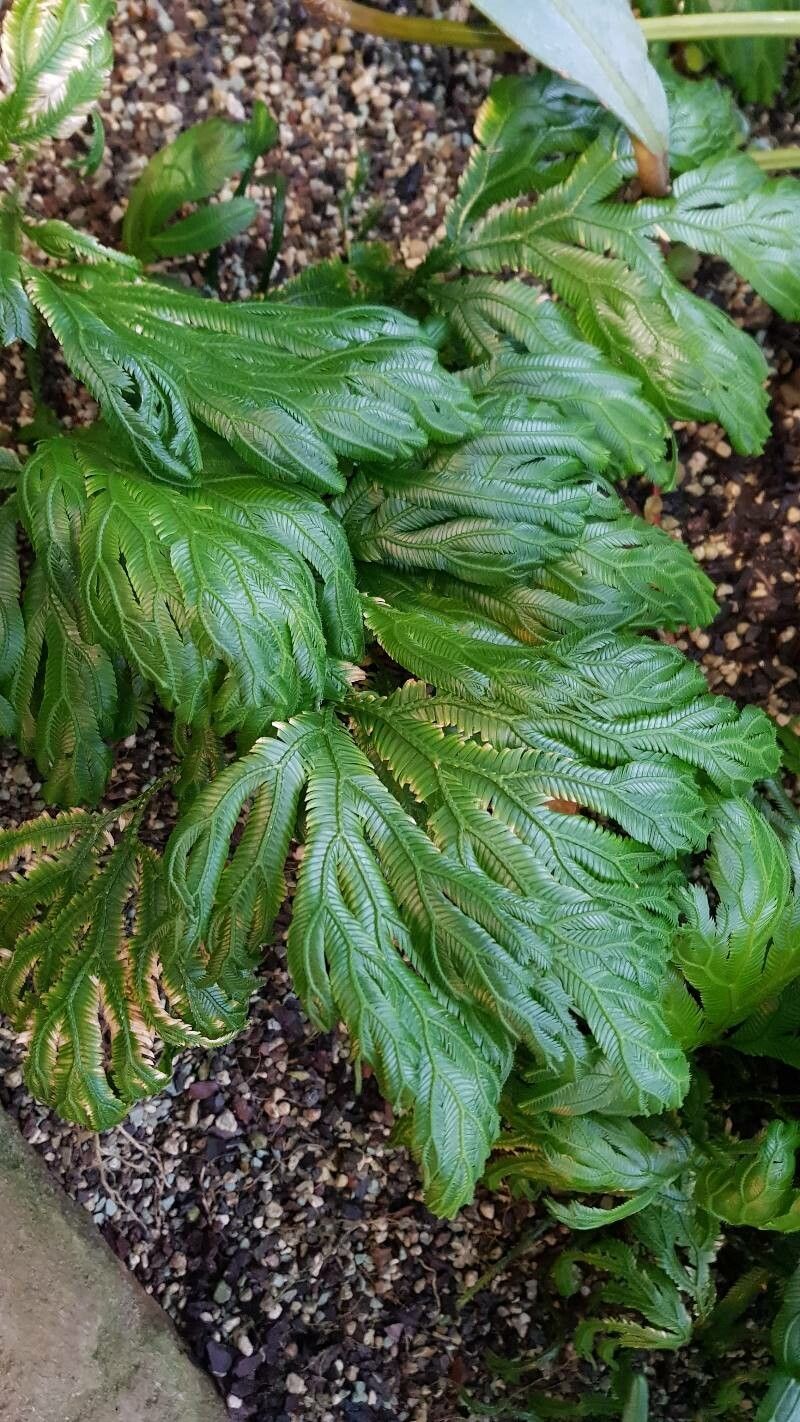
Hello fellow plant lovers! I’m so excited to dive into the wonderful world of Selaginella grandis with you today. If you’ve ever admired these intricate, fern-like plants with their delicate fronds and emerald hues, you’re not alone. They bring a touch of prehistoric magic to any shaded corner. And the best part? They’re surprisingly rewarding to propagate. While Selaginella grandis might seem a bit fussy at first glance, growing new plants from cuttings is absolutely achievable, even for those of you just starting your indoor jungle journey. It’s a joy to see a tiny piece of your favorite plant transform into a whole new specimen.
The Best Time to Start
For Selaginella grandis, spring is truly your golden ticket. As the days get longer and the plant naturally enters its active growth phase, your cuttings will have the best chance of success. You’ll notice new, tender shoots emerging, and these are the ones you want to look for. Propagation during this energetic period means they have plenty of stored energy to put into developing roots.
Supplies You’ll Need
Here’s what you’ll want to gather before you get your hands dirty:
- Sharp pruning shears or a clean knife: For making clean cuts.
- A good quality potting mix: I like a blend of peat moss, perlite, and a little bit of orchid bark. It needs to be airy and retain just enough moisture.
- Small pots or trays: With drainage holes, of course!
- Rooting hormone (optional but recommended): A powder or gel really speeds things up.
- A spray bottle: For misting.
- Clear plastic bags or a propagation dome: To create a humid environment.
- Soft brush or tweezers (optional): To handle delicate cuttings.
Propagation Methods
Let’s get down to business! I’ve found two methods work particularly well for Selaginella grandis.
Stem Cuttings: My Go-To Method
This is my favorite because it’s so effective.
- Select your cutting: Look for a healthy, non-flowering stem that is about 3-4 inches long. You want one that’s relatively firm, not too woody, but definitely not flimsy.
- Make the cut: Using your clean shears, make a clean cut just below a leaf node (where a leaf attaches to the stem). This node is where the magic happens – that’s where roots are most likely to form.
- Prepare the cutting: Gently remove the lower leaves from the bottom inch or so of the stem. This prevents them from rotting once they’re in the soil.
- Apply rooting hormone: Dip the cut end into your rooting hormone, tapping off any excess.
- Planting: Stick the prepared cutting about an inch deep into your well-moistened potting mix. Gently firm the soil around it.
- Create humidity: Cover the pot loosely with a plastic bag or place it under a propagation dome. Ensure the leaves aren’t touching the plastic, as this can encourage rot.
Water Propagation: A Visual Approach
This method lets you see the roots develop, which is pretty neat!
- Choose your cutting: Similar to stem cuttings, look for a healthy 3-4 inch stem with a leaf node at the bottom.
- Prepare the cutting: Remove all the leaves from the bottom half of the cutting.
- Place in water: Fill a small, clean jar or glass with room-temperature water. Place the cutting in the water, making sure no leaves are submerged. They’ll rot quickly if they are.
- Find a spot: Place the jar in a bright spot, out of direct sunlight.
- Change the water: Change the water every few days to keep it fresh and prevent bacterial growth.
The “Secret Sauce” (Pro Tips)
Here are a few little tricks I’ve picked up over the years that can make a big difference.
- My biggest secret? Mimic their natural environment! Selaginella grandis loves high humidity and consistently moist, but not waterlogged, soil. If you’re not using a dome, misting regularly is key. Think of it like a gentle rainforest dew.
- Bottom heat is your friend. Placing your pots on a seedling heat mat can significantly speed up root formation. It provides that gentle warmth that encourages root development from below. Just make sure the mat isn’t too hot – lukewarm is perfect.
- Don’t disturb them too soon. Resist the urge to tug on your cuttings to see if they have roots. You’ll do more harm than good. Wait until you see good new growth on top, which is a sure sign roots are forming below.
Aftercare & Troubleshooting
Once you see signs of life – like new leaves emerging or, in the case of water propagation, roots that are at least an inch long – it’s time for the next stage.
For cuttings rooted in soil, when they have a decent root system (you might feel a slight resistance when you gently tug), you can gradually acclimate them to normal household humidity by opening the plastic bag for longer periods over a week or so. Water them as you would a mature plant, keeping the soil consistently moist.
If you’re transferring water-rooted cuttings to soil, wait until the roots are substantial. Then, carefully plant them in your prepared potting mix and treat them as you would a freshly potted cutting.
The most common pitfall is rot. If your cutting turns mushy and black, it’s usually a sign of too much moisture combined with poor air circulation. Too little humidity can cause the cuttings to dry out and wither. Don’t be discouraged if you lose a few; it happens to the best of us! Just learn from it and try again.
A Encouraging Closing
Growing new plants is always an act of faith and patience. Don’t worry if it takes a little time; these delicate beauties have their own rhythm. Enjoy the process of nurturing these tiny beginnings, and soon you’ll have even more of these exquisite plants to admire and share. Happy propagating!
Resource:
https://identify.plantnet.org/k-world-flora/species/Selaginella%20grandis%20T.Moore/data