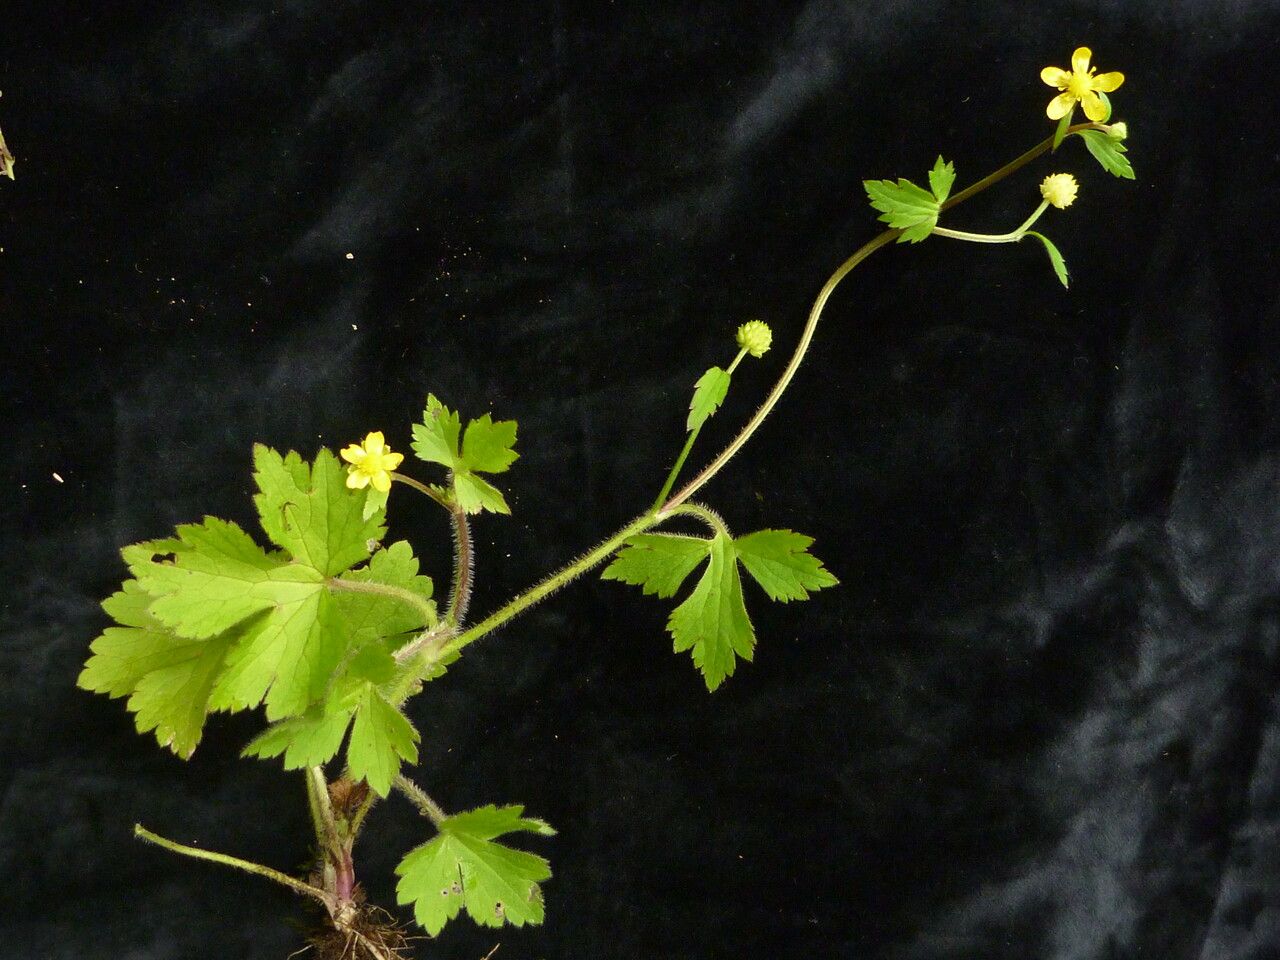
Oh, hello there! Come on in, pull up a chair. I’m so glad you’re interested in the lovely Ranunculus diffusus. If you’ve ever seen those delicate, papery blooms nodding in the garden, you know they’re little works of art, right? I’ve been growing them for years, and let me tell you, creating more of them from scratch is one of the most satisfying gardening joys. It’s a bit of a sweet spot for intermediate gardeners – not super tricky, but you’ll learn a few things along the way.
The Best Time to Start
For Ranunculus diffusus, timing is everything. The absolute best time to propagate is late winter to early spring, just as the plant is starting to stir from dormancy. You want to catch it in that energetic surge of new growth. Trying to divide them too late in the season, when things are really heating up, can stress them out unnecessarily.
Supplies You’ll Need
Gathering your tools beforehand makes the whole process smoother. Here’s what I usually have on hand:
- A well-draining potting mix. I like a blend of peat moss, perlite, and a little compost.
- A sharp, clean knife or pruning shears. Think of it as a surgical tool for your plants!
- Rooting hormone (optional, but it gives you a nice boost).
- Small pots or seed trays with drainage holes.
- A dibber or pencil for making planting holes.
- A watering can with a fine rose, or a spray bottle.
Propagation Methods
For Ranunculus diffusus, the most reliable and rewarding method is division of the tubers. These plants form little underground treasures, and teasing them apart is the way to go.
- Gentle Excavation: As I mentioned, we’re looking at late winter or early spring. Gently dig around the base of your established Ranunculus diffusus. You’re aiming to lift the whole clump, tubers and all, out of the pot or the ground with as little damage to the roots as possible.
- Clean and Separate: Carefully brush away excess soil from the tubers. You’ll likely see the main tuber with several offshoots or smaller tubers attached. That’s exactly what we want!
- The Cut: With your clean, sharp knife, carefully cut the tubers apart. Crucially, ensure each new piece has at least one visible eye or growth bud. This is where the new shoot will emerge. Don’t be afraid to make a clean cut; a clean cut heals better.
- Drying (Optional but Recommended): I like to let the cut surfaces of the tubers air dry for a couple of hours, or even overnight, in a cool, dry spot. This helps create a bit of a callous, which can prevent rot when planted.
- Planting Up: Fill your small pots with your well-draining mix. Make a small hole with your dibber or pencil, big enough for the tuber. Place the tuber in the hole, buds facing upwards. Cover with about an inch of soil.
- Watering In: Give them a gentle watering. Don’t drown them; we’re just aiming for consistently moist, not soggy, soil.
The “Secret Sauce” (Pro Tips)
Now, a couple of things I’ve learned over the years that really make a difference:
- The “Dry Feet” Principle: When you’re planting divisions, it’s tempting to drench the soil. Resist that urge! I always err on the side of slightly drier conditions initially until I see definite signs of new growth. Soggy soil is the number one enemy of freshly divided tubers, leading quickly to rot.
- Bottom Heat for Enthusiasm: If you struggle with getting things to sprout quickly, a propagation mat can be your best friend. Placing your pots on a gentle heat mat mimics spring conditions and can encourage faster root development. Just a little warmth is all they need.
Aftercare & Troubleshooting
Once you’ve planted your divisions, keep them in a bright spot with indirect light. Water sparingly, only when the top inch of soil feels dry. You’re looking for two main things: new shoots emerging from the soil and then, eventually, new roots developing.
The most common gremlin you’ll encounter is rot. If your tuber turns mushy, black, or smells funky, it’s unfortunately a lost cause. This usually happens from overwatering or poor drainage. If you see surrounding soil becoming persistently waterlogged, rethink your mix or your watering schedule. Patience is key here; some divisions might take a little longer to wake up than others.
A Little Seed of Encouragement
Don’t get discouraged if not every single division takes off. Gardening is always a beautiful experiment! Embrace the process, enjoy the anticipation, and celebrate each new little Ranunculus diffusus that graces your garden. Happy propagating!
Resource:
https://identify.plantnet.org/k-world-flora/species/Ranunculus%20diffusus%20DC./data