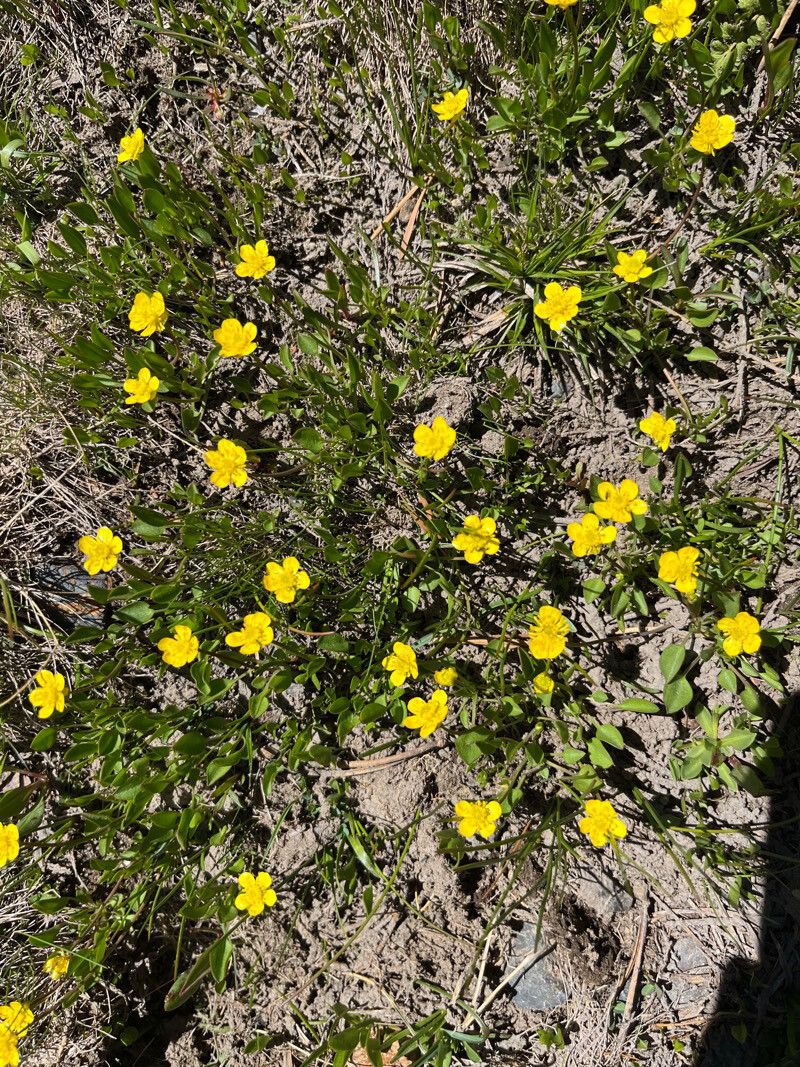
Oh, hello there, fellow plant enthusiast! I’m so glad you’ve stopped by my little corner of the internet. Today, we’re diving into the magical world of propagating Ranunculus alismifolius, also known as the water plantain buttercup. If you’ve ever seen those delicate, often cheerful blooms gracing a garden or meadow, you know why they capture our hearts. Their beauty is undeniable, and there’s a special kind of joy in coaxing new life from an existing plant. Now, I’ll be honest, Ranunculus alismifolius can be a little bit finicky, but with a bit of patience and the right approach, you’ll find it’s a wonderfully rewarding endeavor. It’s not quite beginner-level, but definitely achievable with a guiding hand!
The Best Time to Start
For these beauties, the sweet spot for propagation is generally late spring to early summer. This is when the plant is actively growing, sending up new shoots and gathering energy. Starting during this vibrant phase gives your new propagations the best chance to establish themselves before the heat of midsummer or the chill of autumn really sets in. You’re essentially catching them at their peak vigor.
Supplies You’ll Need
Before we get our hands dirty, let’s gather our essentials. Having everything ready makes the process so much smoother!
- Sharp, clean pruners or scissors: For making precise cuts.
- Well-draining potting mix: I love a blend of equal parts peat moss, perlite, and coarse sand. This ensures excellent aeration and prevents soggy roots.
- Small pots or propagation trays: With drainage holes, of course!
- Rooting hormone (optional but recommended): A little boost can make all the difference.
- Watering can with a fine rose: For gentle watering.
- Plastic bags or a propagation dome: To create a humid environment.
- Labels: Don’t underestimate the importance of labeling your efforts!
Propagation Methods
We’ll focus on the most reliable methods for Ranunculus alismifolius: stem cuttings and division.
Stem Cuttings
This is my go-to for many perennials, and it works well here too.
- Identify healthy stems: Look for new growth that is firm but not yet woody. We’re aiming for stems that are about 4-6 inches long.
- Make a clean cut: Using your sharp pruners, cut the stem just below a leaf node. This is where roots are most likely to form.
- Prepare the cutting: Gently remove the lower leaves, leaving just a couple at the top. This helps the cutting conserve energy.
- Apply rooting hormone (optional): Dip the cut end into your rooting hormone, tapping off any excess.
- Plant the cutting: Make a small hole in your prepared potting mix and gently insert the cutting. Firm the soil around the base.
- Water gently: Water thoroughly but avoid waterlogging the soil.
- Create humidity: Cover the pot or tray with a plastic bag or a propagation dome. Make sure the leaves don’t touch the plastic – you can use small stakes to prop it up if needed. Place in bright, indirect light.
Division
This is best done when you have a mature plant that you want to multiply.
- Gently dig up the plant: In late spring or early summer (remember our timing!), carefully excavate the entire plant, trying to disturb the roots as little as possible.
- Clean off excess soil: Gently brush away some of the soil to reveal the root structure and any emerging shoots.
- Identify natural divisions: Look for where the plant naturally breaks apart into smaller clumps, each with its own set of roots and at least one healthy shoot.
- Separate the divisions: Using your hands or a clean knife, carefully pull or cut the plant into sections. Make sure each division has roots.
- Replant immediately: Pot each division into its own container with fresh, well-draining soil.
- Water well: Water each newly potted division thoroughly.
The “Secret Sauce” (Pro Tips)
Here are a couple of things I’ve learned over the years that really boost success.
- Bottom heat is your friend! For stem cuttings, placing your propagation tray on a gentle heating mat can significantly speed up root development. It mimics the warmth of spring soil and really encourages those roots to form.
- Don’t let those leaves touch water! Especially for stem cuttings, any foliage submerged in water will rot, and rot is the enemy of propagation. Keep them above the waterline, whether in soil or a water propagation setup – though for Ranunculus alismifolius, soil is generally more reliable.
- Air circulation is key, even with humidity. While we want humidity, stagnant air can breed fungal diseases. If you’re using a dome or bag, open it up for a few minutes each day to allow for fresh air exchange.
Aftercare & Troubleshooting
Once you see those first signs of new growth or feel a gentle tug when you lightly pull on a cutting (indicating roots!), you’re on your way!
- Gradually decrease humidity: As roots establish, slowly introduce more air by opening your dome or bag a little more each day over a week or two.
- Water consistently: Keep the soil consistently moist but not soggy. Overwatering is the quickest way to invite problems.
- Watch for rot: The most common issue is root rot, which manifests as mushy, dark roots and yellowing, wilting foliage that doesn’t recover. If you suspect rot, you might need to salvage healthy parts of the cutting or division if possible, repotting into fresh, dry soil to start again.
- Yellowing leaves can be normal initially: Some initial yellowing or leaf drop on cuttings can happen as the plant conserves energy for root production. Keep an eye on it; if it’s widespread or the stems look mushy, it’s a concern.
A Heartening Closing
Propagating plants is a journey, and sometimes it has its bumps. Don’t be discouraged if your first attempt isn’t perfect. Each plant we try to grow teaches us something new. Be patient, enjoy the quiet observation, and celebrate every tiny root and new leaf. Happy propagating!
Resource: