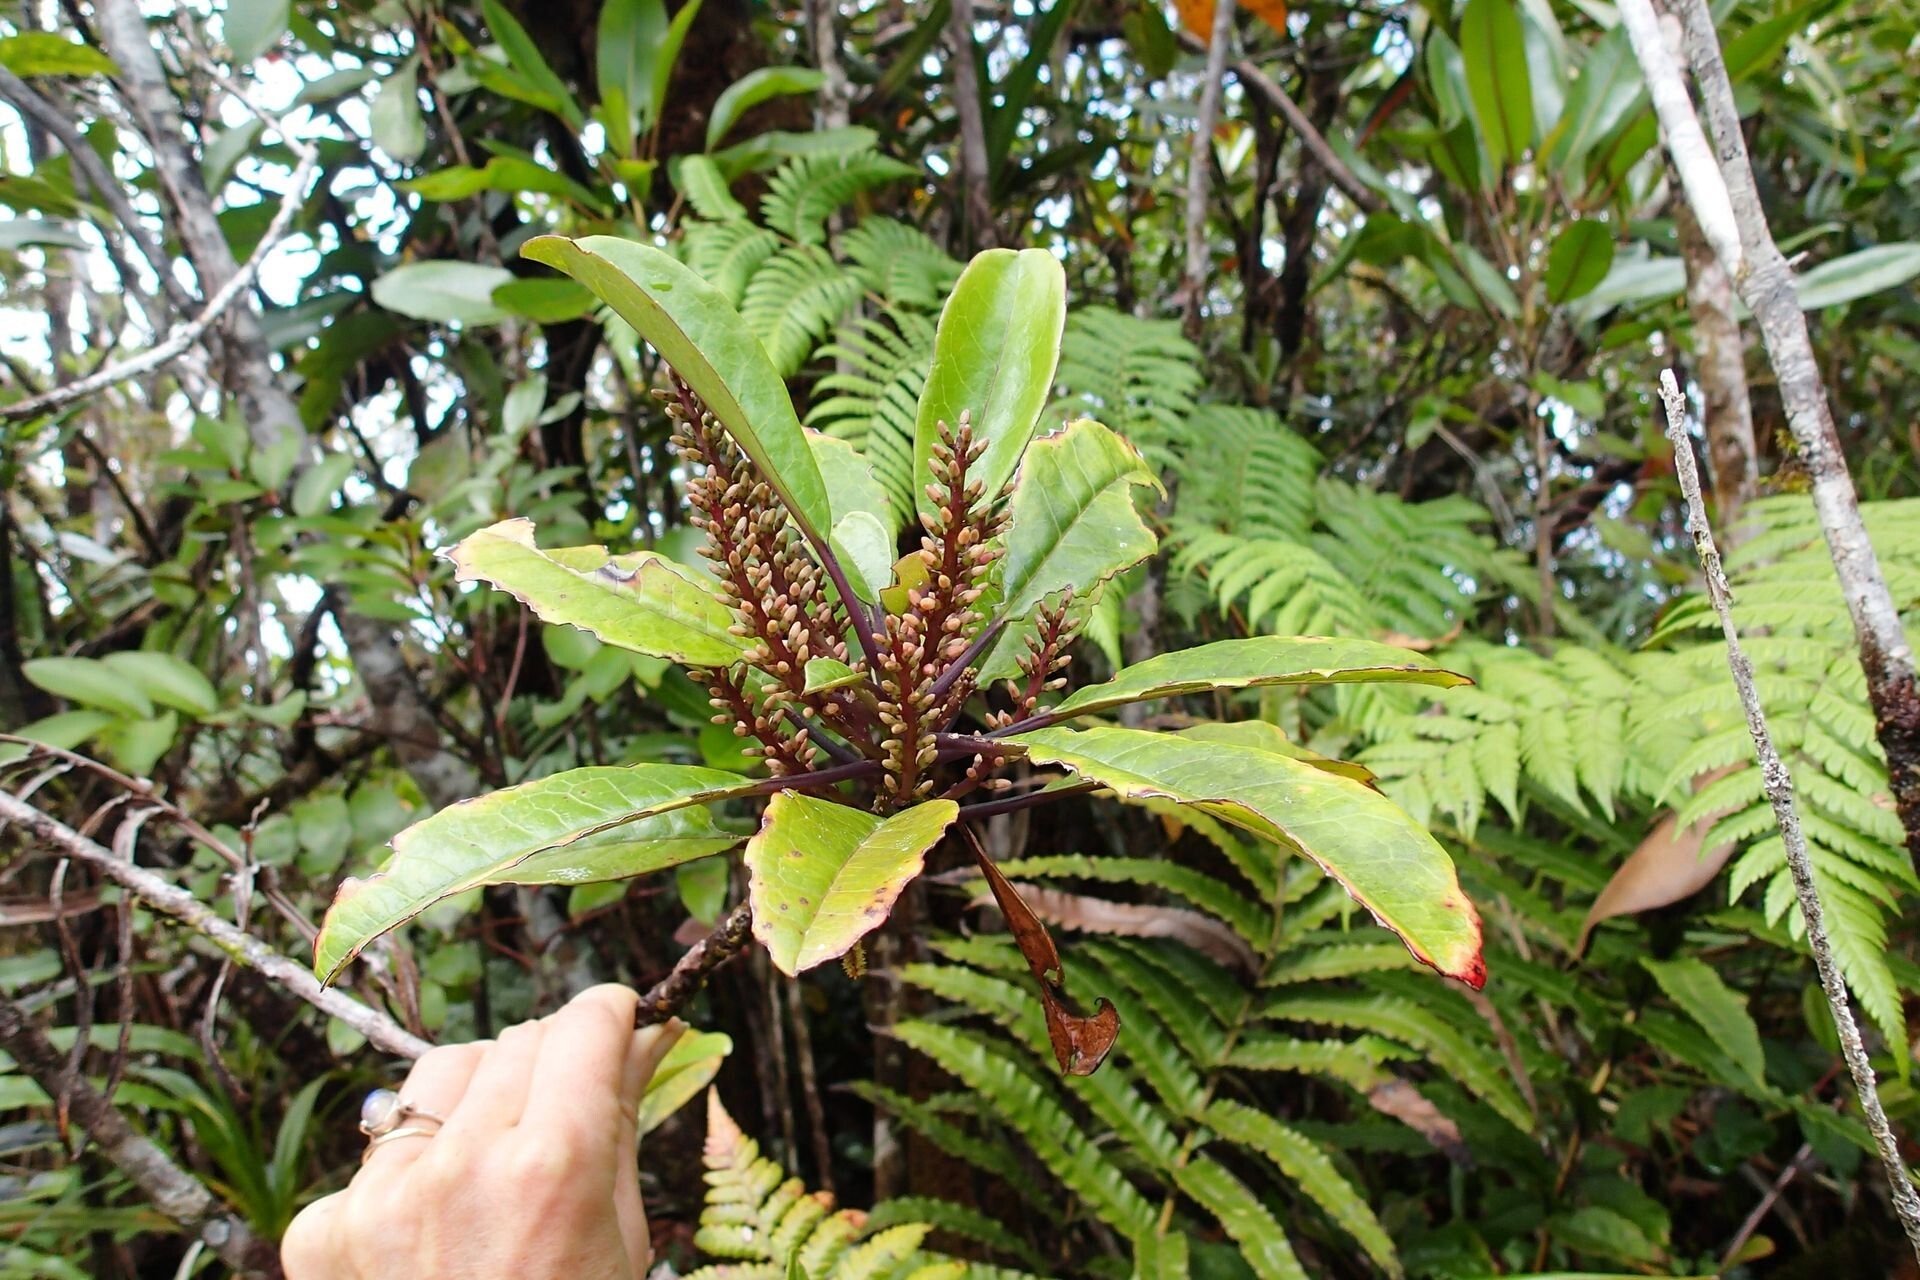
Hey there, fellow plant lovers! I’m so excited today to dive into a plant that’s been bringing a whisper of the tropics to my garden for years: Polyosma discolor. You might know it as the creamy wood, or maybe you’ve admired its gorgeous, glossy, dark green foliage and delicate, frothy white flowers that just beg for a closer look. It’s a stunner, and honestly, the satisfaction of coaxing a whole new plant from a single piece of another? Pure gardening joy. Now, if you’re new to this whole propagation game, I’ll be upfront: Polyosma discolor can be a little bit of a diva. It’s not the absolute easiest for a first-timer, but with a little patience and these tips, I promise you can be successful.
When to Get Your Hands Dirty
For Polyosma discolor, spring and early summer are your best friends. This is when the plant is actively growing and has plenty of energy to put into developing new roots. Look for stems that are robust but not too woody – something that bends slightly rather than snapping outright. This is often called semi-hardwood, and it’s the sweet spot for cuttings.
Your Propagation Toolkit
Gathering your supplies beforehand makes the whole process much smoother. Here’s what you’ll want in your arsenal:
- Sharp Pruning Shears or a Knife: For clean cuts that heal better.
- Rooting Hormone: This is a lifesaver, especially for trickier plants. I prefer a powder form for cuttings.
- Well-Draining Potting Mix: A good blend of perlite, coco coir, and a bit of peat moss works wonders. You want it to hold moisture but not become waterlogged. You can also buy specialized cutting mixes.
- Small Pots or Trays: Clean ones are crucial to prevent disease.
- Plastic Bags or Propagation Dome: To create a humid environment.
- Watering Can with a Fine Rose: For gentle watering.
- Labels and a Marker: You’ll want to remember what you planted and when!
Let’s Make Some New Plants!
I find stem cuttings to be the most reliable way to propagate Polyosma discolor. Here’s how I do it:
- Take Your Cuttings: In spring or early summer, select healthy stems. Make a clean cut just below a leaf node (where a leaf attaches to the stem). Aim for cuttings that are about 4-6 inches long.
- Prepare the Cuttings: Gently remove the lower leaves, leaving just a few at the top. If the leaves are very large, you can even cut them in half horizontally to reduce water loss. If you’re using rooting hormone, dip the cut end into it, tapping off any excess.
- Pot Them Up: Fill your small pots with your prepared potting mix. Make a little hole with your finger or a pencil, and insert the cut end of the stem into the soil. Gently firm the soil around it.
- Create a Humid Environment: Water the soil thoroughly but gently. Then, cover the pot with a clear plastic bag or place it under a propagation dome. Make sure the leaves aren’t touching the plastic if possible.
My Little Secrets for Success
Over the years, I’ve learned a few tricks that make a big difference:
- Bottom Heat is Your Friend: Polyosma discolor absolutely loves a bit of warmth from below. Placing your pots on a heated propagation mat can dramatically speed up root development. It mimics the warmth of summer soil and really encourages those roots to get going.
- Don’t Drench, Mist Gently: Once your cuttings are potted and covered, resist the urge to overwater. Instead, mist the inside of the plastic bag or dome regularly to maintain high humidity. The soil should feel consistently moist, not soggy. Check it every couple of days.
- Air It Out: Even though they love humidity, your cuttings need a breath of fresh air now and then. Open the bag or dome for a few minutes each day to prevent fungal diseases. This is crucial!
Aftercare and What to Watch For
Once you start to see tiny new leaves emerging or feel a gentle tug when you lightly pull on a cutting, you’ve got roots! Congratulations! Now it’s time for a slight adjustment.
Gradually acclimate your new plant to lower humidity over a week or two by slowly opening the bag or dome for longer periods. Continue to keep the soil moist but not waterlogged. Once it’s clearly growing well, you can pot it up into a slightly larger container with good quality potting mix.
If your cuttings start to look mushy, turn black, or just wilt away even with proper watering, it’s likely rot. This usually happens from too much moisture and poor air circulation. Don’t be discouraged if a few don’t make it – it’s part of the learning process! Just clean out the pot and try again.
Keep Planting, Keep Growing!
Propagating plants is such a rewarding part of gardening. It teaches you patience, observation, and the incredible resilience of nature. Don’t be afraid to experiment, and remember that even the most experienced gardeners have their “failures.” Be kind to yourself, enjoy the process, and soon you’ll have a whole collection of Polyosma discolor to share! Happy propagating!
Resource:
https://identify.plantnet.org/k-world-flora/species/Polyosma%20discolor%20Baill./data