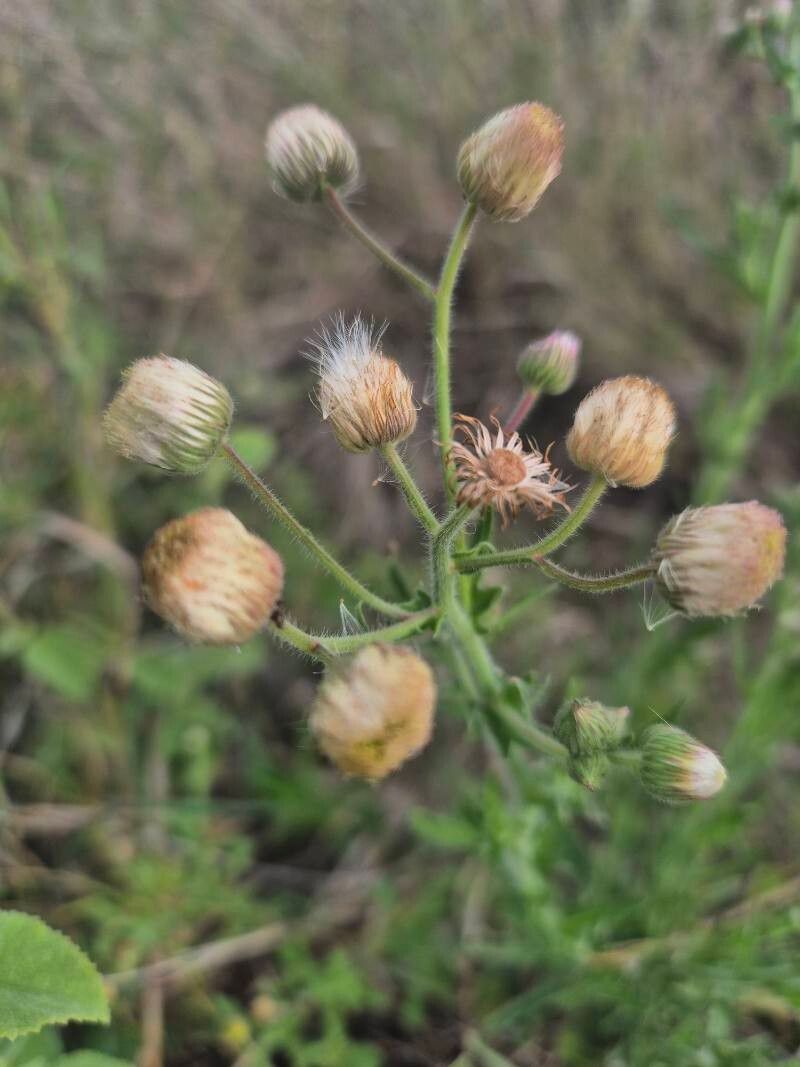
Oh, hello there! So glad you stopped by. Today, we’re diving into the delightful world of Nidorella aegyptiaca, often called the Egyptian Chamomile. If you love those cheerful, daisy-like flowers and their lovely scent, you’re in for a treat. Propagating these beauties is a wonderful way to fill your garden beds, window boxes, or even your kitchen herb pots with more of that sunshine. And the best part? I find Nidorella aegyptiaca to be quite a forgiving plant when it comes to propagation, making it a fantastic choice for beginners and seasoned gardeners alike. There’s a special kind of joy in watching a tiny cutting transform into a thriving plant, isn’t there?
The Best Time to Start
For the highest success rate, I always recommend starting your Nidorella aegyptiaca propagation in the late spring or early summer. This is when the plant is actively growing and has plenty of energy to put into developing new roots. You’ll want to select stems that are vigorous and healthy, but not yet flowering. Young, semi-hardwood cuttings tend to root the best.
Supplies You’ll Need
Gathering your supplies beforehand makes the whole process much smoother. Here’s what I always have on hand:
- Sharp Pruning Shears or a Clean Knife: For making clean cuts.
- Rooting Hormone (Optional but Recommended): A powdered or liquid rooting hormone can significantly boost your success rate.
- Well-Draining Potting Mix: A good blend is crucial. I usually go for a mix of equal parts potting soil, perlite, and coarse sand. This ensures good aeration and prevents waterlogging.
- Small Pots or Seed Trays with Drainage Holes: Clean pots are a must to prevent disease.
- Clear Plastic Bags or a Propagation Dome: To create a humid environment for your cuttings.
- Watering Can with a Fine Rose: For gentle watering.
- Labels and a Marker: To keep track of your projects!
Propagation Methods
Nidorella aegyptiaca is wonderfully versatile. Here are my go-to methods:
Stem Cuttings
This is my absolute favorite for this plant. It’s efficient and yields a good number of new plants.
- Take Cuttings: In the morning, when the plant is turgid, use your sharp shears to cut healthy stems about 4-6 inches long. Make the cut just below a leaf node (where a leaf attaches to the stem).
- Prepare the Cuttings: Gently remove the lower leaves from the cutting, leaving just a few at the top. This prevents them from rotting when they’re in the soil. If the remaining leaves are very large, I sometimes like to cut them in half horizontally to reduce water loss through transpiration.
- Apply Rooting Hormone (if using): Dip the cut end of the stem into your rooting hormone, tapping off any excess.
- Plant the Cuttings: Fill your small pots with the prepared well-draining mix. Make a small hole with your finger or a pencil and gently insert the cuttings, ensuring that at least one leaf node is below the soil surface. Firm the soil gently around the base of the cutting.
- Water Gently: Water the soil thoroughly but gently with your fine-rose watering can.
- Create Humidity: Cover the pots with a clear plastic bag or a propagation dome. Make sure the leaves don’t touch the plastic. You can use stakes to support the bag if needed. Place the pots in a bright location, but out of direct sunlight.
Water Propagation
For those who love to see the roots forming, water propagation is a fun alternative.
- Take Cuttings: Follow steps 1 and 2 from the stem cuttings method.
- Place in Water: Fill small jars or vases with clean water. Place 1-3 cuttings in each container, ensuring the leaf nodes are submerged but not the leaves themselves.
- Change Water Regularly: Change the water every 2-3 days to keep it fresh and prevent bacterial growth.
- Provide Light: Place the containers in a bright spot, out of direct sun.
- Plant When Rooted: Once you see healthy roots forming (about 1-2 inches long), carefully transplant the cuttings into pots filled with your well-draining potting mix.
The “Secret Sauce” (Pro Tips)
After years of coaxing plants into existence, I’ve learned a few little tricks that can make a big difference:
- Bottom Heat is Your Friend: If you can, especially for stem cuttings, placing your pots on a gentle heat mat can work wonders. It encourages root growth from below and significantly speeds up the process. My propagator usually sits on a low setting.
- Don’t Overwater, Ever! This is probably the biggest killer of cuttings. While they need humidity, soggy soil is an invitation for rot. The goal is consistently moist, not wet. I check the soil every day; if the surface feels dry to the touch, I give it a gentle drink.
- Patience is a Virtue, and So is a Prune: If you’re unsure if a cutting has rooted, resist the urge to yank it out! Instead, give it a gentle tug. If you feel resistance, roots are forming. If it comes out easily, it’s likely not rooted yet. Sometimes, a cutting will look a bit sad for a while, but give it time. And if you really want to encourage bushier growth on your established cuttings, a light pinching back once they have some new growth can be very beneficial.
Aftercare & Troubleshooting
Once your cuttings have developed a good root system (you’ll see roots emerging from the drainage holes, or the cuttings will show new, vigorous top growth), it’s time for them to stand on their own two feet.
- Acclimatize Gradually: If you’ve covered your cuttings with a plastic bag, gradually remove it over a few days. Start by opening it for a few hours, then leave it off for longer periods until the humidity level more closely matches your room.
- Watering: Water as you would an established plant, ensuring the soil dries out slightly between waterings.
- Light: Continue to provide bright, indirect light.
- Fertilizing: Wait a few weeks after the roots are well established before introducing a diluted liquid fertilizer.
Troubleshooting:
The most common issue you’ll face is rot. This is usually due to overwatering or poor drainage. If you see stems turning black and mushy at the soil line, or the leaves wilting despite the soil being wet, it’s a sign of rot. Unfortunately, there’s usually no coming back from this. To prevent it, always use clean pots, the right soil mix, and water mindfully. Another sign of failure can be cuttings that simply refuse to grow any new leaves. This might mean they haven’t rooted, or it could be a lack of light or warmth. Don’t be discouraged – sometimes a batch just doesn’t take, and that’s perfectly okay.
A Encouraging Closing
So there you have it, a little roadmap to multiplying your Nidorella aegyptiaca plants. Remember, gardening is a journey, and propagation is a beautiful part of that. Be patient with your little cuttings, celebrate every new leaf, and don’t be afraid to experiment. The joy of nurturing new life from a simple stem is truly one of life’s great pleasures. Happy propagating!
Resource: