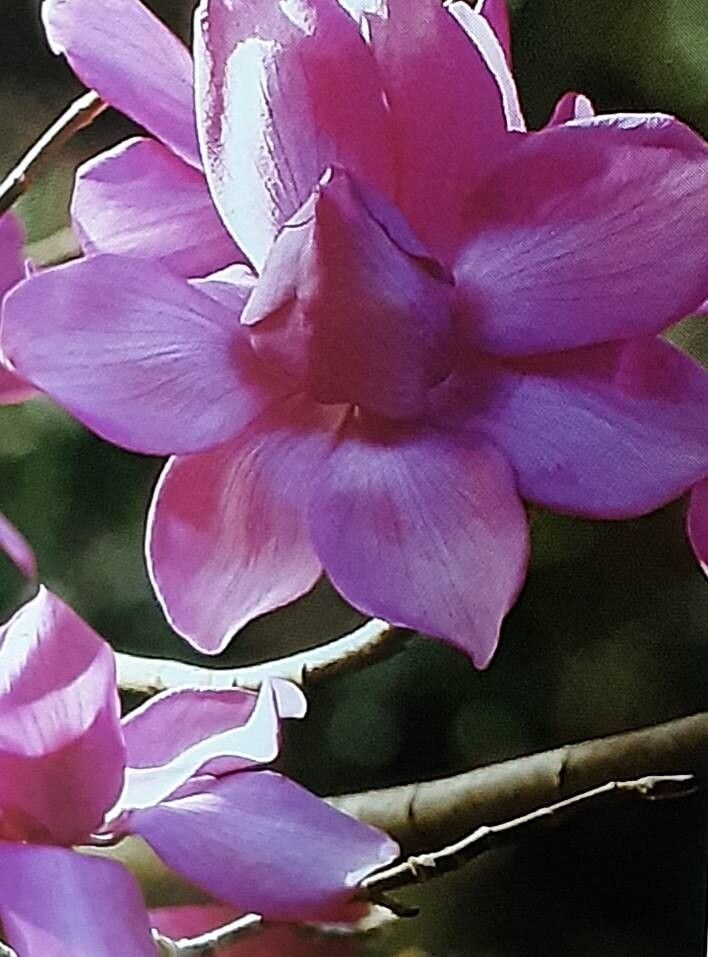
Hello, fellow plant enthusiasts! I’m so excited to dive into the world of Magnolia campbellii with you today. If you’ve ever seen one of these magnificent trees, adorned with their enormous, goblet-shaped blooms in shades of pink, white, and even a deep magenta, you know exactly why they capture our hearts. Their sheer grandeur is breathtaking! Propagating them is a truly special way to bring that magic into your own garden, or to share it with friends and family. Now, I’ll be honest, Magnolia campbellii isn’t always the easiest plant to find at nurseries, and propagating it can be a bit of a project. It’s definitely a rewarding challenge for those looking to expand their horticultural horizons!
The Best Time to Start
When it comes to Magnolia campbellii, patience is definitely a virtue, and so is timing. The ideal time to take cuttings is in mid-summer, typically late June to early August. Look for slightly woody, yet flexible stems – often called semi-hardwood cuttings. These are stems that have grown this year and have started to mature but aren’t completely hard and rigid. This stage gives them the best chance of forming roots.
Supplies You’ll Need
Let’s gather our tools and materials so we’re ready to go when the time is right:
- Sharp, clean pruning shears or a cutting knife: A clean cut is crucial to prevent disease.
- Rooting hormone: Look for one specifically for woody cuttings.
- Perlite and peat moss or a specialized seed-starting mix: A well-draining mix is absolutely key. I often use a 50/50 blend of perlite and peat moss myself.
- Small pots or a propagation tray: Ensure they have drainage holes.
- Plastic bags or a clear propagation lid: To create a humid environment.
- Soft, clean water: For misting.
- Optional: Bottom heat mat: This can significantly speed up root development.
Propagation Methods: Stem Cuttings
This is my go-to method for Magnolia campbellii. It’s reliable and gives you a good chance of success.
- Select your cuttings: As I mentioned, aim for semi-hardwood stems in mid-summer. Look for shoots about 6-8 inches long.
- Prepare the cuttings: Using your sharp shears, take cuttings just below a leaf node (where a leaf attaches to the stem). Remove the lower leaves, leaving just two or three at the top. If the leaves are very large, I like to cut them in half horizontally to reduce water loss.
- Apply rooting hormone: Dip the cut end of the stem into water, then gently shake off the excess. Dip it into the rooting hormone powder, tapping off any excess.
- Plant your cuttings: Fill your pots with your well-draining potting mix. Make a hole in the center with your finger or a pencil. Gently insert the cutting, ensuring the node where you removed the leaves is buried. Firm the soil gently around the base.
- Create humidity: Water the potting mix lightly. Cover the pot with a plastic bag, propping it up with a stick so it doesn’t touch the leaves, or place it in a propagation tray with a lid.
The “Secret Sauce” (Pro Tips)
Here are a few little tricks I’ve picked up over the years that can really make a difference:
- Don’t rush it – and don’t let those leaves touch the water! Once you’ve got your cuttings planted and covered, resist the urge to peek too often. The most important thing is maintaining that humid environment. And if you’re using a plastic bag, make sure it’s well-supported so the leaves aren’t sitting in any condensation. This can lead to rot.
- Bottom heat is your friend. If you can get your hands on a bottom heat mat, that’s a game-changer for woody cuttings like these. It encourages root development from below, mimicking how roots would naturally grow. Aim for a temperature around 70-75°F (21-24°C).
- Patience with drainage. When watering, err on the side of less rather than more. Magnolia roots are notoriously susceptible to rot if they sit in soggy soil. Let the top inch of soil dry out slightly between waterings.
Aftercare & Troubleshooting
Once you’ve potted up your cuttings, give them bright, indirect light. Avoid direct sun, which can scorch the young leaves. Keep them consistently moist but not waterlogged.
The real test comes in waiting for root development. This can take anywhere from a few weeks to a few months. You’ll know roots are forming when you see new leaf growth. You can also gently tug on the cutting; if there’s resistance, you’ve got roots! Once you see signs of rooting, you can gradually acclimate them to open air by removing the plastic cover for longer periods each day.
The biggest sign of failure is rot. If your cutting turns black and mushy, or shows signs of fungal growth, it’s likely gone. This usually means too much moisture or not enough air circulation. Don’t be discouraged if you lose a few – it happens to all of us!
A Little Encouraging Wrap-up
Bringing a new Magnolia campbellii to life from a cutting is a journey, and it’s absolutely worth the effort. Be patient with the process, give your cuttings the right conditions, and celebrate every little sign of progress. The reward of seeing those roots develop, and eventually growing your own magnificent magnolia, is truly unparalleled. Happy propagating!
Resource: