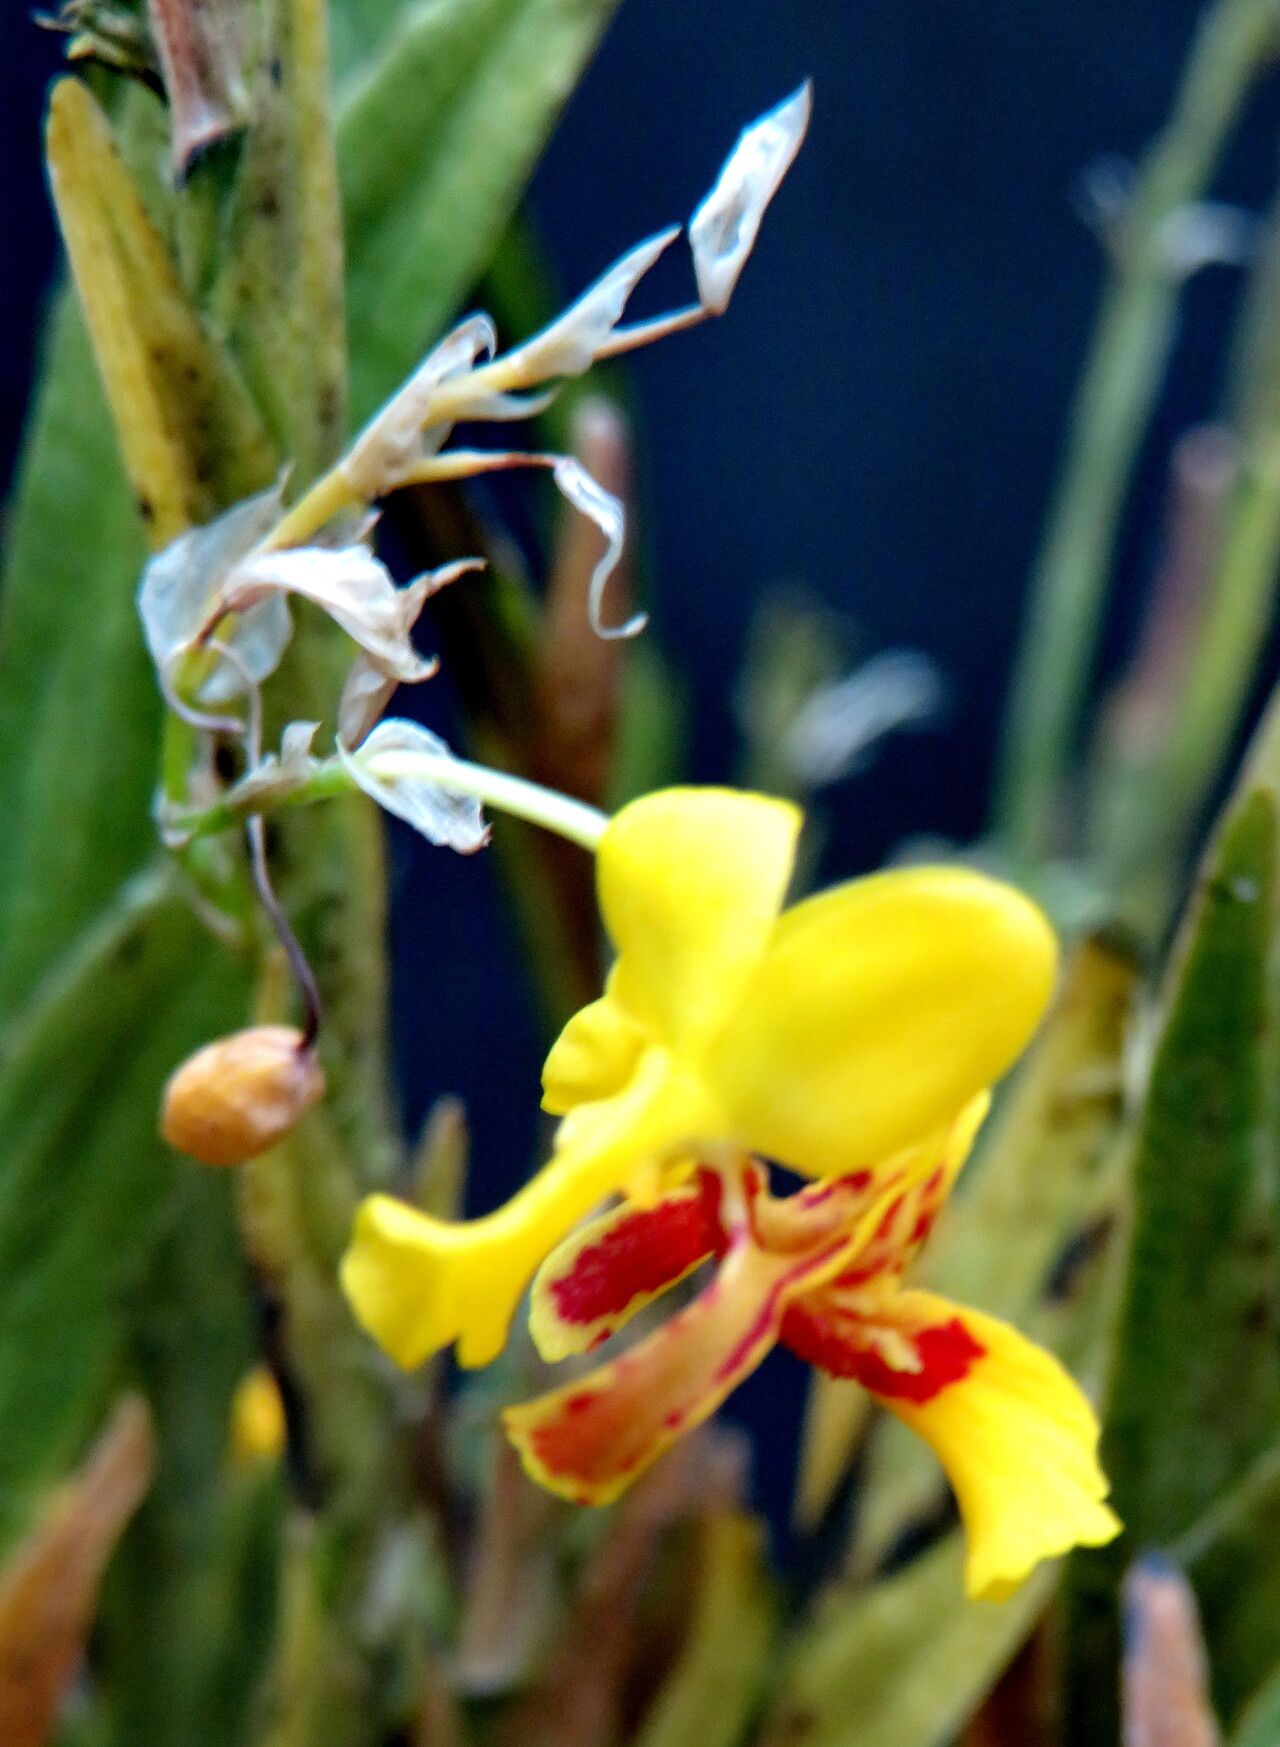
Well hello there, fellow plant enthusiast! Today, I want to chat about a truly delightful orchid: Lockhartia imbricata. If you’ve ever seen one of these beauties, you know what I mean. Their long, arching stems adorned with those unique, overlapping leaves are simply captivating. And the little blooms? Tiny, cheerful yellow flowers that pop out all along the stem – pure joy!
The really rewarding part? Bringing a new Lockhartia imbricata to life yourself. It’s like giving the gift of more beauty to your home, and honestly, it’s a fantastic way to expand your orchid collection without breaking the bank. Now, for beginners looking to dip their toes into orchid propagation, this one’s a bit of a friendly challenge. It’s not as straightforward as some other orchids, but with a little care and patience, you absolutely can master it.
The Best Time to Start
When it comes to Lockhartia imbricata, spring is your golden ticket. This is when the plant is bursting with new growth after its resting period. You’ll see those lively, green shoots appearing, and that’s your cue. Trying to propagate when the plant is stressed or actively flowering can be a bit tricky. So, look for signs of vigorous new development – that’s when you’ll get the best results.
Supplies You’ll Need
Gathering your supplies beforehand makes the whole process so much smoother. Here’s what you’ll want to have on hand:
- Sharp Pruning Shears or a Knife: Make sure they’re clean! We don’t want any nasty germs transferring.
- Sphagnum Moss: Good quality, long-fibered sphagnum moss is excellent for retaining moisture.
- Perlite or Orchid Bark: A little aeration goes a long way.
- A Well-Draining Potting Mix: I often use a blend of bark, perlite, and a touch of sphagnum.
- Rooting Hormone (Optional but Recommended): A little boost can really help things along.
- Clear Plastic Bags or a Small Propagator: To create that humid environment.
- Watering Can with a Fine Rose: For gentle watering.
Propagation Methods
Lockhartia imbricata is best propagated through stem cuttings or division. Let’s break those down.
Stem Cuttings:
This is my go-to method for Lockhartia.
- Select a Healthy Stem: Look for a mature, yet still somewhat flexible, stem. It should have at least two or three sets of those distinctive leaves.
- Make the Cut: With your clean shears, cut the stem just below a leaf node. This is crucial as that’s where new roots will emerge. You want a cutting that’s at least 4-6 inches long.
- Prepare the Cutting: Gently remove any lower leaves that might be submerged in your growing medium, but leave the top ones. If you’re using rooting hormone, dip the cut end into it. A little goes a long way!
- Planting: Lightly dampen your sphagnum moss or potting mix. Gently insert the cut end of your Lockhartia cutting into the medium, making sure the leaf node is just touching it. You can use a small stake to help it stand upright if needed.
- Provide Humidity: This is where the plastic bag or propagator comes in. Place the pot inside a clear plastic bag, sealing it loosely, or close the lid of your propagator. This creates a mini-greenhouse effect, which is vital for the cutting to root.
Division:
If your Lockhartia has become quite large and bushy, you might have more than one growth or “pseudobulb” clump.
- Gently Remove from Pot: Carefully take the entire plant out of its pot.
- Examine the Roots: Gently tease away some of the old potting mix to see how the plant is divided. You’re looking for natural breaks where you can separate sections.
- Make the Division: With clean hands or a blunt tool (sometimes even a sharp knife is needed for tougher roots), carefully separate the plant into sections. Each division should have at least two pseudobulbs and a healthy root system.
- Pot Up: Plant each division into its own pot with fresh, well-draining orchid mix.
The “Secret Sauce” (Pro Tips)
Here are a few things I’ve learned over the years that really make a difference:
- The Water Test: If you’re working with cuttings and a very damp medium, be mindful of drainage. Avoid letting the cut end sit in soggy conditions, as this is a fast track to rot. The medium should be moist, not waterlogged.
- Bottom Heat is Your Friend: For cuttings, placing the pot on a gentle heated propagator mat can dramatically speed up root development. The warmth encourages root growth without stressing the leaves. Just make sure it’s not too hot – think lukewarm bath water.
- Patience with Overlapping Leaves: You’ll notice the leaves of Lockhartia imbricata are naturally layered. Don’t be tempted to pull them apart to see what’s underneath. They provide protection and support for the stem. Let them be!
Aftercare & Troubleshooting
Once you see tiny white roots starting to emerge from your cutting or division, it’s a sign of success! At this point, you can gradually increase air circulation by opening the plastic bag a little more each day. It’s still important to keep the humidity high, but you don’t want to shock the new roots with too much moisture all at once.
The most common problem you might encounter is rot. If the stem cutting turns black and mushy, or if you see fuzzy grey growth on the medium, it’s usually a sign of too much moisture and not enough air. If this happens, unfortunately, that cutting is likely lost. Don’t get discouraged – remove it, clean up the area, and try again. Sometimes, a division might struggle if it didn’t have enough roots. Keep it in slightly less light and water very sparingly until you see new leaf growth.
A Little Encouragement
Propagating any plant takes a bit of learning, and Lockhartia imbricata is no exception. But believe me, the satisfaction of seeing a new plant thrive from your efforts is absolutely wonderful. Be patient with yourself and your new green babies. Observe them, learn from them, and most importantly, enjoy the journey of growing more beauty. Happy propagating!
Resource:
https://identify.plantnet.org/k-world-flora/species/Lockhartia%20imbricata%20(Lam.)%20Hoehne/data