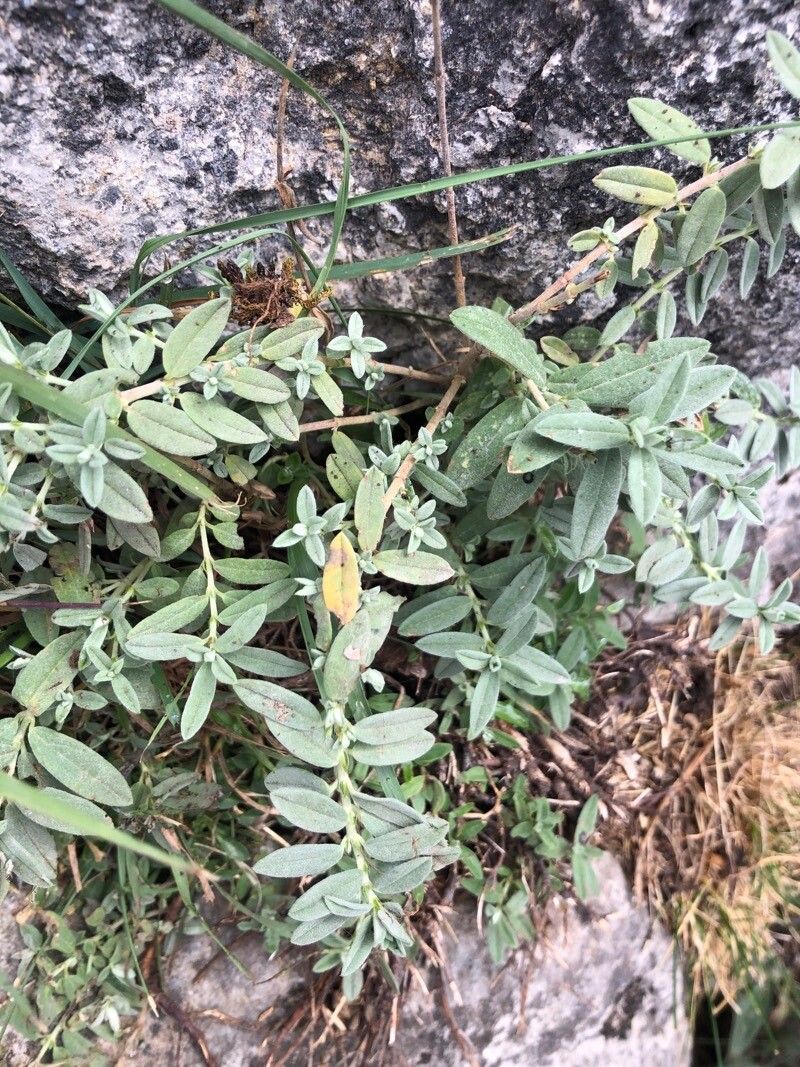
Oh, hello there! Come on in, grab a mug. I’m so glad you asked about Helianthemum croceum. Those little rockroses, with their cheerful, sun-kissed blooms, are just a delight, aren’t they? They’re like sunshine for your garden path, especially if you have a sunny, well-drained spot. And the best part? They’re surprisingly easy to share! Propagating them yourself is incredibly rewarding. You get more of those lovely pops of color, and it’s a wonderful way to feel connected to your garden. Honestly, for a beginner, this is a fantastic plant to start with. You don’t need to be a seasoned pro to have success here.
The Best Time to Start
For Helianthemum croceum, late spring to early summer is your golden window. Think of it this way: the plant has finished its main spring flush of growth, and the new shoots are firm enough to handle, but still pliable. This is when they have the most energy to put into making roots. Waiting until the stems are really woody is generally too late for the easiest propagation.
Supplies You’ll Need
Let’s get our tools ready for action:
- Sharp, clean pruning shears or a sharp knife: For making nice, clean cuts.
- Rooting hormone (optional but recommended): A little boost never hurt, especially for slightly trickier cuttings. Powder or gel forms work well.
- A well-draining potting mix: I like a mix of equal parts perlite and peat moss or a good quality seed-starting mix. You want good aeration so those little roots don’t drown.
- Small pots or seed trays: Clean ones are key!
- A dibber or a pencil: To make holes for your cuttings.
- A plastic bag or propagation dome: To keep humidity consistent.
- Watering can with a fine rose: To avoid disturbing your cuttings.
Propagation Methods
There are a couple of tried-and-true ways to get more Helianthemum beauties. I find softwood cuttings are usually the most reliable.
Stem Cuttings (Softwood Cuttings)
- Select your stems: In late spring or early summer, look for healthy, non-flowering shoots. You want stems that have started to harden off a bit but are still flexible – they shouldn’t be floppy green growth or thick and woody.
- Take your cuttings: Using your sharp shears, cut stems into lengths of about 5-7 cm (2-3 inches). Make your cuts just below a leaf node (where the leaves attach to the stem).
- Prepare the cuttings: Gently remove the lower leaves. You want to bare about an inch of the stem at the bottom. If any leaves are very large, you can also trim them in half to reduce water loss.
- Apply rooting hormone (optional): Dip the cut end of the stem into your rooting hormone, tapping off any excess.
- Plant your cuttings: Fill your clean pots or trays with your pre-moistened potting mix. Use your dibber or pencil to create small holes, then gently insert the cuttings. Make sure there are at least two leaf nodes buried in the soil.
- Water gently: Water thoroughly but gently, so the soil settles around the cuttings.
- Create humidity: Cover the pots with a clear plastic bag or a propagation dome. You want to create a mini-greenhouse effect. Make sure the plastic doesn’t touch the leaves if possible – poke it up with some twigs if needed.
Water Propagation (Simple but sometimes less successful for woodies)
For Helianthemum, I’d lean towards soil, but if you’re curious:
- Prepare cuttings as above, but you don’t need to remove as many lower leaves if they will be well above the water line.
- Place the cuttings in a jar or glass of clean water, ensuring that the leaf nodes where you removed leaves are submerged.
- Crucially, ensure no leaves are submerged in the water. Rot is your enemy here!
- Change the water every few days to keep it fresh. Roots should appear in a few weeks. Once they are about an inch long, carefully transplant them into soil.
The “Secret Sauce” (Pro Tips)
Here are a few little tricks I’ve picked up over the years that make a big difference:
- Bottom Heat is Your Friend: If you have a greenhouse or can spare a warm spot, radiant heat from below can really speed up root formation. A heated propagator mat works wonders. It encourages root growth without potentially scorching the developing leaves.
- Don’t Overcrowd: Give your cuttings a little breathing room. If they’re too close together, they compete for light and air, and it makes them more susceptible to fungal issues. A little space encourages stronger growth.
- Patience, Plant Parent: I know it’s tempting to constantly fiddle, but try to resist. Resist the urge to pull them up and check for roots too early! You can often see roots peeking out the drainage holes, or the cuttings might start to show new growth.
Aftercare & Troubleshooting
Once your cuttings have taken hold – usually after 3-6 weeks – you’ll start to see signs of new growth. Gently tug on a cutting; if there’s resistance, you’ve got roots!
- Acclimatize: Gradually remove the plastic cover over a few days to let them adjust to normal humidity.
- Potting Up: Once they have a decent root system, and you can hold the root ball together when you lift the pot, it’s time to pot them into slightly larger individual pots using a good quality potting mix.
- Watering: Keep them consistently moist but not waterlogged. Let the top inch of soil dry out between waterings.
- Light: Place them in a bright spot, but avoid direct, intense sun for the first few weeks.
Troubleshooting:
- Wilting/Drooping: This can be normal as cuttings settle in, but if it persists, it might be too dry or too hot. Make sure your humidity is still decent.
- Rotting stems: This is the most common issue and is usually down to too much moisture and poor drainage. Ensure your potting mix is airy, and don’t overwater. Make sure those leaves stay out of any standing water. Discard any cuttings that show blackening or mushy stems.
A Encouraging Closing
Propagating Helianthemum croceum is such a satisfying endeavor. It’s a wonderful way to multiply the joy these plants bring to your garden. Be patient with the process, trust your instincts, and don’t be discouraged if every single cutting doesn’t make it. That’s just part of the gardening adventure! Enjoy watching those tiny new plants take root and grow. Happy gardening!
Resource:
https://identify.plantnet.org/k-world-flora/species/Helianthemum%20croceum%20(Desf.)%20Pers./data