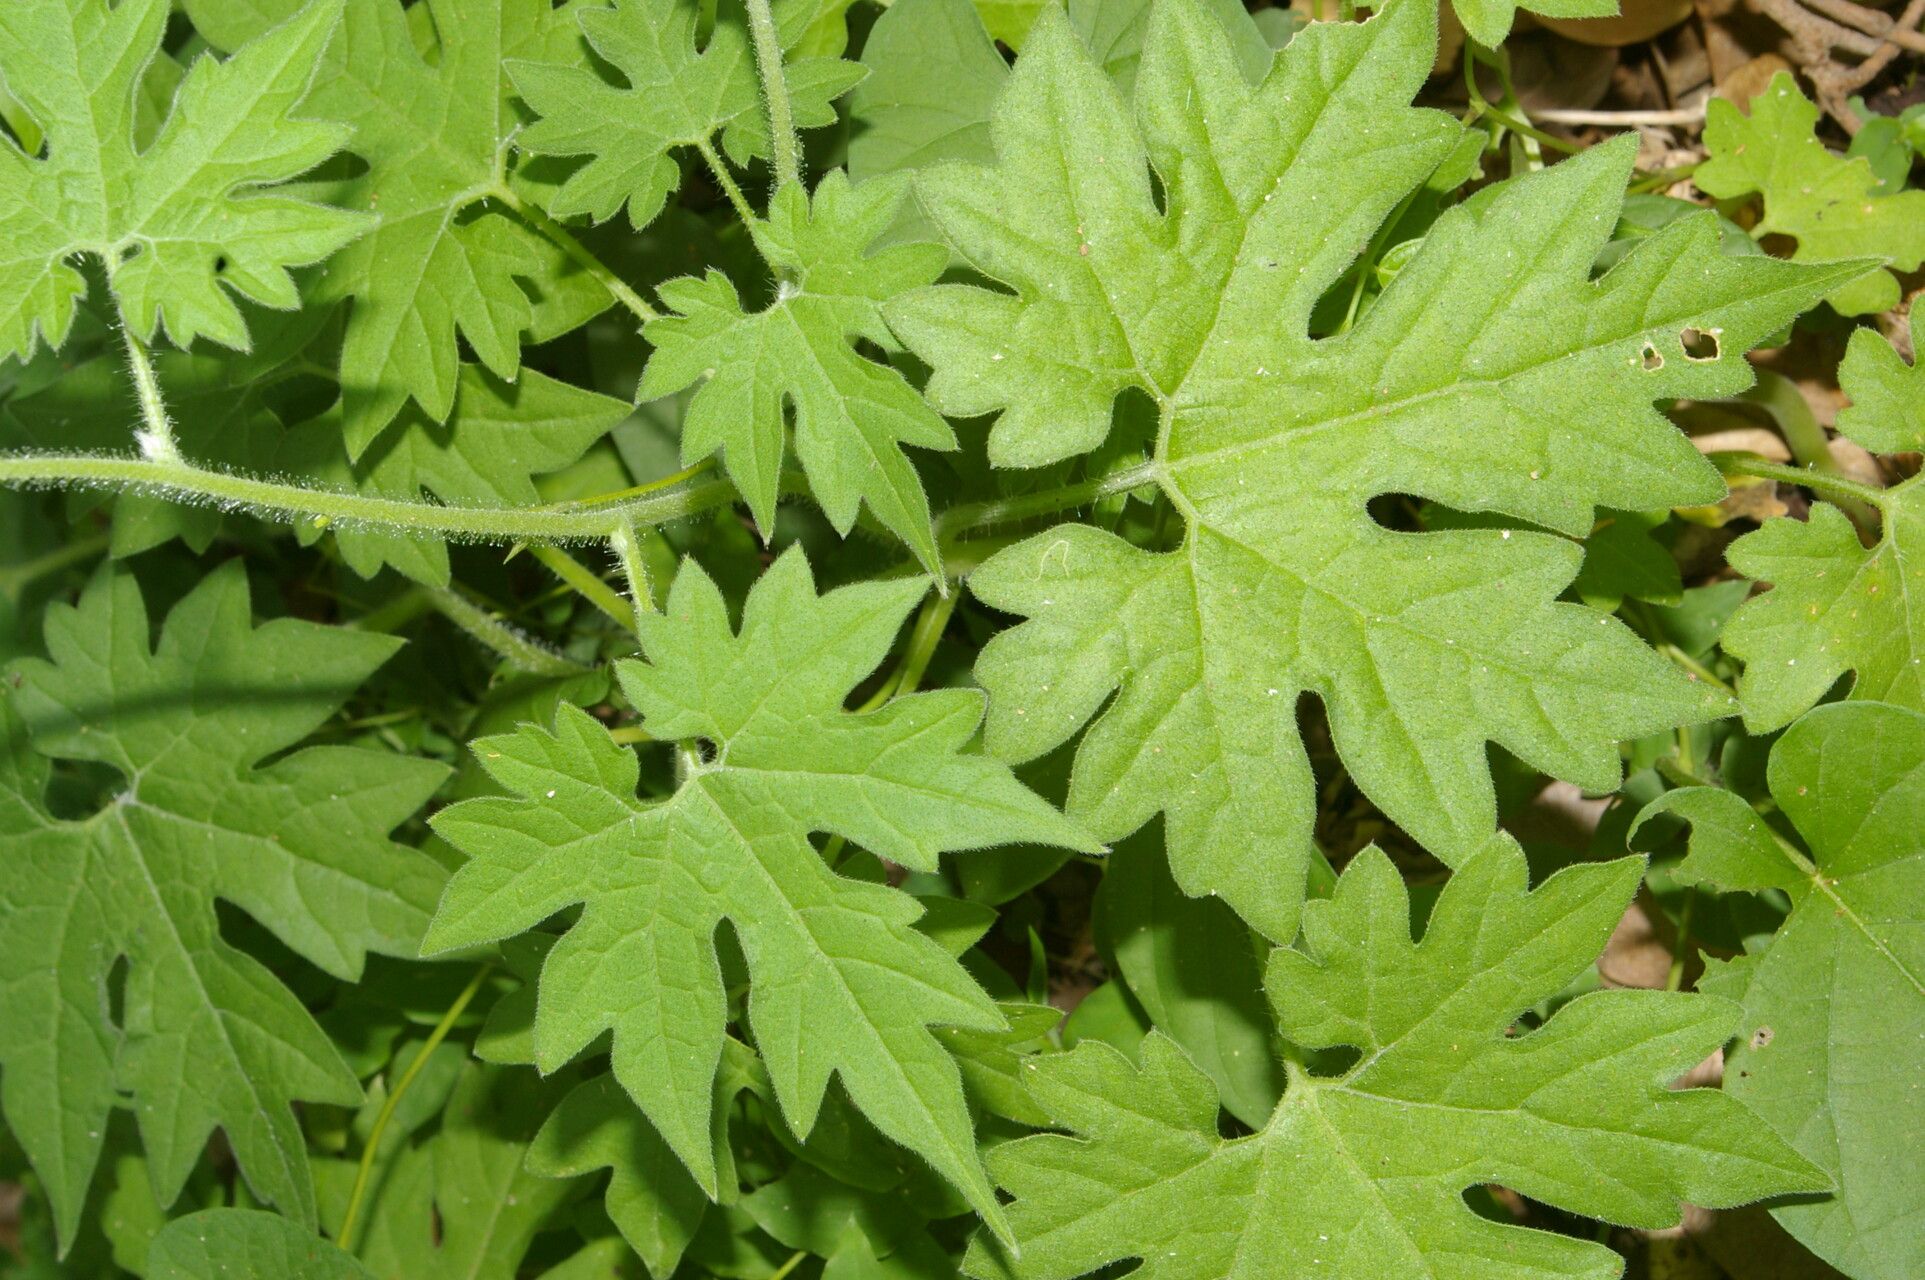
Hey there, fellow plant lovers! Today, I want to talk about a truly special vine that’s been capturing my heart for years: Gronovia scandens. If you’re looking for something a little different, a plant that offers delicate, bell-shaped flowers and a charming vining habit, then you’re in for a treat. Propagating it is not only incredibly rewarding, but it also allows you to share this beauty with friends or expand your own collection. While Gronovia scandens isn’t the most common houseplant, I find it to be quite manageable, even for those just starting their propagation journey.
The Best Time to Start
When it comes to getting the best results with your Gronovia scandens cuttings, imagine nature at its most vibrant. That’s usually during the active growing season, which for most of us means late spring through summer. This is when the plant has plenty of energy to dedicate to healing and root development. You’re looking for healthy, new growth that’s not too woody but has started to firm up a bit. That soft, floppy new tip is often a bit too fragile, while a severely hardened stem might struggle to root.
Supplies You’ll Need
Gathering your tools beforehand makes the whole process much smoother. Here’s what I typically have on hand:
- Sharp, clean pruning shears or a knife: For taking your cuttings. Sterilizing them with rubbing alcohol is a good habit!
- Rooting hormone (optional but recommended): A powder or gel can give your cuttings a helpful boost.
- Well-draining potting mix: I like a blend of good quality potting soil mixed with perlite and maybe some coco coir for aeration.
- Small pots or propagation trays: Clean containers are key to preventing disease.
- Plastic bag or a clear plastic dome: To create a humid environment for your cuttings.
- Spray bottle: For misting your cuttings.
- Water: For water propagation, if you choose that route.
Propagation Methods
Gronovia scandens is wonderfully forgiving, and I’ve had success with a couple of main methods.
Stem Cuttings: My Go-To
This is my preferred method for Gronovia scandens. It’s straightforward and usually yields great results.
- Select your cutting: Look for a healthy stem that’s about 4-6 inches long. Find a point just below a leaf node (where the leaf attaches to the stem). This is where roots are most likely to form.
- Make the cut: Using your sterilized shears or knife, make a clean cut directly below that leaf node.
- Prepare the cutting: Gently remove the lower leaves, leaving just a couple of sets at the top. This prevents them from rotting in the soil. If your leaves are quite large, you can even cut them in half to reduce water loss through transpiration.
- Apply rooting hormone (optional): Dip the cut end of the stem into your rooting hormone, tapping off any excess.
- Plant the cutting: Make a small hole in your prepared potting mix with a pencil or skewer. Insert the cut end of the stem into the hole, making sure the node is buried in the soil. Gently firm the soil around the stem.
- Create humidity: Water the soil lightly. Then, loosely cover the pot with a plastic bag secured with a rubber band, or place it under a clear plastic dome. Make sure the leaves aren’t pressing against the plastic.
- Place it right: Position the pot in a spot with bright, indirect light. Avoid direct sun, which can scorch your new baby plant.
Water Propagation: A Visual Treat
If you enjoy seeing the root development, water propagation is a lovely option.
- Take cuttings: Follow steps 1-3 from the stem cutting method.
- Place in water: Put your cuttings into a clean jar or glass filled with room-temperature water.
- The crucial bit: Ensure that no leaves are submerged in the water. This is a common mistake that leads to rot. If a leaf is too low, trim it off.
- Change the water regularly: Refresh the water every few days, or whenever it looks cloudy, to keep it clean and oxygenated.
- Location, location, location: Like the soil cuttings, place your jar in a spot with bright, indirect light.
- Transplanting: Once you see a good network of roots – I usually wait until they’re at least an inch long – you can carefully transplant them into your well-draining potting mix. Treat them gently, as young roots are delicate.
The “Secret Sauce” (Pro Tips)
Here are a few tricks I’ve learned over the years that can really give your Gronovia scandens cuttings an edge:
- Bottom Heat is Your Friend: Gronovia scandens loves warmth, especially for root development. Placing your pots on a seedling heat mat can significantly speed up the rooting process. You don’t want it scorching hot, just pleasantly warm to the touch.
- Patience with the Leaves: If you’re using stem cuttings and notice your leaves looking a bit limp, don’t panic. It’s natural for them to droop a little as the cutting tries to establish itself. They should perk up once roots start forming. Resist the urge to overwater!
- Don’t Over-Pot: When you first pot up your rooted cuttings, use a relatively small pot. A pot that’s too large can hold too much moisture, increasing the risk of rot. They can always be moved up to a bigger container as they grow.
Aftercare & Troubleshooting
Once your Gronovia scandens cuttings have developed a healthy root system (you’ll see new growth emerging from the top, or feel a gentle tug when you test the stem), it’s time to treat them like the precious new plants they are!
- Gradual Acclimation: If you’ve been using a plastic bag or dome, start gradually introducing your new plant to the drier air. Remove the cover for an hour or two each day, slowly increasing the time until it’s fully acclimated.
- Water Wisely: Water your new plant thoroughly when the top inch of soil feels dry. Avoid letting it sit in soggy conditions.
- Light Needs: Continue to provide bright, indirect light. As the plant matures, it can handle a bit more direct sun, but always introduce it gradually to prevent scorching.
The most common issue you might encounter is rot, which often looks like mushy, dark stems or blackened leaf bases. This is usually a sign of overwatering or poor air circulation. If you spot rot, act fast. You might be able to salvage a healthy section of the stem by taking a new cutting and starting over, ensuring better watering and drainage this time.
A Encouraging Closing
Propagating Gronovia scandens is a journey, and like any good garden endeavor, it’s about the process as much as the outcome. Be patient with your cuttings, observe them closely, and celebrate every little sign of progress. Don’t be discouraged if you have a few failures along the way – that’s just part of learning! The joy of watching a tiny stem transform into a beautiful, blooming vine is truly special. Happy propagating!
Resource:
https://identify.plantnet.org/k-world-flora/species/Gronovia%20scandens%20L./data