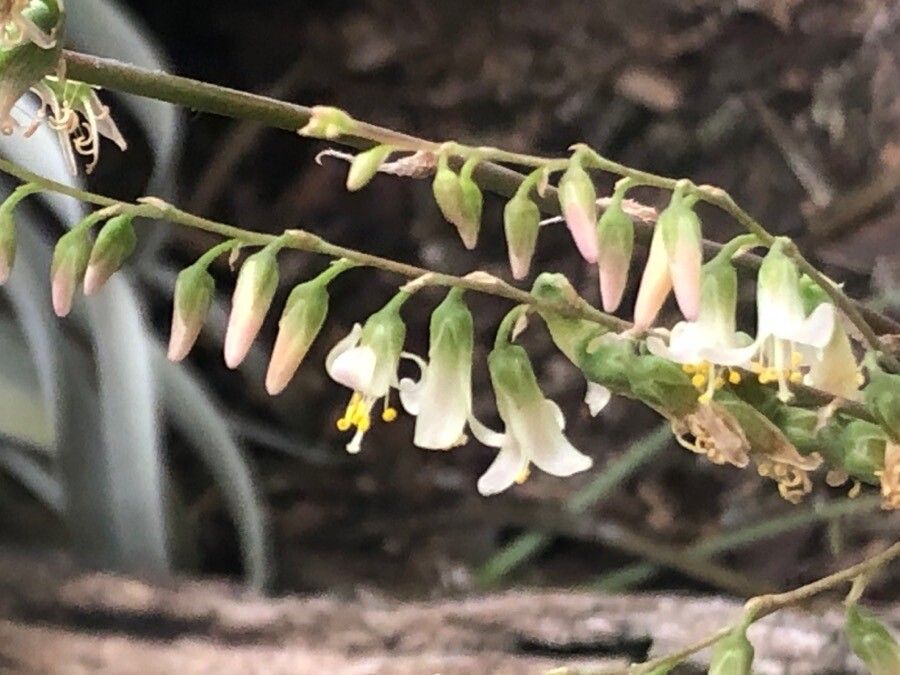
Hello, fellow plant lovers! Today, I’m absolutely thrilled to dive into a topic near and dear to my heart: propagating Fosterella penduliflora. If you’ve ever admired this plant’s delicate, arching leaves, you know it’s a real showstopper. And the best part? You can multiply that beauty for your own collection or to share with gardening friends. It’s a truly rewarding experience, and honestly, I think you’ll find it surprisingly accessible, even if you’re just dipping your toes into the world of propagation.
The Best Time to Start
Timing is everything, right? For Fosterella penduliflora, the sweet spot for propagating is definitely during its active growing season. Think spring and summer. This is when the plant has the most energy to put into developing new roots and shoots. You’ll see the most vigorous growth and the highest success rates when you start then. Trying to propagate during its dormant period is just asking for disappointment.
Supplies You’ll Need
Here’s what you’ll want to have on hand to make this process as smooth as possible:
- Sharp, sterile pruning shears or a knife: Cleanliness is key to preventing disease.
- Potting mix: A well-draining mix is crucial. I love a blend of equal parts perlite, peat moss, and good quality potting soil. For bromeliads like this, a mix formulated for them is even better.
- Small pots or trays: Whatever you can easily manage, make sure they have drainage holes.
- Rooting hormone (optional but recommended): This can give your cuttings a little nudge. I prefer a powder form for ease of use.
- Watering can or spray bottle: For gentle watering.
- Labels: To keep track of what you’ve propagated and when!
Propagation Methods
Fosterella penduliflora is a bit of a team player when it comes to propagation. It readily produces pups, which are baby plants that grow from the base of the mother plant. This is by far the easiest and most reliable way to get more of these beauties.
Method: Offsetting (Pup Division)
- Identify the Pups: Look around the base of your mature Fosterella penduliflora. You’ll see small, new plants emerging. These are your pups! They’ll typically have their own little leaves.
- Prepare Your Tools: Make sure your pruning shears or knife are clean and sharp.
- Gently Separate: Carefully dig around the base of a pup. You want to create enough space to get to its base where it connects to the mother plant. With your clean tool, you can either gently wiggle it free if it’s already separating, or make a clean cut through the connecting rhizome. Try to get a pup that already has at least a few leaves and ideally a small root system attached.
- Inspect the Pup: Once separated, look at the base of your pup. If it has any roots already, that’s fantastic! If not, don’t worry, it will grow them.
- Potting Up: Fill your small pot with your well-draining potting mix. Make a small hole in the center and place the base of the pup in it. Gently firm the soil around it.
- Initial Watering: Water the newly potted pup lightly. You don’t want to drown it, just get the soil nicely moist.
The “Secret Sauce” (Pro Tips)
Here are a couple of tricks I’ve picked up over the years that really make a difference:
- Don’t overwater the pups: This is the most common mistake! For the first week or two, err on the side of slightly too dry rather than too wet. New divisions can be susceptible to rot if the soil stays soggy. A light misting every few days might be all they need initially.
- Give them a little warmth: If you have a seedling heat mat, placing your pots on it can really speed up root development. The gentle bottom heat mimics ideal growing conditions and gives those roots a kickstart. Just make sure the mat isn’t too hot – lukewarm is perfect.
- Allow for air circulation: Good airflow helps prevent fungal issues. Don’t crowd your new pups too tightly together, and ensure your potting mix isn’t compacted, allowing air to reach the roots.
Aftercare & Troubleshooting
Once your pups are potted, place them in a spot with bright, indirect light. Too much direct sun can scorch their delicate leaves. Keep the soil consistently moist but never waterlogged. You should start to see signs of new growth – unfurling leaves or the beginnings of roots pushing through the drainage holes – within a few weeks.
The most common problem you might encounter is rot. If you see mushy, brown stems or leaves that are wilting and discolored, it’s a sign of too much moisture. In this case, carefully remove the affected pup, discard it if it’s too far gone, or gently try to salvage any healthy parts by drying them out and repotting in fresh, drier soil. Damping off can also occur, which is a fungal disease that affects seedlings and young plants. Good drainage and avoiding overwatering are your best defenses.
A Little Patience Goes a Long Way
Propagating Fosterella penduliflora is a wonderful way to connect with your plants and expand your green collection. Don’t be discouraged if your first attempt isn’t perfect. Gardening is a journey, and every plant you grow, every pup you divide, is a step in the right direction. Enjoy the process, celebrate the successes, and before you know it, you’ll have a whole constellation of those lovely Fosterella plants! Happy propagating!
Resource: