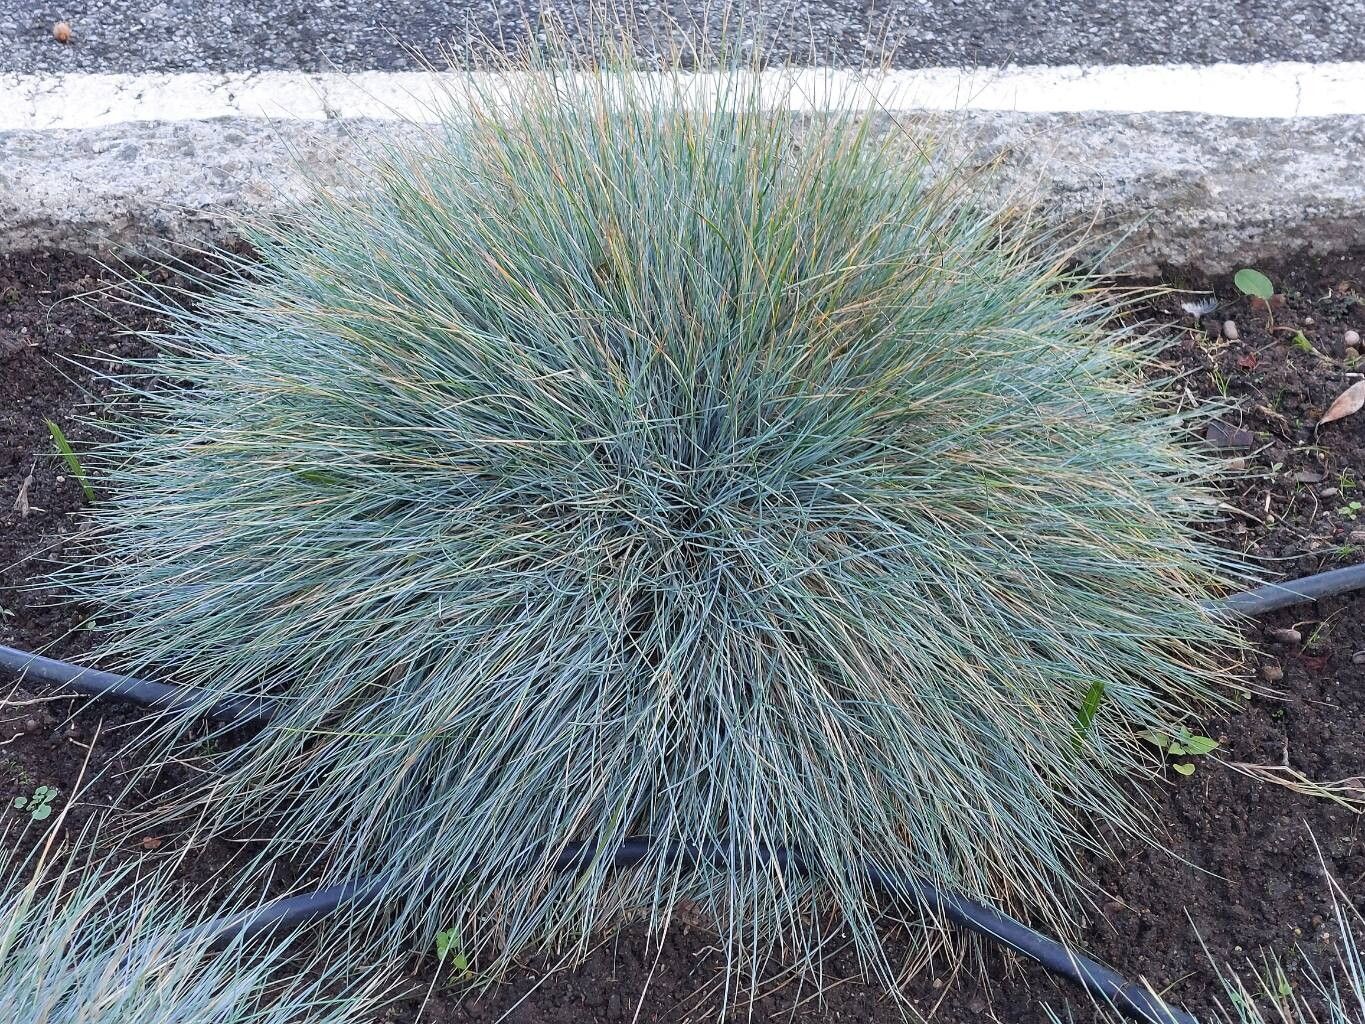
Hello, fellow garden enthusiasts! Today, I want to chat about one of my absolute favorite blue beauties: Festuca glauca, or the Blue Fescue. This little grass is just a gem, with its striking silvery-blue foliage forming neat, compact mounds. It brings a touch of coolness to any sunny spot, whether you’re planting it in borders, rock gardens, or even containers.
Now, if you’ve ever admired its beauty and thought, “I wish I had more of that!”, you’re in luck! Propagating Blue Fescue is a truly rewarding experience. And guess what? It’s actually quite beginner-friendly. You don’t need to be a seasoned pro to get started. Think of it as nurturing new life, a wonderfully fulfilling journey right in your own garden.
The Best Time to Start
When it comes to Blue Fescue, timing is everything for the best results. I’ve found the late spring or early summer is absolutely ideal. This is when the plant is actively growing and has plenty of energy reserves. You can also have success with this a little later in the season, especially if you’re using division, but starting when things are really waking up gives your new plants the best head start.
Supplies You’ll Need
Before we dive in, let’s gather our toolkit. You won’t need anything too fancy, just the essentials:
- Sharp pruning shears or a clean knife: For making clean cuts.
- Well-draining potting mix: A cactus or succulent mix works brilliantly for this. You can also create your own by mixing equal parts compost and perlite or coarse sand.
- Small pots or seed trays: Ensure they have drainage holes!
- Watering can or spray bottle: For gentle watering.
- (Optional) Rooting hormone: This can give your cuttings an extra boost, especially if you have it on hand.
- A trowel: For handling the soil and plants.
Propagation Methods
The most straightforward way to propagate Blue Fescue is through division. It’s like giving your established plant a little haircut and a fresh start. Here’s how we do it:
- Digging Up: In late spring or early summer, when the soil is moist but not waterlogged, gently dig around the base of your mature Blue Fescue. You want to lift the entire root ball out of the ground.
- Dividing the Clumps: Once the plant is out, gently shake off some of the excess soil. You’ll see that the plant naturally forms multiple crowns. Using your hands, carefully pull the root ball apart into smaller sections. Each section should have a good amount of roots and at least a few leafy shoots. If the root ball is really dense, you might need to use your clean knife or trowel to help you separate the sections.
- Replanting: Immediately replant your divisions in their new homes. Dig a hole roughly the same size as the root ball of your division. Place the division in the hole so the crown of the plant is at soil level.
- Watering In: Water thoroughly. The goal is to settle the soil around the roots and reduce transplant shock.
You can also try seed propagation, but it can be a bit slower and sometimes your seedlings might not come true to the parent plant’s intense blue color. For quicker results, division is my go-to.
The “Secret Sauce” (Pro Tips)
Here are a couple of things I’ve learned over the years that can really make a difference:
- Don’t Overwater, Especially After Division: While you want to keep newly divided plants moist, soggy soil is the enemy. Blue Fescue hates wet feet. I always ensure the soil is just damp to the touch, not saturated. If it looks dry on the surface, give it a light watering.
- Shelter from Intense Sun Initially: After dividing and replanting, your new little Fescues might be a bit delicate. While they love full sun once established, giving them a spot with some afternoon shade for the first week or two can prevent them from drying out too quickly.
Aftercare & Troubleshooting
Once your divisions are replanted and watered, continue to keep them consistently moist for the first few weeks. As they start to show new growth – and you’ll see those lovely blue blades extending – you can gradually reduce watering to their regular schedule. Blue Fescue is quite drought-tolerant once it’s settled in.
What about problems? The most common issue you might encounter is rot, usually caused by overwatering. You’ll notice the foliage turning yellowish or mushy, often starting from the base. If you see this, act fast! Gently pull the affected plant out, trim away any rotted parts with sterile shears, and replant in fresh, drier potting mix. Ensure good drainage and a lighter watering schedule. Another sign of stress could be browning tips, which can be due to underwatering, poor soil, or sometimes even just wind burn on very exposed plants.
A Little Patience Goes a Long Way
There you have it! Propagating Blue Fescue is a wonderfully achievable project for any gardener. Don’t be discouraged if your first attempt isn’t perfect. Gardening is all about learning and observing. Be patient, enjoy the process of nurturing these beautiful blue grasses, and soon you’ll have more stunning mounds of Festuca glauca to grace your garden. Happy gardening!
Resource:
https://identify.plantnet.org/k-world-flora/species/Festuca%20glauca%20Vill./data