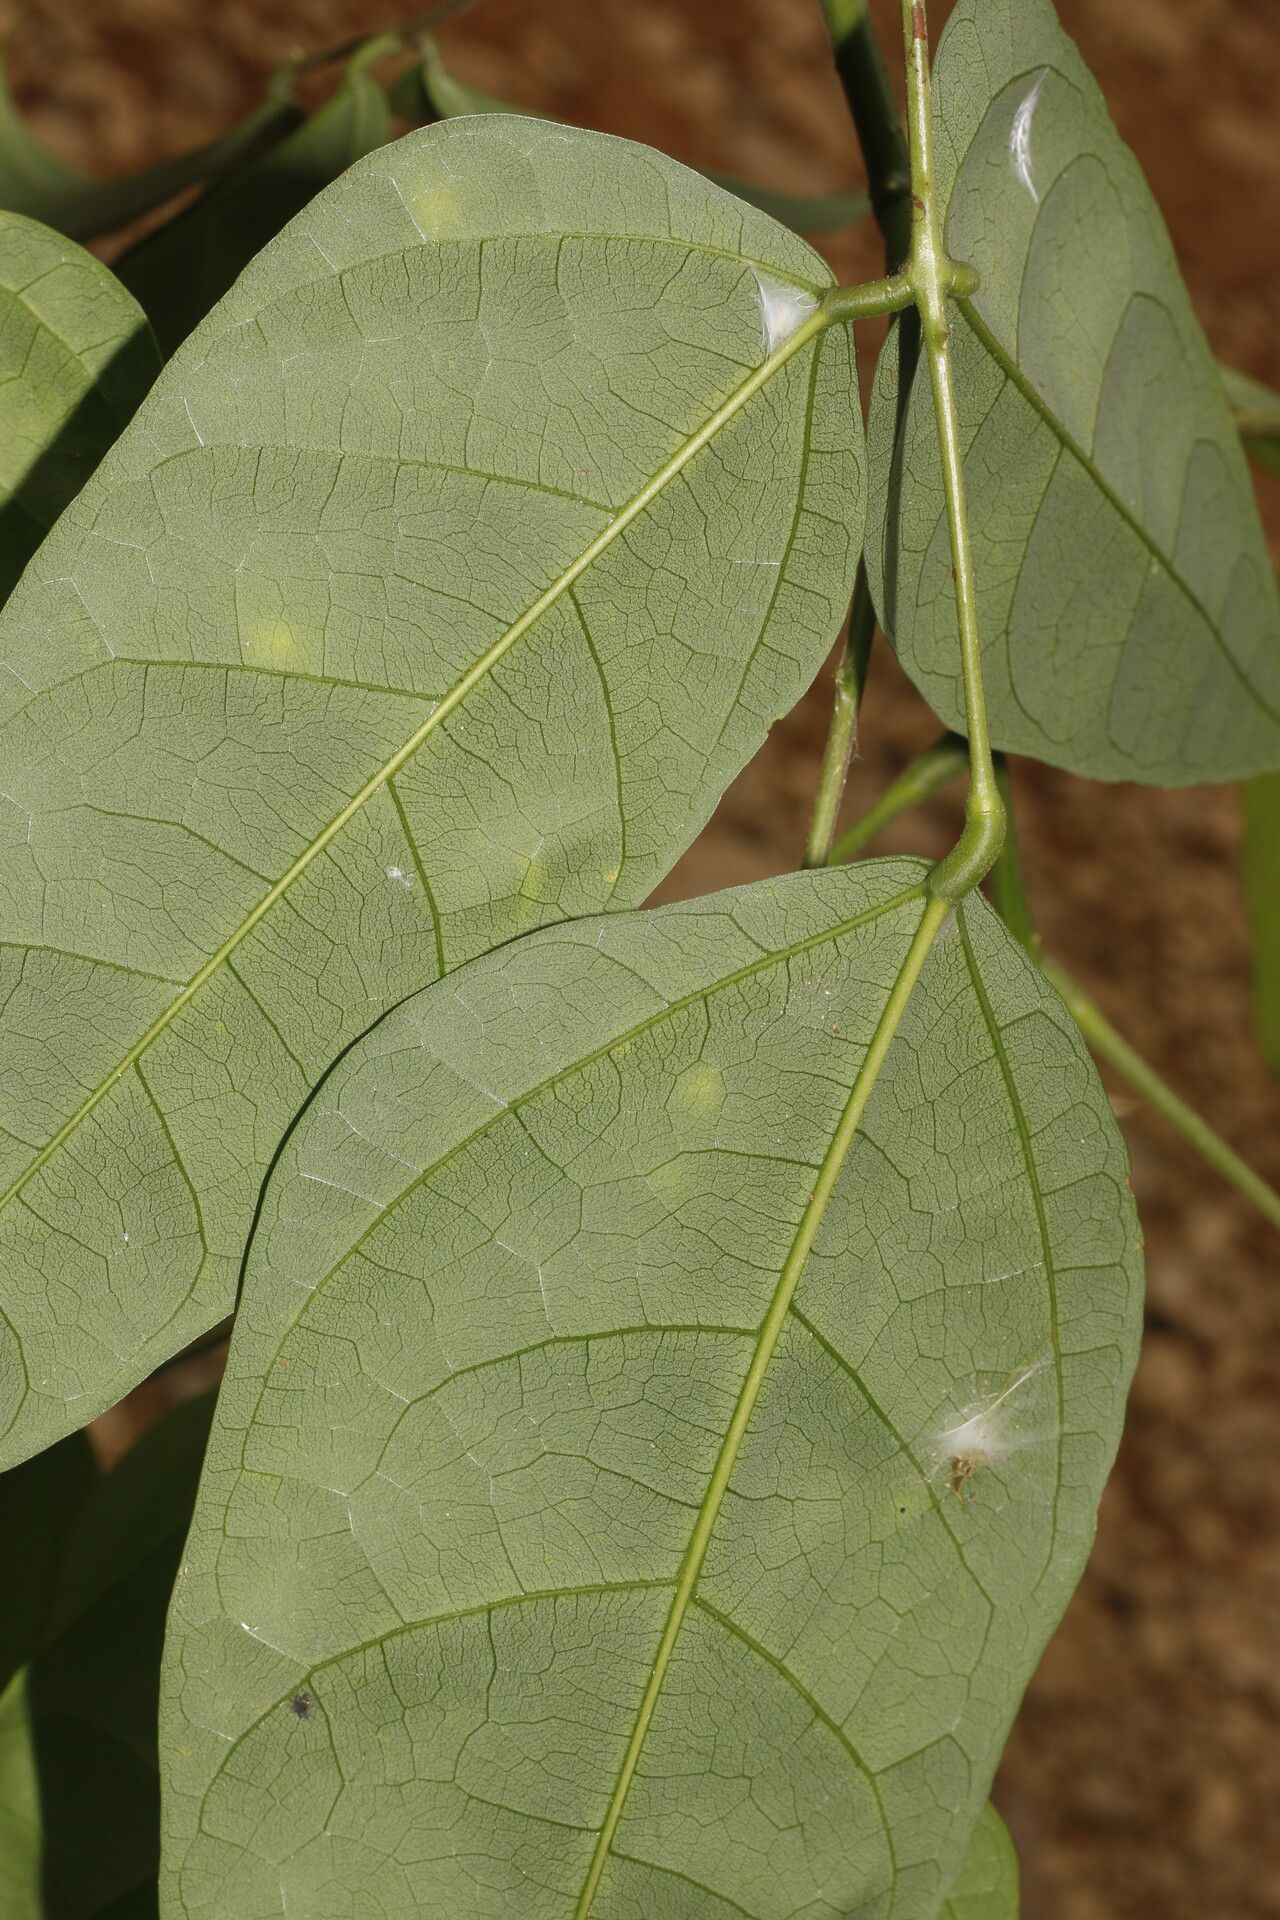
Oh, hello there! Pull up a chair and let’s chat about one of my absolute favorite garden treasures: Erythrina cochleata. You know, the Coral Tree with its stunning, vibrant red blossoms that just scream tropical paradise? It’s truly a showstopper, and honestly, getting your own little piece of that magic is incredibly satisfying.
Now, I like to be upfront with you all. If you’re just dipping your toes into the wonderful world of plant propagation, Erythrina cochleata might present a bit of a challenge. It’s not the absolute easiest plant to get started from scratch, but with a little care and the right approach, you’ll be rewarded with a brand-new beauty. The success stories I’ve heard from folks who’ve perservered make it all worthwhile!
The Best Time to Start
For the highest success rate with your coral tree, aim for late spring or early summer. This is when the plant is actively growing and has plenty of energy. You’ll want to take cuttings from healthy, mature stems that are firm, but not woody. Think of it as capturing the plant at its peak vigor.
Supplies You’ll Need
Here’s what you should have on hand before you get started:
- Sharp, clean pruning shears or a sharp knife: We want clean cuts to prevent disease.
- A good quality rooting hormone: This really gives your cuttings a boost.
- A well-draining potting mix: I like to use a blend of equal parts perlite, peat moss, and coarse sand.
- Small pots or seedling trays: Enough for your cuttings. Make sure they have drainage holes!
- A plastic bag or propagation dome: To create a humid environment.
- Optional: Heating mat: This can make a big difference.
Propagation Methods
While Erythrina cochleata can be a bit tricky, stem cuttings are generally your best bet. Let’s walk through it.
First, select a healthy branch. Look for a piece that’s about 6-8 inches long and has at least two sets of leaves. Using your sharp shears or knife, make a clean cut just below a leaf node – that little bump where a leaf attaches to the stem.
Next, strip off the lower leaves, leaving just a couple at the very top. This helps the cutting focus its energy on growing roots. Then, dip the cut end into your rooting hormone. Be generous here; coat about an inch or so of the bottom of the stem.
Now, prepare your pots. Fill them with your well-draining potting mix. Make a small hole in the center of the soil with your finger or a pencil. Gently insert the rooting hormone-coated end of your cutting into the hole. Firm the soil around it so it stands upright.
Once all your cuttings are planted, give them a light watering to settle the soil. Then, cover the pots with a plastic bag or a propagation dome to trap humidity. This is crucial!
The “Secret Sauce” (Pro Tips)
Here are a few things I’ve learned over the years that can really tip the scales in your favor:
- Don’t let the leaves touch the water! If you opt for water propagation (which is a bit more experimental with Erythrina but possible), make absolutely sure only the submerged stem is in the water. Any leaves submerged will rot and can take your cutting down with them.
- Bottom heat is your friend. A gentle heat mat placed under your pots can significantly speed up root development. Think of it as a cozy warm bed for your cuttings to settle into. Most successful rootings happen when the soil temperature is consistently around 70-75°F (21-24°C).
- Patience is truly a virtue (and a bit of art). Don’t be discouraged if you don’t see roots immediately. It can take several weeks, sometimes even a couple of months, for your cuttings to establish. Resist the urge to constantly check and pull them out – let them do their thing!
Aftercare & Troubleshooting
Once you start seeing tiny roots peeking out from the drainage holes, or if you gently tug on a cutting and feel some resistance, it’s a good sign! Gradually acclimate your new plant to less humid conditions by opening the plastic bag or dome for increasing periods each day over a week or so. Continue to keep the soil moist but not soggy.
The most common issue you might encounter is rot. If you see your cutting turning black and mushy, it’s likely too much moisture or not enough airflow. Unfortunately, once rot sets in, it’s usually game over for that particular cutting. Prevention is key here: good drainage and allowing the surface of the soil to dry slightly between waterings.
A Encouraging Closing
Propagating Erythrina cochleata might require a bit more patience, but the thrill of watching a new plant emerge from a simple cutting is incredibly rewarding. Keep at it, learn from each attempt, and most importantly, enjoy the journey of nurturing new life. Happy gardening!
Resource:
https://identify.plantnet.org/k-world-flora/species/Erythrina%20cochleata%20Standl./data