Bringing More “Bristlecone Pine” Beauty Home: Propagating Encephalartos senticosus
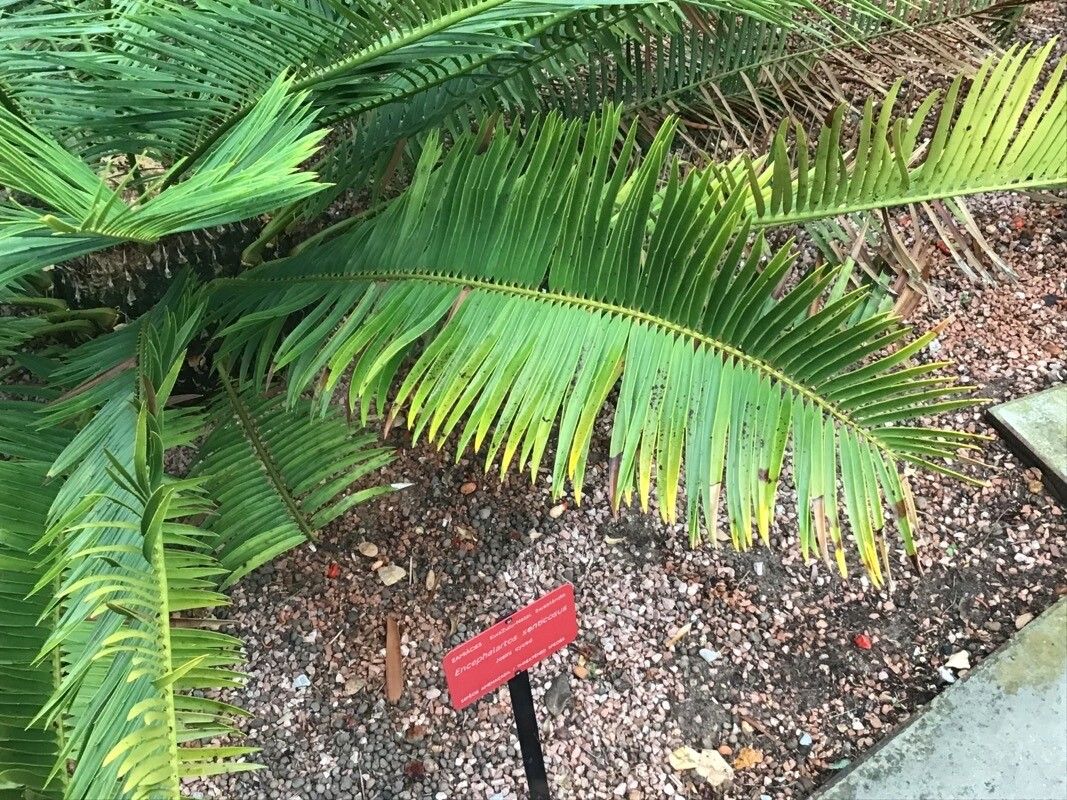
Ah, the East Coast cycad, or Encephalartos senticosus as it’s botanically known. Isn’t it just a marvel? With those rugged, bristly leaves that give it such a prehistoric feel, it’s a plant that commands attention in any garden. I’ve been growing these beauties for two decades now, and there’s something incredibly satisfying about watching a new one sprout from scratch. It’s like holding a little piece of ancient history in your hands!
While they might look a bit intimidating, propagating Encephalartos senticosus is actually quite manageable, even for those new to the world of cycads. It requires a little patience and understanding, but the rewards are well worth the effort.
When to Get Your Hands Dirty
The absolute best time to embark on this propagation adventure is during the active growing season, which for Encephalartos senticosus typically falls in late spring through summer. This is when the plant has the most energy to put into developing new roots and shoots. Waiting until the plant is actively producing new cones or flushing new leaves is a good indicator that it’s ready for propagation.
Your Propagation Toolkit
Here’s what you’ll want to have on hand before you begin:
- Sharp, sterilized pruning shears or a clean knife: For making precise cuts. Sterilize with rubbing alcohol between cuts to prevent disease.
- Rooting hormone (optional but recommended): Look for a hormone powder specifically for woody cuttings or cycads. This really gives your new propagules a boost.
- Well-draining potting mix: A coarse mix of perlite, coarse sand, and a little coco coir or peat moss works wonders. You want it to drain like crazy!
- Small pots or trays: Clean containers with drainage holes are essential.
- Fine-misting spray bottle: For keeping things humid.
- Gloves: To protect your hands from any sap or prickles.
- A warm location: To encourage root development.
Sparking New Life: Propagation Methods
For Encephalartos senticosus, the most reliable method is division of offsets, often called “pups.” These are the baby plants that naturally grow from the base of a mature cycad.
Here’s how I do it:
- Assess your parent plant: Look for offshoots that are at least a few inches in diameter and have developed their own distinct set of leaves. Sometimes, you’ll see them clearly detached and ready to go.
- Carefully excavate: Gently brush away soil from around the base of the offset you want to remove. You’re looking for where it connects to the main stem.
- Make the cut: Using your sterilized sharp tool, make a clean cut as close to the main stem as possible, ensuring you get as much of the offset’s base as you can, including any emerging root nubs. If the offset is large enough and already has some visible roots, that’s ideal.
- Allow to callous: This is a crucial step. Place the removed offset in a warm, dry, and shaded spot for a few days to a week. The cut end needs to dry out and form a protective callous. This prevents rot when you plant it.
- Apply rooting hormone (if using): Once calloused, lightly dip the cut end into your rooting hormone powder, tapping off any excess.
- Planting the offset: Fill your chosen pot with your well-draining mix. Make a hole in the center with your finger or a stick, and gently insert the calloused end of the offset. Firm the soil around its base, ensuring it’s stable but not packed too tightly. I like to plant it so the base of the leaves is just above the soil line.
The “Secret Sauce” (My Insider Tips!)
- Don’t rush the callousing: Seriously, this is where many beginners go wrong. Be patient with the drying process. A well-calloused offset is much less likely to rot.
- Think “bottom heat”: Placing your potted offsets on a gentle heat mat designed for seedlings can significantly speed up root development. It mimics the warmth of summer soil and provides that extra nudge. Make sure the heat isn’t too intense; you don’t want to cook your potential new plant!
- Water sparingly at first: After planting, give it a light watering to settle the soil. Then, resist the urge to overwater. Allow the soil to dry out considerably between waterings. Think of it like giving a plant that’s just gone through a shock a drink, not a bath.
Nurturing Your New Arrival & Troubleshooting
Once your offset has roots (you can often tell by a gentle tug test – if it feels firm, roots are forming!), you can start treating it more like a mature plant.
- Gradually introduce to more light: Start in bright, indirect light, and slowly move it to brighter conditions as it establishes.
- Watering: Water thoroughly when the top inch or two of soil feels dry.
- Fertilizing: Once you see good new growth, you can start with a diluted, balanced liquid fertilizer once a month during the growing season.
The most common issue you’ll face is rot. If you see the base of your offset turning mushy, dark, and smelly, it’s likely caught a bacterial or fungal infection. Unfortunately, this is often fatal. Prevention is key – that’s why a well-draining mix and allowing it to callous are so important.
A Blooming Future
Propagating Encephalartos senticosus is a journey that rewards your patience. It might take some time for those roots to develop and new leaves to unfurl, but that moment of seeing your efforts come to fruition is truly magical. So grab your tools, clear a spot, and enjoy the process of bringing more of these magnificent plants into your world. Happy gardening!
Resource:
https://identify.plantnet.org/k-world-flora/species/Encephalartos%20senticosus%20Vorster/data