Hello, fellow plant lovers! Pull up a chair, let’s chat about a truly spectacular bromeliad: Deuterocohnia abstrusa.
Bringing More of the “Abstrusa” Home
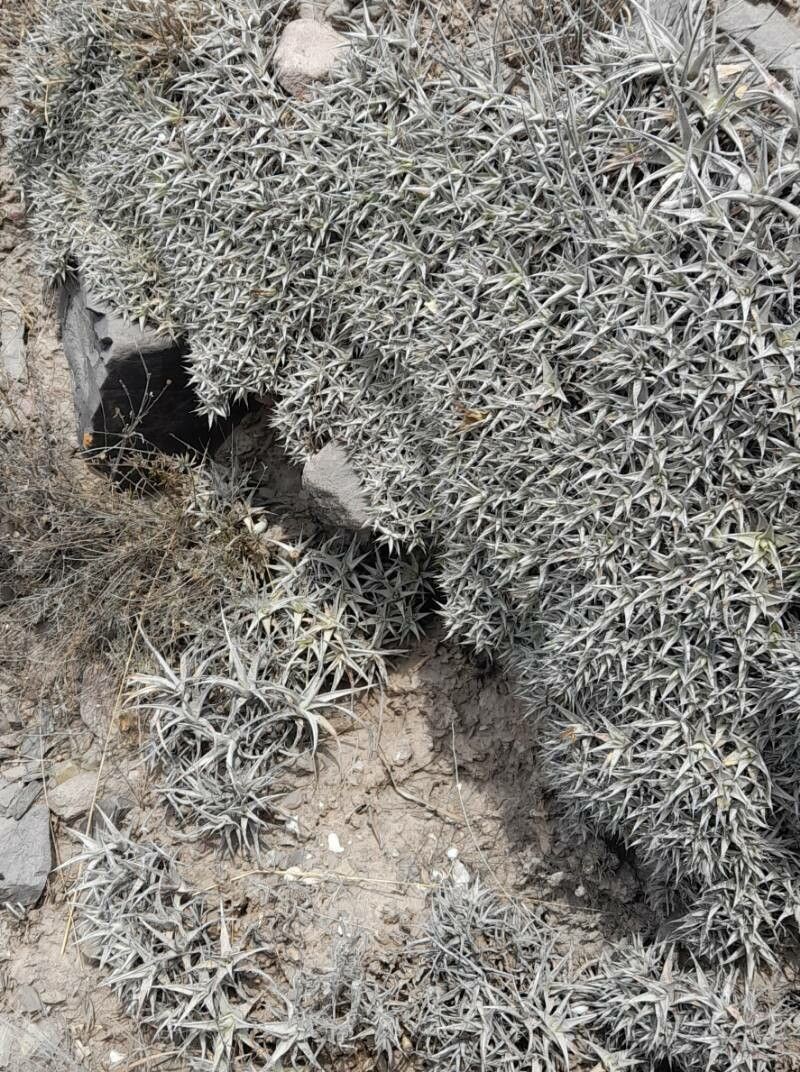
Oh, Deuterocohnia abstrusa. This little gem is a marvel. With its almost architectural rosette of spiky, silvery-grey leaves, it brings a touch of the arid desert right into our homes. And the best part? It slowly but surely sends out offsets, or pups, giving us the perfect opportunity to share this beauty with friends, fill up those empty pots, or simply marvel at how life keeps on giving. Propagating this one is a rewarding journey, and while it’s not the easiest plant to start from scratch, it’s definitely achievable and incredibly satisfying once you get the hang of it.
When Your Deuterocohnia is Ready to Share
The sweet spot for propagating Deuterocohnia abstrusa is generally during its active growing season. Think late spring through summer. This is when the plant is full of energy and more likely to produce healthy pups and root readily. You’ll know it’s prime time when you see little baby plants forming at the base of the mother plant.
Gathering Your Nursery Gear
Before we get our hands dirty, let’s make sure we have everything we need for a successful propagation:
- Sharp, clean pruning shears or a knife: For a clean cut and to avoid disease.
- Well-draining potting mix: A cactus and succulent mix is usually ideal. You can even amend it with extra perlite or pumice for even better drainage.
- Small pots or trays: With drainage holes, of course!
- Rooting hormone (optional but helpful): A powder or gel can give cuttings a boost.
- Gloves (optional): Those spiky leaves can be a bit pokey!
- A spray bottle: For gentle misting.
The Art of the Offset: Dividing Your Deuterocohnia
Deuterocohnia abstrusa is primarily propagated by division, which means separating the offsets or pups from the mother plant. This is the most straightforward and successful method for this particular species.
- Gently remove the mother plant from its pot. If it’s in a tight spot, you might need to loosen the soil around the edges with a trowel or gentle tug.
- Examine the base of the plant. You’ll see smaller rosettes (pups) emerging from near the soil line or even slightly up the main stem.
- Identify a pup that has some size to it. Ideally, it should have a few developed leaves of its own and, if possible, a hint of its own root system.
- Carefully separate the pup. This is where your clean shears or knife come in. Gently cut or pry the pup away from the mother plant, trying to go in between the two plants and make a clean separation. If the pup already has roots, fantastic! If not, don’t worry too much.
- Let the cut end callus over. This is a crucial step! Place the separated pup in a dry, airy spot out of direct sunlight for 2-3 days. This allows the cut surface to form a dry scab, which significantly reduces the risk of rot when you plant it.
- Pot up the pup. Fill your small pot with the well-draining mix. Make a small well in the center and plant the callused pup. You can lightly dust the cut end with rooting hormone before placing it in the soil, if you’re using it. Firm the soil gently around the base.
My “Secret Sauce” for Success
Over the years, I’ve learned a few little tricks that seem to make all the difference:
- Don’t rush the pups. Wait until they’re a decent size, at least a quarter of the mother plant’s size. Tiny pups are much more fragile and have a harder time establishing themselves.
- Bottom heat is your friend. While not strictly necessary, placing the potted pups on a seedling heat mat can really encourage root development, especially if your room is a bit on the cooler side. It mimics the warmth of spring and summer days.
- Patience with watering. After planting the callused pup, resist the urge to water immediately. Wait about a week. Then, water sparingly. The goal is to keep the soil lightly moist, not soggy. Overwatering is the quickest way to invite rot.
Aftercare & What to Watch For
Once your little Deuterocohnia pup is potted, give it a bright spot with indirect light. Avoid direct, scorching sun for the first few weeks.
Water very cautiously. I like to give mine a light misting every few days in the beginning, just to keep the surface soil from drying out completely. Once they start showing signs of growth – new leaf development – you can begin watering more normally, allowing the soil to dry out between waterings.
Common signs of trouble? Rot is the big one. If the base of your pup feels mushy, looks brown and rotten, or the leaves start to yellow and drop excessively, it’s likely a sign of too much moisture. If this happens, gently pull it out of the soil, cut away any rotten parts, let it callus again, and try planting it in fresh, dry soil.
Enjoy the Journey!
Propagating plants is a wonderful way to connect with nature and expand your collection. Be patient with your new Deuterocohnia abstrusa pups. They’re slow growers, and that’s part of their charm! Enjoy the process of watching them grow, and before you know it, you’ll have a whole troop of these stunning succulents to admire. Happy growing!
Resource: