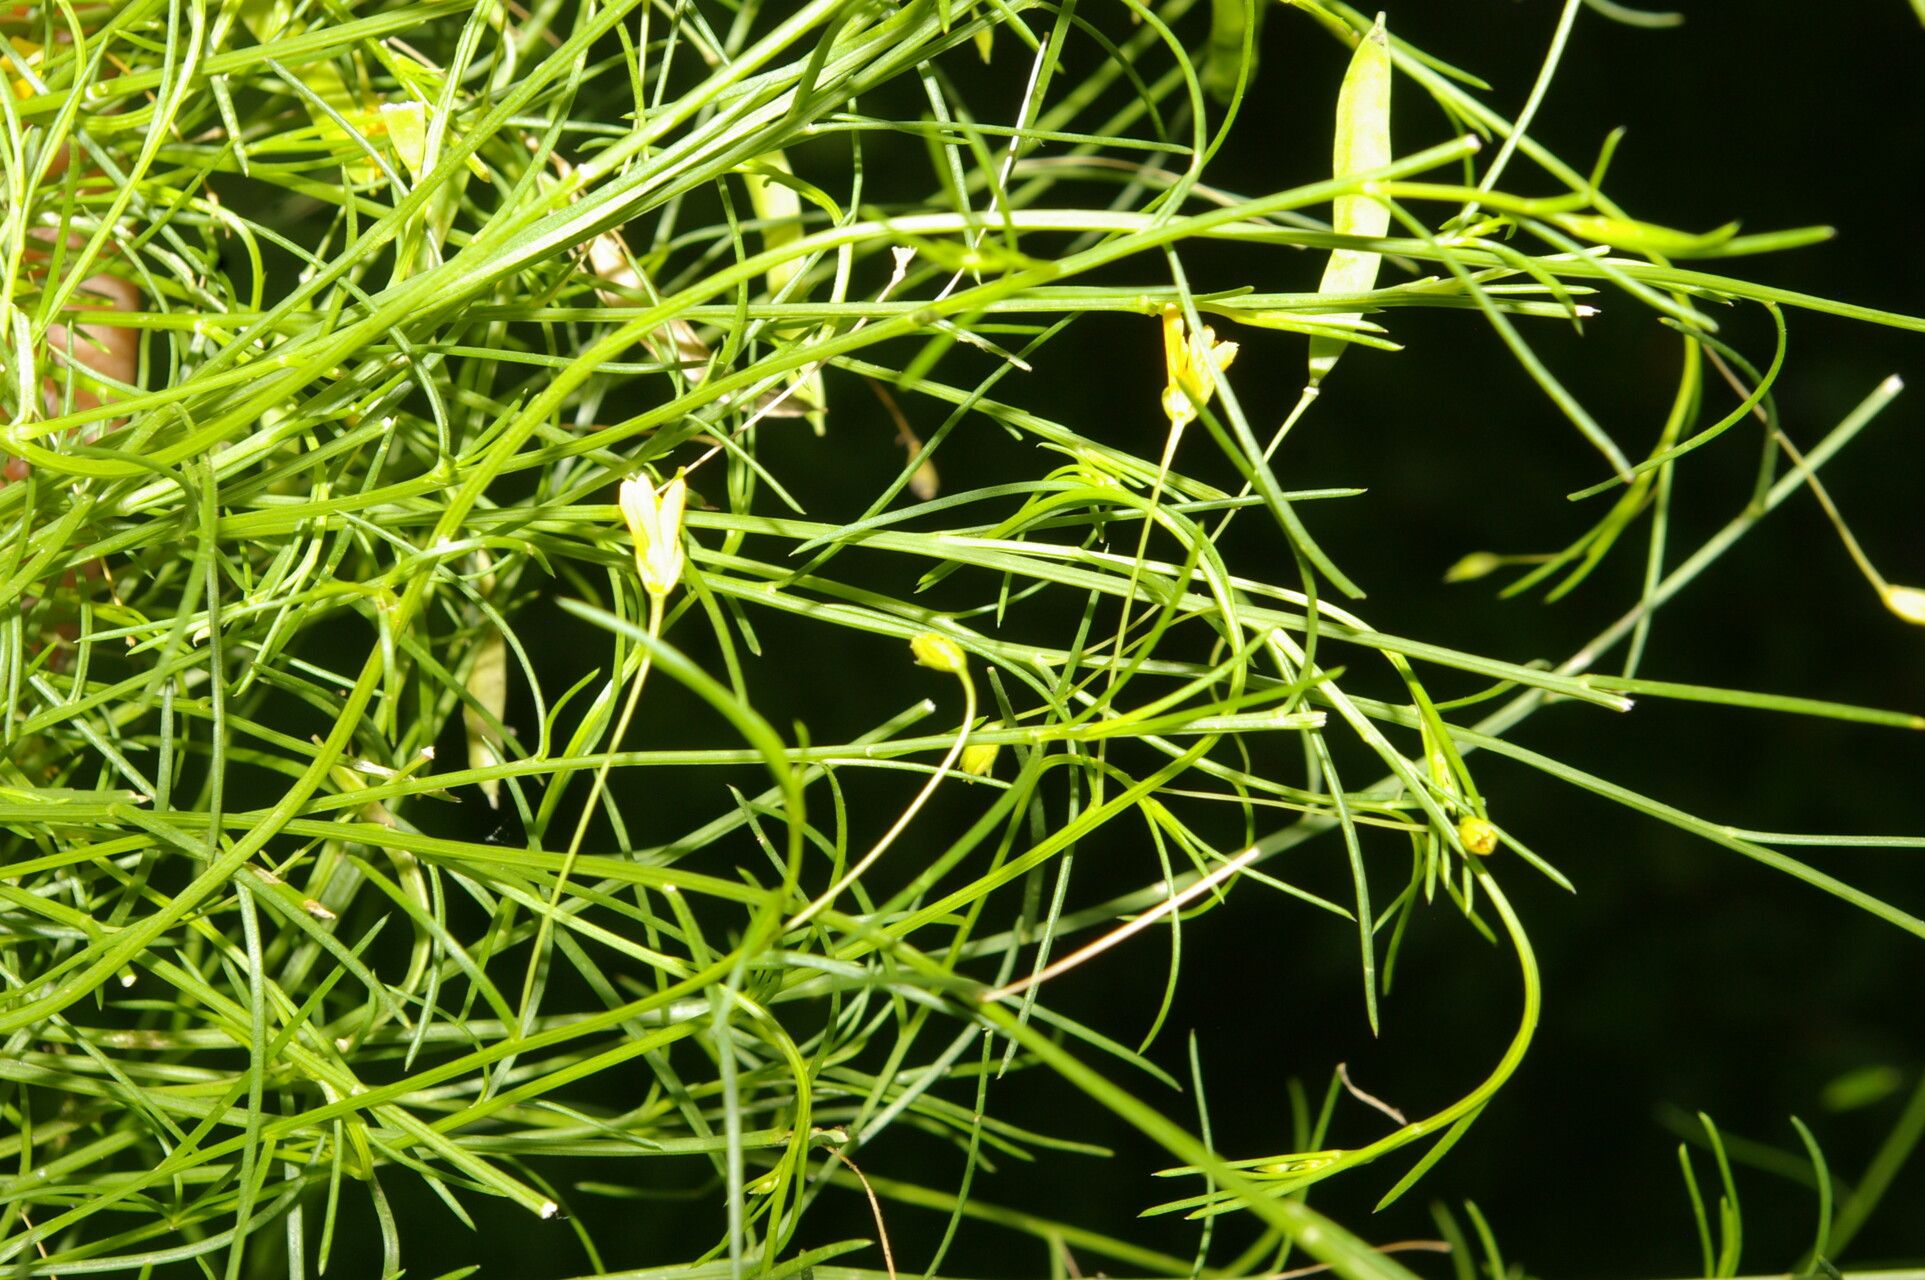
Oh, Cleome guianensis! What a spectacular plant to get your hands on. You know, those airy, often fragrant blooms, looking like delicate spiderwebs dancing in the breeze, are just such a joy in the garden. Growing them from scratch? It’s incredibly satisfying. You get to witness that tiny sprout transform into a magnificent specimen. Now, for the good news: most folks find Cleome guianensis quite forgiving, making it a lovely plant for those just dipping their toes into propagation. Don’t be intimidated!
The Best Time to Start
Honestly, I find that starting Cleome guianensis from seed is often the most straightforward path to success, and the ideal time for sowing is after the last frost has passed in your area. This typically means late spring or early summer. You want those nights to be reliably warm. If you’re aiming for stem cuttings, the late spring to early summer period, when the plant is actively growing, is also your best bet.
Supplies You’ll Need
Gathering your supplies beforehand makes the whole process so much smoother. Here’s what I keep on hand:
- Seed-starting mix or a fine-textured potting mix: Something that drains well is key.
- Small pots or seed trays: Clean ones, of course!
- Watering can with a fine rose attachment: To avoid disturbing delicate seeds or young cuttings.
- Pruning shears or a sharp knife: For taking cuttings cleanly.
- Rooting hormone powder (optional but helpful): Especially for stem cuttings.
- Plastic bags or a propagator lid: To maintain humidity.
- Labels and a permanent marker: Don’t forget to label your projects!
Propagation Methods
Let’s get down to how we can multiply these beauties.
Starting from Seed
This is my go-to for Cleome guianensis.
- Prepare your containers: Fill your seed trays or small pots with your seed-starting mix. Moisten the mix until it’s damp but not waterlogged.
- Sow the seeds: Scatter the Cleome guianensis seeds thinly on the surface of the soil. They are quite small, so be gentle! You can lightly press them into the surface, but don’t cover them deeply.
- Water gently: Use your watering can with the fine rose to water the surface.
- Create a humid environment: Cover the seed tray or pots with a clear plastic bag or a propagator lid. This traps moisture and encourages germination.
- Provide warmth and light: Place the containers in a warm spot, ideally around 70-75°F (21-24°C). A sunny windowsill is perfect.
- Be patient: You should start to see little green sprouts emerging in about 10-20 days. Once you see them, remove the plastic covering so they get good air circulation.
- Care for seedlings: Keep the soil consistently moist and provide bright, indirect light. As they grow, you can gently transplant them into individual pots once they have a couple of true leaves.
Stem Cuttings
This method can also be quite successful if you catch the plant at the right growing stage.
- Take cuttings: In late spring or early summer, select a healthy, non-flowering stem. Using your sharp shears or knife, cut a section about 4-6 inches long. Make the cut just below a leaf node (where a leaf attaches to the stem).
- Prepare the cuttings: Gently remove the lower leaves, leaving just a few at the top. This prevents them from rotting in the soil.
- Apply rooting hormone (optional): Dip the cut end of the stem into rooting hormone powder. Tap off any excess.
- Pot them up: Fill small pots with a well-draining potting mix, I often use a mix of peat moss and perlite. Make a hole in the center of the soil with a pencil or your finger.
- Insert the cuttings: Place the cut end of the stem into the hole and gently firm the soil around it.
- Water and cover: Water the soil thoroughly and then cover the pots with a plastic bag or propagator lid to create a mini-greenhouse.
- Place in warmth and light: Position them in a bright, but not direct, sunlight spot.
- Check for roots: In about 3-6 weeks, gently tug on a cutting. If there’s resistance, you likely have roots! You’ll also start to see new growth.
The “Secret Sauce” (Pro Tips)
Here are a couple of things I’ve learned over the years that really seem to make a difference:
- Don’t let the lower leaves touch the soil. Whether you’re starting from seed or taking cuttings, if those leaves sit on damp soil, they’re much more prone to fungal issues like damping off. I always make sure my cuttings have at least an inch or two of bare stem below the lowest leaves before I pot them up.
- Bottom heat is your friend! For cuttings, especially, providing a gentle warmth from underneath can significantly speed up root formation. A seedling heat mat is perfect for this. It mimics the warmth of the soil when the sun is higher, encouraging those roots to get moving.
Aftercare & Troubleshooting
Once your seeds have germinated or your cuttings have rooted, it’s time for a little continued TLC.
- Gradual acclimatization: When you remove the plastic covering, do it gradually. If you go from a humid environment to dry air too quickly, your new plants can wilt. Open the propagator a little each day for a few days.
- Watering: Keep the soil consistently moist but never soggy. Overwatering is the quickest way to invite rot, which shows up as a mushy, black stem near the soil line. If you see this, sadly, that seedling or cutting is usually a goner.
- Light: As they continue to grow, they’ll need plenty of light. Don’t be afraid of a sunny windowsill!
- Hardening off: Before you plant your young Cleome guianensis outdoors, you’ll want to harden them off. This means gradually exposing them to outdoor conditions (sun, wind, cooler temperatures) over a week or two. Start with a few hours in a sheltered spot and increase the time and exposure each day.
A Little Patience Goes a Long Way
Seeing those first tiny roots or the first little leaves unfurl is such a rewarding feeling. Don’t get discouraged if a few don’t make it; it’s all part of the learning process. Just keep trying, enjoy watching your new plants grow, and soon you’ll have a whole garden full of these lovely, airy blooms! Happy gardening!
Resource:
https://identify.plantnet.org/k-world-flora/species/Cleome%20guianensis%20Aubl./data