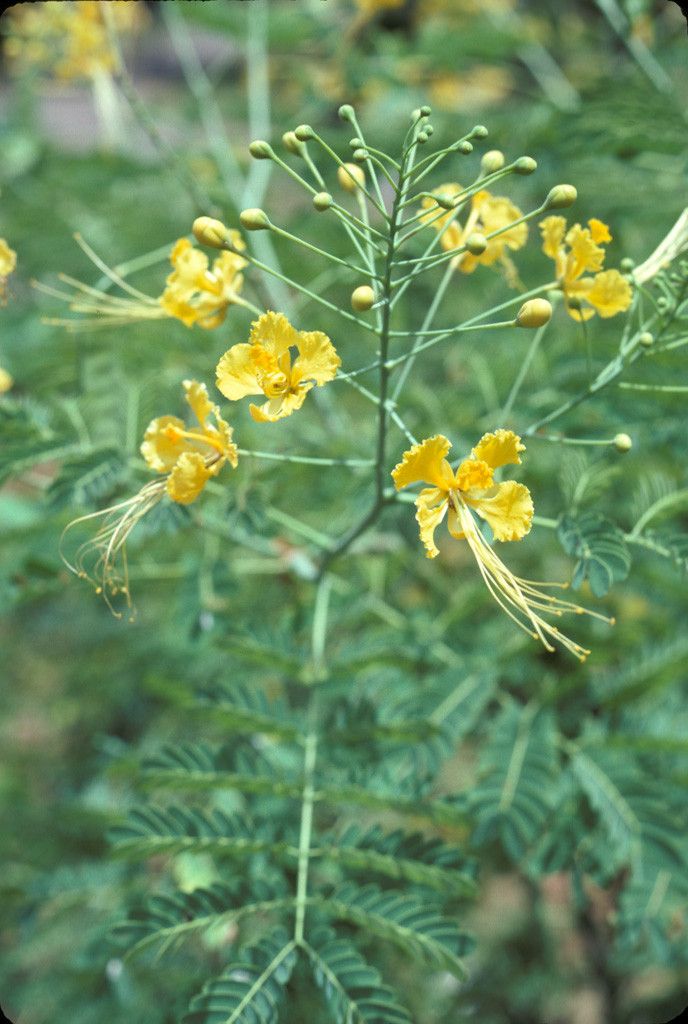
Oh, hello there! It’s so wonderful to have you join me in my little corner of the garden world. Today, we’re going to talk about a plant that has truly captured my heart over the years: Caesalpinia cassioides, also often called Brazilian Poinciana or Peacock Flower. Isn’t it just stunning with its vibrant blooms and delicate, fern-like foliage? Growing your own from scratch is incredibly satisfying, and honestly, it’s not as daunting as you might think. While it might present a few learning curves, I promise, the joy of nurturing a new plant from a tiny cutting is worth every bit of effort.
The Best Time to Start
For Caesalpinia cassioides, I’ve found the late spring to early summer is simply the sweet spot. The plant is actively growing then, and the stems have a bit of maturity to them – not too woody, not too soft. This is when they’re most receptive to taking root. Think of it like giving them the best possible start to their new life.
Supplies You’ll Need
Gathering your tools beforehand makes the whole process smoother. Here’s what I typically have on hand:
- Sterile potting mix: A good, well-draining blend, often a mix of peat moss or coco coir, perlite, and a bit of compost works wonders.
- Sharp, clean pruning shears or a sharp knife: For making clean cuts.
- Rooting hormone powder (optional but recommended): This really helps give those cuttings a boost.
- Small pots or seed trays: With drainage holes, of course!
- Watering can or spray bottle: For gentle watering.
- Plastic bags or dome covers: To create a humid environment.
- Identifications tags: Trust me, you’ll thank yourself later!
Propagation Methods
I’ve had the most success with stem cuttings for Caesalpinia cassioides. Let’s dive into how we can do it:
- Take Your Cuttings: When you’ve identified a healthy, non-flowering stem, use your sharp shears to make a clean cut just below a leaf node. Aim for cuttings about 4-6 inches long. Remove the lower leaves, leaving just a couple at the top.
- Apply Rooting Hormone: Dip the cut end of the stem into your rooting hormone powder. Tap off any excess. This step isn’t strictly essential, but it really does encourage faster root development.
- Plant the Cuttings: Make a small hole in your prepared potting mix with your finger or a pencil. Gently insert the treated cutting into the hole, making sure the leaf nodes are below the soil surface. Firm the soil gently around the stem.
- Create Humidity: Water the soil lightly. Then, I like to cover the pot with a clear plastic bag or place it under a plastic dome. This traps moisture and creates a mini-greenhouse effect, which is crucial for cuttings to root.
- Provide the Right Conditions: Place your pots in a warm location with bright, indirect light. Avoid direct sun, which can scorch those tender new cuttings.
The “Secret Sauce” (Pro Tips)
Over the years, I’ve picked up a few little tricks that make a big difference:
- My absolute favorite tip: Use bottom heat. Placing your pots on a seed starting heat mat can significantly speed up the rooting process. It mimics that lovely warmth the soil would get in its natural environment. You’ll see a difference!
- Another thing to watch out for: Don’t let the leaves touch the water if you’re trying a water propagation method (though stem cuttings in soil are generally more reliable for this plant). If leaves sit in water, they tend to rot rather than encourage root growth. Keep them out of the water source.
- And a small but mighty one: Wiggle test! After a few weeks, gently tug on a cutting. If you feel resistance, congratulations – you’ve got roots! If it pulls out easily, it hasn’t taken yet. Don’t be discouraged; give it more time.
Aftercare & Troubleshooting
Once you see those first signs of new growth, or the wiggle test tells you roots are forming, it’s time for a bit of a transition. You can slowly introduce your new plant to slightly less humidity by opening the plastic bag a little each day. Water only when the top inch of soil feels dry.
The most common issue I see is rot. If your cutting turns black and mushy, or if you notice mold on the soil, it’s often a sign of too much moisture or poor air circulation. Sadly, a rotted cutting is usually a lost cause, but don’t let it get you down. Just learn from it and try again, perhaps with slightly drier soil or better ventilation.
Happy Gardening!
See? We’ve walked through it together, and you’ve got this! Propagating Caesalpinia cassioides is a journey that rewards patience and keen observation. Enjoy the process, celebrate those tiny wins, and before you know it, you’ll have beautiful new plants to share or to fill your own garden with that glorious bloom. Happy growing!
Resource:
https://identify.plantnet.org/k-world-flora/species/Caesalpinia%20cassioides%20Willd./data