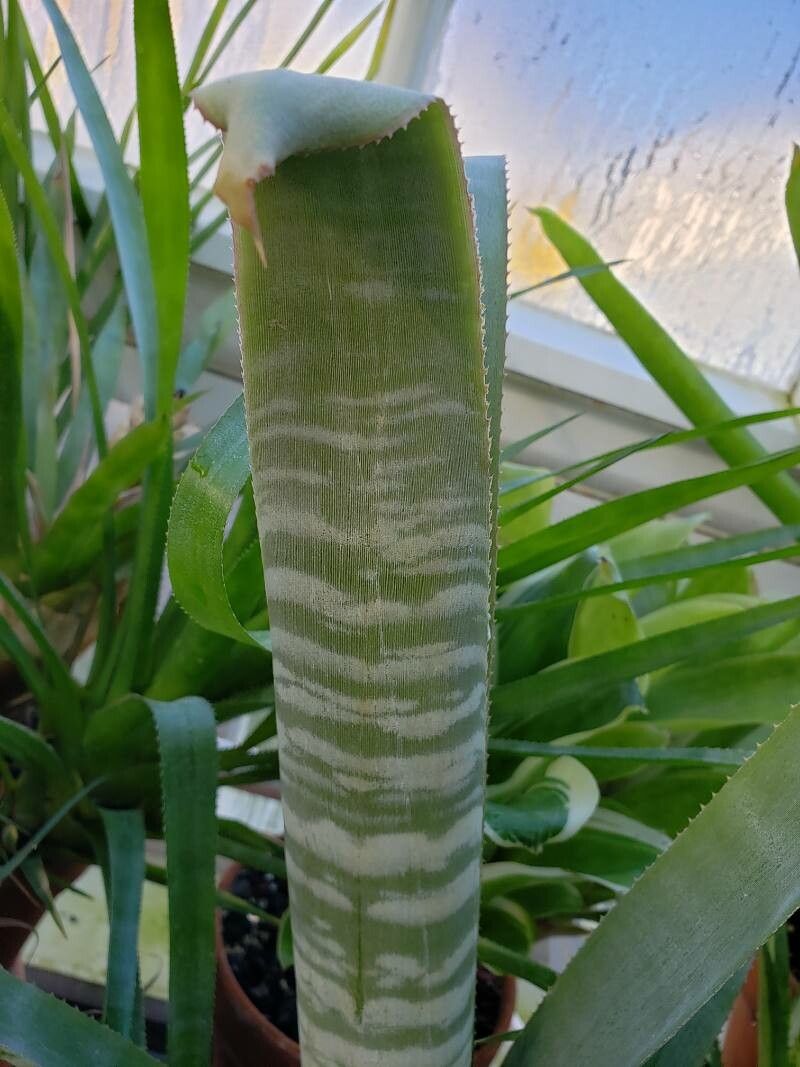
Hello, fellow plant lovers! It’s been a while since we chatted aboutBromeliads, and today, I’m so excited to dive into the enchanting world of Billbergia alfonsi-joannis. This particular Billbergia is a stunner, with its intricate banding and often vibrant colorations. Watching a new little plant emerge from its parent is one of gardening’s greatest joys, and with this beauty, it’s a reward well worth the effort. For beginners looking to dip their toes into the world of bromeliad propagation, Billbergia alfonsi-joannis is a fantastic and usually quite forgiving candidate. Let’s get started!
The Best Time to Start
Honestly, the best time to work with your Billbergia alfonsi-joannis is when it’s actively growing. Spring and early summer are usually ideal. You’ll want to wait until the pups, those little baby plants that emerge at the base of the mother plant, are a decent size. Aim for pups that are at least a quarter to a third the size of the parent plant. This gives them enough stored energy to really take off on their own. Trying to propagate too early can be a bit of a gamble, as they’re still quite dependent.
Supplies You’ll Need
Gathering your tools beforehand makes the whole process smoother. Here’s what I usually have on hand:
- Sharp, clean pruning shears or a small, sharp knife. Sterilize them with rubbing alcohol between cuts to prevent disease.
- Well-draining potting mix. A good blend for bromeliads is key. I like a mix of orchid bark, perlite, and a bit of peat or coco coir. You can also find specific bromeliad mixes.
- Small pots or containers. Terracotta pots are great as they allow the soil to dry out nicely.
- Rooting hormone (optional but helpful). A powder or gel formulation works well.
- Watering can with a fine rose.
- Labels and a marker. Don’t skip this! You’ll thank yourself later.
Propagation Methods
The most common and successful way to propagate Billbergia alfonsi-joannis is through division. This involves separating the pups from the mother plant.
- Assess Your Pups: Gently inspect your Billbergia. You’re looking for those delightful little offsets, or pups, that have started growing from the base or even slightly up the sides of the mother plant. As I mentioned, wait until they’re a reasonable size.
- Prepare Your Tools and Potting Mix: Have your clean shears, pots, and prepared potting mix ready to go.
- Gently Remove the Pup: This is the delicate part. If the pups are at the base, you might be able to gently tease them away with your fingers. For pups that are more attached, use your sharp shears or knife to cut as close to the mother plant’s base as possible. Try to get a good bit of the pup’s own base with it. If the pup has its own tiny roots, that’s a bonus!
- Dip in Rooting Hormone (Optional): If you’re using rooting hormone, dip the cut end of the pup into the powder or gel. Tap off any excess. This helps to encourage root development.
- Potting Up: Fill your small pot with the well-draining mix. Make a small hole in the center and place the cut end of the pup into it. Gently firm the soil around the base of the pup, ensuring it stands upright.
- Initial Watering: Give the newly potted pup a light watering. I like to water until a little drains from the bottom, then let it settle in.
The “Secret Sauce” (Pro Tips)
Here are a few little tricks I’ve picked up over the years that can really make a difference:
- The “Dry Down” Trick: After you’ve cut the pup from the mother plant and before you pot it, let the cut end air dry for a day or two in a bright, airy spot. This helps the wound callous over, significantly reducing the risk of rot when you plant it. It’s a small step, but boy, does it prevent a lot of heartache!
- Mimic the Parent’s Environment (a little): While the pup is establishing, I avoid the common bromeliad practice of keeping water in the central cup (the “tank”). Instead, I prefer to regularly mist the foliage and water the soil sparingly. This encourages the pup to develop strong root systems seeking moisture in the soil, rather than relying solely on the tank.
Aftercare & Troubleshooting
Once your pup is potted, treat it gently.
- Light: Place the new plant in a bright location but out of direct, harsh sunlight. Dappled light is perfect.
- Watering: Water when the top inch or so of the potting mix feels dry. Avoid overwatering, as this is the most common cause of problems.
- Humidity: Bromeliads love humidity. You can mist them occasionally or place them near other plants to create a more humid microclimate.
Signs of Trouble: The biggest enemy of newly propagated plants is rot. If you notice the base of your pup turning mushy, black, or smelling funky, it’s likely suffering from rot. This usually happens due to too much moisture. Unfortunately, if rot sets in deeply, it’s difficult to save, but you can try removing the rotted parts and repotting in fresh, dry mix. Another sign is a pup that looks sad and withered with no new growth after several weeks – this might mean it’s not forming roots, or it’s just having a slow start. Be patient!
A Welcoming Embrace
Growing new plants is a journey of observation and a little bit of gardening magic. Don’t be discouraged if not every attempt is a runaway success. Your Billbergia alfonsi-joannis propagation is a chance to learn and connect with nature’s incredible ability to create. Take your time, enjoy the process, and before you know it, you’ll have a collection of these gorgeous bromeliads to admire. Happy growing!
Resource:
https://identify.plantnet.org/k-world-flora/species/Billbergia%20alfonsi-joannis%20Reitz/data