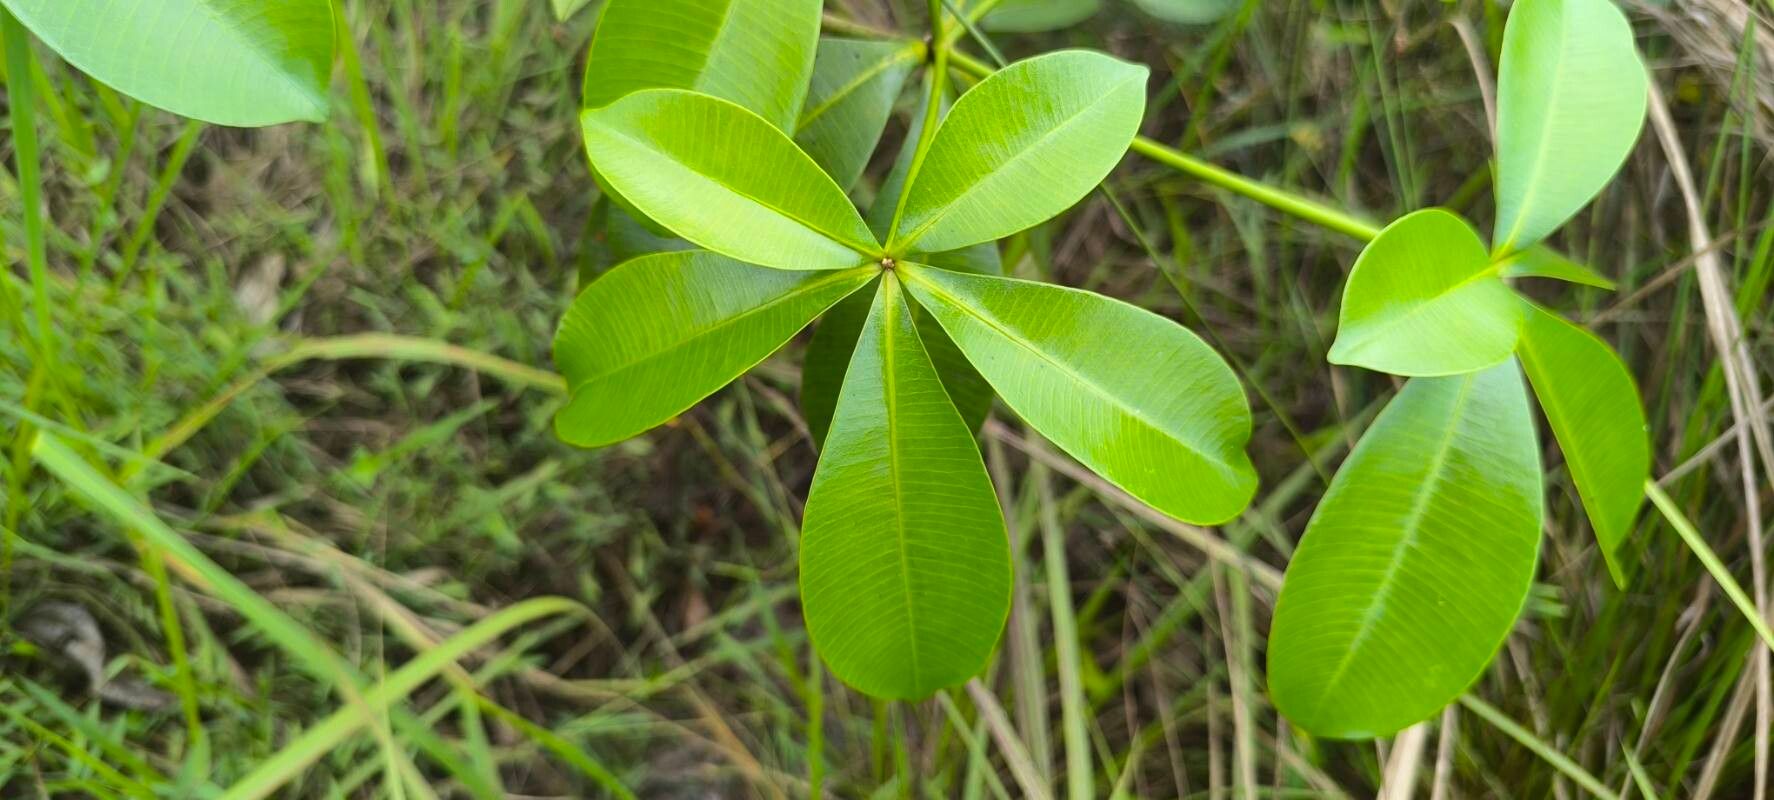
Hey there, fellow plant enthusiasts! I’m so excited to chat about propagating Alstonia congensis, often known as the “Mirror Tree” or “Dittmar’s Alstonia.” If you’re captivated by its elegant, naturally upright form and the way its whorled leaves catch the light, you’re not alone. These trees have a really striking presence in a garden or even as a statement piece indoors.
The joy of taking a cutting from a healthy plant and coaxing new life from it is truly something special. It’s a tangible way to connect with nature and expand your green collection without breaking the bank. Now, I’ll be honest, Alstonia congensis might give a beginner gardener a little pause, but with a few key pointers, you’ll be well on your way to success. It’s more about understanding its needs than sheer difficulty.
The Best Time to Start
For the best chance of things taking root, I find that late spring or early summer is your golden window. This is when the plant is in its most vigorous growth phase. You’ll want to take cuttings from healthy, non-flowering stems that are still somewhat pliable – not old, woody branches. Think of it as harvesting when the plant is full of energy and ready to share it!
Supplies You’ll Need
Here’s what you’ll want to have on hand before you get started:
- Sharp, clean pruning shears or a craft knife: A clean cut is crucial to prevent disease.
- Rooting hormone powder or gel: While not always strictly necessary, it can significantly boost your success rate.
- A well-draining potting mix: I like a blend of peat moss or coco coir, perlite, and some coarse sand. This mimics its natural environment and keeps roots from getting waterlogged.
- Small pots or propagation trays: Make sure they have drainage holes!
- A plastic bag or clear propagation lid: This will create a mini-greenhouse effect.
- Water: For rinsing tools and misting if desired.
- Optional: A heat mat: This can be a game-changer, especially if your house is on the cooler side.
Propagation Methods
Let’s get our hands dirty! Alstonia congensis is most reliably propagated from stem cuttings.
Stem Cuttings:
- Select your cutting: Look for a healthy stem that’s about 6-8 inches long. It should have at least a few sets of leaves. Gently bend the stem; if it snaps cleanly, it’s likely a good candidate. If it’s too stiff and woody, wait for more flexibility.
- Make the cut: Using your clean shears or knife, make a cut just below a leaf node (where a leaf attaches to the stem). This is where the root-promoting cells are concentrated.
- Prepare the cutting: Carefully remove the lower leaves, leaving just two or three at the very top. This reduces water loss and prevents decay in your potting mix. If you’re using rooting hormone, dip the cut end into the powder or gel, tapping off any excess.
- Plant the cutting: Fill your small pots with the well-draining mix. Make a small hole in the center with your finger or a pencil. Gently insert the cut end of your Alstonia cutting into the hole, ensuring it’s stable. Firm the soil around it.
- Create the humidity dome: Water the soil lightly until it’s moist but not soggy. Then, cover the pot with a clear plastic bag or place it under a propagation lid. You want to keep the humidity high around the cutting.
The “Secret Sauce” (Pro Tips)
You asked for the insider tips, and here they are!
- Don’t let those top leaves touch the sides of the plastic bag! If they do, they’re a prime spot for rot to set in. You can use small stakes to prop the bag up if needed.
- Bottom heat is your friend. If you have a propagation mat, place your pots on it. This gentle warmth from below encourages root development much more effectively than relying on ambient air temperature alone. It really makes a difference!
- Go easy on the water. While humidity is key, overwatering the potting mix is the fastest way to kill a cutting before it even has a chance. The soil should feel consistently like a wrung-out sponge, not waterlogged.
Aftercare & Troubleshooting
Once your cuttings are nestled into their new homes, keep them in a bright spot with indirect light. Avoid direct sun, which can scorch delicate new growth.
Keep an eye on that humidity, and let the soil dry out slightly between waterings. You’ll know roots are forming when you gently tug on the cutting and feel resistance. This can take anywhere from 4 weeks to a couple of months, so patience is paramount!
If you see wilting that doesn’t rebound after a watering, or if your cutting starts turning mushy and dark, that’s a clear sign of rot. Usually, this is due to too much moisture or poor air circulation. Unfortunately, at that point, it’s often best to discard the cutting and try again, learning from what happened.
A Encouraging Closing
Propagating plants is a journey, and Alstonia congensis is a lovely companion for that journey. Don’t get discouraged if your first attempt isn’t a runaway success. Each cutting you try teaches you something new about your plant and your environment. Enjoy the process, celebrate the small victories, and soon you’ll be admiring your very own new Mirror Trees! Happy gardening!
Resource:
https://identify.plantnet.org/k-world-flora/species/Alstonia%20congensis%20Engl./data