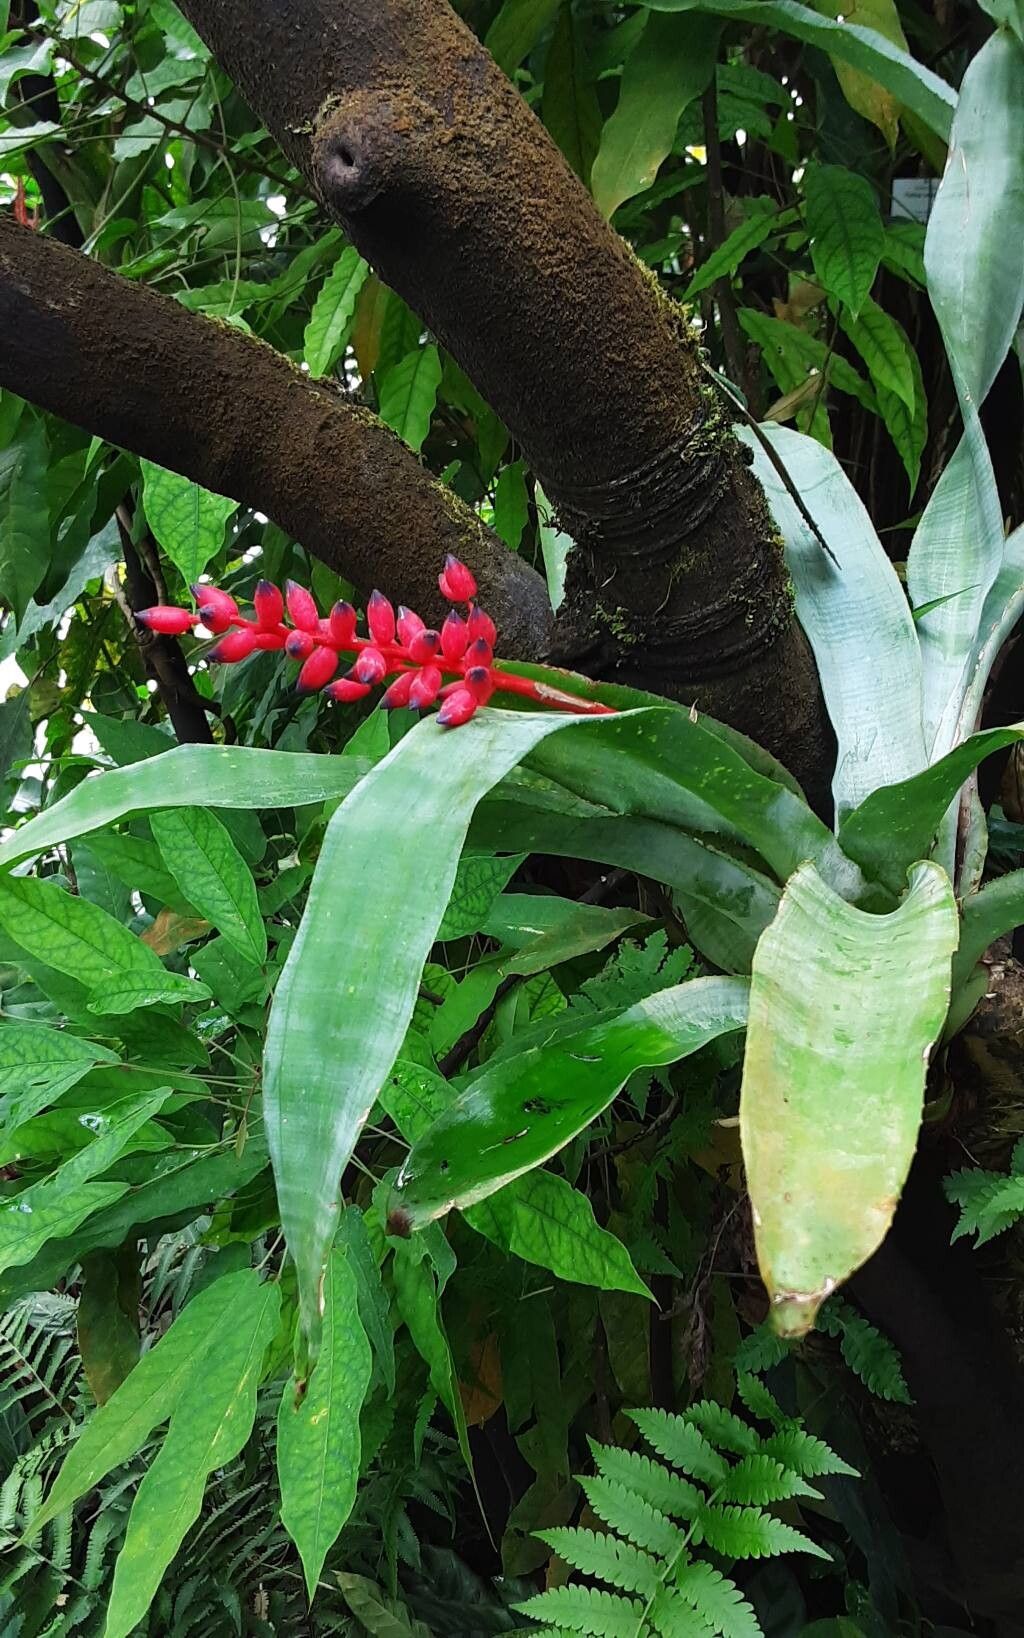
Well hello there, fellow plant lover! I’m so glad you stopped by. Today, we’re diving into the wonderful world of propagating Aechmea fulgens, or as they’re affectionately known, the Coral Belly bromeliad.
These beauties really do put on a show. Their vibrant, coral-colored flower spikes are simply stunning, and the textured leaves add a touch of the tropics to any space. The best part? You can create more of these living jewels yourself! It’s incredibly rewarding to see a tiny new plant flourish from a piece of its parent. And the good news? Even if you’re just starting your plant journey, this is a fantastic one to try. Aechmea fulgens is quite forgiving.
When to Get Your Hands Dirty
The absolute best time to propagate Aechmea fulgens is during the spring or early summer. This is when the plant is actively growing and has abundant energy to put into producing new roots. You’ll also have the most success if you’re taking pups from a mature, blooming plant. They’re basically ready to multiply!
What You’ll Need in Your Propagation Toolbox
Gathering your supplies beforehand makes the whole process smooth sailing. Here’s what I always have on hand:
- Sterile, sharp pruning shears or a clean knife: Precision is key to avoid damaging the parent plant or the offsets.
- A well-draining potting mix: I love a mix of orchid bark, perlite, and a bit of peat moss. This ensures good air circulation and prevents soggy roots. You can also find pre-made bromeliad mixes.
- Small pots or propagation trays: Whatever you have on hand that’s clean and has drainage holes will work.
- Rooting hormone (optional but recommended): A little boost can help speed things up.
- A spray bottle: For gentle misting.
- A clear plastic bag or humidity dome: To create a humid environment for your cuttings.
Bringing New Bromeliads to Life
The most straightforward and successful way to propagate Aechmea fulgens is through division of pups.
- Identify the Pups: Look for small plantlets, called pups, that grow from the base of the mother plant. They’ll usually have their own tiny leaves.
- Gently Separate: Carefully tease away the soil from the base of the parent plant to get a good look at where the pup is attached. Using your sterile shears or knife, make a clean cut as close to the mother plant as possible, ensuring you take as much of the pup’s base with it as you can, ideally including a tiny piece of root if visible. If the pup is still quite small and not very established, you might need to be a bit more patient until it’s bigger.
- Let Them Callus: This is an important step! Place the separated pups in a dry, airy spot out of direct sunlight for 24-48 hours. This allows the cut end to callus over, which helps prevent rot when you plant them.
- Pot Them Up: Fill your small pots with your prepared potting mix. Make a small hole in the center and gently plant the callused pup, ensuring the base is nestled into the soil. It should stand upright on its own.
- Water Lightly: Lightly water the soil. You want it moist, not soggy.
My Little “Secret Sauce” for Success
Sometimes, it’s the little things that make all the difference. Here are a couple of tricks I swear by:
- Never let the water sit in the leaf axils. If you’re propagating via water (though division is generally preferred for Aechmea fulgens), make sure only the base of the cutting is submerged. Water trapped in the cups of the leaves can lead to rot. This also applies to your potted pups – water the soil, not the plant’s crown.
- A little warmth goes a long way. If you have a propagation mat or can place your pots in a warm spot (think the top of a refrigerator or near a gently heated area), it can significantly speed up root development. However, avoid direct, hot sun.
Aftercare: Nurturing Your New Sprouts
Once your pups are potted and settled, the real magic begins.
- Maintain consistent moisture: Keep the soil lightly moist but never waterlogged. A good test is to stick your finger about an inch deep. If it feels dry, it’s time to water.
- Provide humidity: Cover the pots with a clear plastic bag or a humidity dome. This creates a mini greenhouse, keeping the air around your new plants moist, which is crucial for rooting. Open it up daily for a few minutes to allow for air circulation and prevent fungal issues.
- Bright, indirect light: Place your propagated plants in a location that receives bright, indirect light. No harsh, direct sun, please!
Troubleshooting: The most common issue you’ll encounter is rot. If you notice mushy, brown leaves or a foul smell, the pup is likely rotting. Usually, this is due to overwatering and lack of airflow. If it’s caught early, you might be able to salvage a healthy part, but often, it’s best to discard the rotted plant and try again, focusing on better drainage and more airflow. If your pup looks shriveled and dry after a couple of weeks, it might not be getting enough moisture or humidity.
Go Forth and Propagate!
Propagating Aechmea fulgens is such a fulfilling experience. It takes a little patience, a gentle touch, and a willingness to learn. Don’t be discouraged if your first attempt isn’t perfect. Every gardener has those moments! Just keep at it, observe your plants, and enjoy the process of watching new life emerge. Happy growing!
Resource:
https://identify.plantnet.org/k-world-flora/species/Aechmea%20fulgens%20Brongn./data