Oh, hello there! Come on in and pull up a chair. I’ve got a fresh pot of coffee brewing, and today we’re going to chat about one of my favorite, albeit slightly less common, plants: Acisanthera quadrata.
Your New Favorite Blooming Beauty: Why Propagate Acisanthera quadrata?
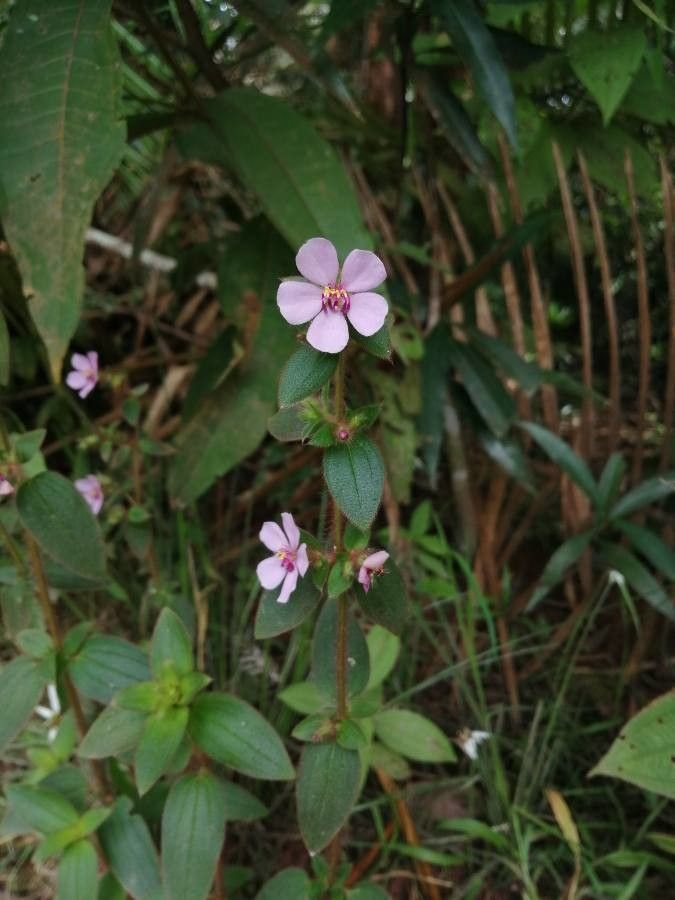
You know, Acisanthera quadrata is just a delight. It’s that little splash of unexpected color and texture that makes a garden truly sing. Its delicate, star-shaped flowers and attractive foliage bring a certain charm, don’t they? And the best part? Propagating it is incredibly rewarding. It’s like giving the gift of beauty to yourself, and maybe even to a friend! Now, if you’re a beginner, I’d say Acisanthera quadrata is probably in the moderately easy category. It’s not as straightforward as a pothos, but with a little attention, you’ll be amazed at your success.
The Perfect Moment: When to Get Started
Timing is everything in the garden, and it’s no different here. The absolute best time to propagate Acisanthera quadrata is in the spring or early summer. This is when the plant is actively growing and has plenty of energy to put into establishing new roots. Look for new, non-woody growth – those are your prime candidates for cuttings.
Gearing Up: Your Propagation Toolkit
Before we dive in, let’s make sure you have everything you need. It’s always best to be prepared!
- Sharp Pruning Shears or a Clean Knife: For making clean cuts. This is crucial to avoid damaging the plant.
- Well-Draining Potting Mix: I like a mix of peat, perlite, and a bit of compost. Something that won’t hold too much moisture.
- Small Pots or Propagation Trays: Anything that can hold your cuttings securely.
- Rooting Hormone (Optional but Recommended): This helps speed up the root development process.
- Plastic Bags or a Clear Dome: To create a humid environment for your cuttings.
- Water Spray Bottle: For misting.
Bringing New Life Forth: Propagation Methods
Acisanthera quadrata is surprisingly versatile. My favorite method, and the one I’ve found most successful, is stem cuttings.
Stem Cuttings: A Step-by-Step Guide
- Select Your Stem: Find a healthy stem that has grown recently. You want it to be about 4-6 inches long. Make sure it has at least a few sets of leaves on it.
- Make the Cut: Using your sharp pruning shears or knife, make a clean cut just below a leaf node (where a leaf attaches to the stem). This is where the magic happens, so to speak!
- Prepare the Cutting: Gently remove the lower leaves. You want to expose a bit of the stem at the bottom. If your cutting is very long, you might even want to pinch off the tip to encourage branching later on.
- Apply Rooting Hormone (If Using): Dip the cut end of the stem into your rooting hormone. Tap off any excess.
- Plant Your Cutting: Fill your small pots with your well-draining potting mix. Make a small hole in the center with your finger or a pencil and carefully insert the cut end of the stem. Gently firm the soil around it.
- Water Gently: Water the soil lightly. You don’t want to saturate it, just dampen it thoroughly.
- Create Humidity: This is key! Place a plastic bag over the pot, making sure it doesn’t touch the leaves too much, or use a clear propagation dome. This will create a mini-greenhouse.
- Find a Warm Spot: Place your pots in a bright location, but out of direct sunlight. A windowsill that gets morning sun is perfect.
The “Secret Sauce”: My Insider Tips
After years of coaxing plants into new life, I’ve picked up a few little tricks:
- Don’t Drown Your Work: When you water, water the soil, not the leaves. Excess moisture sitting on the foliage can invite fungal issues, and we don’t want that!
- Bottom Heat is Your Friend: If you happen to have a seedling mat or can place your pots on top of a warm appliance (like a gently running refrigerator), bottom heat can significantly speed up root formation. It mimics nature perfectly.
- Patience is a Virtue (and a Requirement!): Sometimes, it takes a while for roots to develop. Don’t be tempted to tug on your cuttings to check for roots! You can often tell when roots are forming because you’ll see signs of new growth, like tiny new leaves.
Nurturing Your Little Sprouts: Aftercare & Troubleshooting
Once you start seeing signs of new growth – a tiny new leaf unfurling, for example – you know your cutting is happy!
- Slowly Acclimate: Over the next week or so, gradually remove the plastic bag or dome to help your new plant get used to the regular humidity levels in your home.
- Watering Schedule: Water when the top inch of soil feels dry. Remember, they’re still baby plants and can be a bit sensitive.
- Fertilizing: Once your new plant has been transplanted into its own pot and is actively growing, you can start feeding it with a diluted liquid fertilizer every few weeks.
What if things go wrong? The most common culprit is rot. If your cutting turns mushy and black, it’s usually a sign of too much moisture. If you see this, sadly, it’s time to start over with a fresh cutting and adjust your watering habits.
Go Forth and Grow!
There you have it! Propagating Acisanthera quadrata is a wonderfully satisfying process that connects you deeply with the life cycle of your plants. Don’t get discouraged if your first attempt isn’t perfect. Gardening is a journey, and each experience teaches us something new. Grab your shears, have some fun, and enjoy the delightful company of your new plant babies! Happy gardening!
Resource:
https://identify.plantnet.org/k-world-flora/species/Acisanthera%20quadrata%20Juss.%20ex%20Poir./data