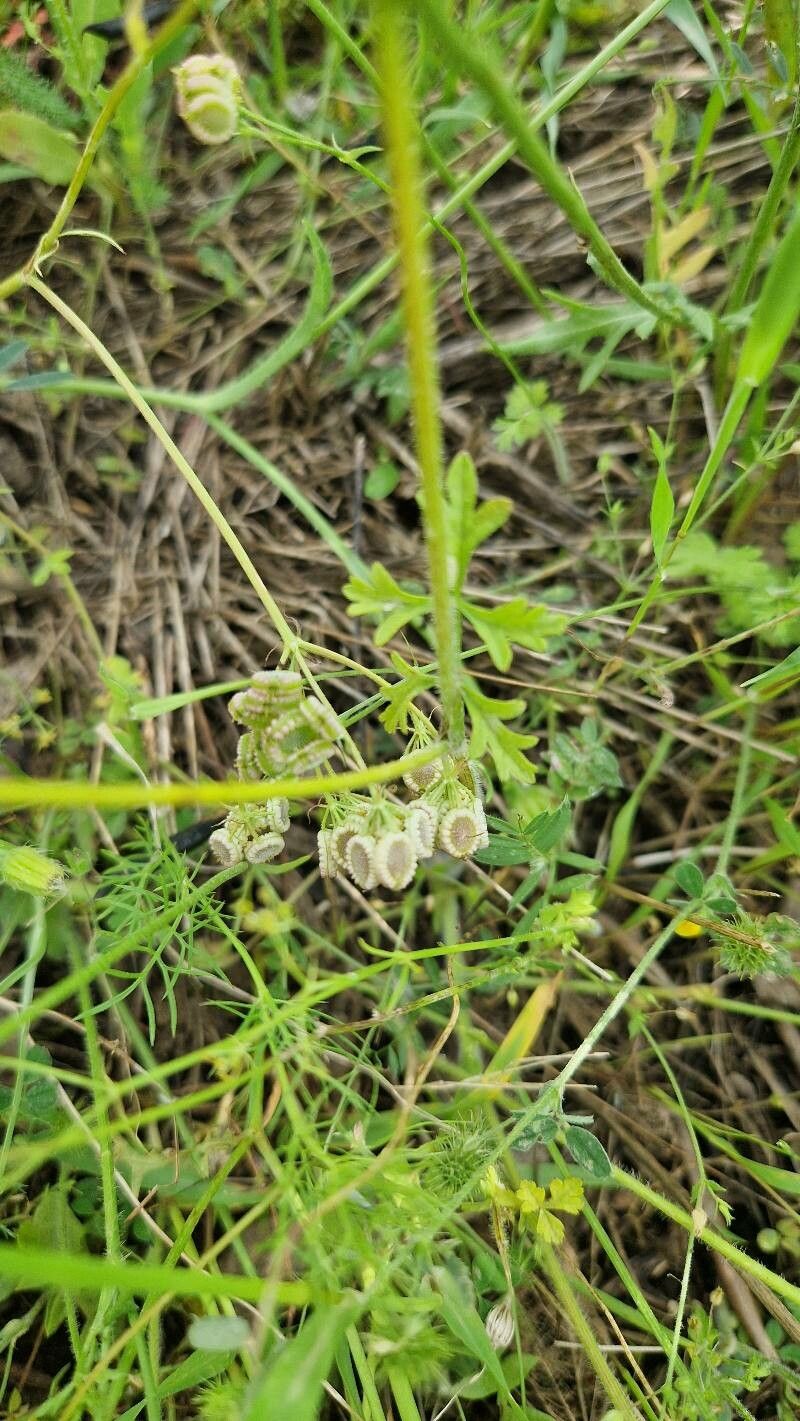
Oh, Tordylium apulum! If you’re looking for a delightful addition to your garden that bursts with charming umbels of lacy white flowers and lovely foliage, this is it. I’ve spent years admiring its delicate beauty, and propagating it has become one of my favorite little gardening rituals. It’s a plant that truly rewards your effort, and the best part? It’s quite forgiving, meaning even if you’re just dipping your toes into the world of plant propagation, you’ll likely find success here.
The Best Time to Start
For Tordylium apulum, I find the late spring or early summer, just as the plant is actively growing and before it gets too hot, to be the most opportune time. You’re looking for healthy, non-flowering stems. If you’ve just finished blooming, it’s a bit of a rest period, and you want that vibrant energy for cuttings to take root.
Supplies You’ll Need
Gathering your tools beforehand makes the whole process much smoother. Here’s what I generally keep on hand:
- Sharp, clean pruning shears or a sharp knife: For making clean cuts.
- Small pots or seed trays: Cleaned thoroughly, of course.
- Well-draining potting mix: I often use a blend of peat moss and perlite or vermiculite, roughly a 50/50 mix. A seed-starting mix works beautifully too.
- Rooting hormone (optional but recommended): For an extra boost. I prefer the powder form.
- Clear plastic bags or a propagation dome: To maintain humidity around your cuttings.
- Watering can with a fine rose attachment: To water gently.
- Labels: To keep track of what you’ve planted and when!
Propagation Methods
While Tordylium apulum can be grown from seed, I find stem cuttings to be the most reliable and rewarding method for creating new plants.
-
Take Your Cuttings: Head out to your mature plant on a pleasant morning. Look for healthy, vigorous stems that are not in bloom. You’re aiming for stems that are about 4-6 inches long. Using your clean pruning shears or knife, make a clean cut just below a leaf node (that’s where leaves sprout from the stem). Remove the lower leaves from the cutting, leaving just a couple of leaves at the very top. This reduces water loss and prevents leaves from rotting in the soil.
-
Prepare for Rooting: If you’re using rooting hormone, dip the cut end of the stem into the powder, tapping off any excess.
-
Plant Your Cuttings: Fill your clean pots or trays with your well-draining potting mix. Make a small hole in the center of the soil with your finger or a pencil. Gently insert the cut end of the stem into the hole, ensuring the nodes without leaves are buried for potential root development. Firm the soil gently around the cutting.
-
Water Gently: Water your cuttings thoroughly but gently. You want the soil to be moist but not waterlogged.
-
Create a Humid Environment: This is key! Place your pots inside a clear plastic bag that’s loosely tied, or pop them under a propagation dome. This traps humidity, which is essential for the cuttings to develop roots without drying out. Place the pots in a bright location but out of direct, harsh sunlight. Too much sun can scorch the delicate cuttings.
The “Secret Sauce” (Pro Tips)
Now, for a few little tricks I’ve picked up over the years that really seem to make a difference with Tordylium apulum:
- The Bottom Heat Trick: If you have a heating mat designed for propagators, place your pots on it. A little warmth from below encourages root development. It’s like giving your cuttings a cozy footbath to stimulate growth.
- Air Circulation is Your Friend: While you want humidity, you don’t want stagnant air, which can lead to fungal issues. Every day or two, lift the plastic bag or open the dome for a few minutes to allow for some fresh air exchange.
- Patience with the Leaves: If you are attempting water propagation (though I find soil is better for this one), and you see any leaves dangling into the water, nip them off. Submerged leaves will rot and can take down your whole cutting.
Aftercare & Troubleshooting
Once your cuttings have been planted, the waiting game begins! You’ll want to keep the soil consistently moist but never soggy. Check the humidity under your plastic tent regularly; if it seems dry, mist the leaves lightly or add a touch more water to the soil.
You’ll know your cuttings have rooted successfully when you see new leaf growth. You might also feel a gentle resistance if you tug very lightly on a stem. This usually takes anywhere from 4 to 8 weeks. Once roots have formed and you’re seeing good growth, you can start to gradually acclimatize them to normal garden humidity by slowly opening the bag or dome over a week or so. You can then transplant them into slightly larger pots.
The most common sign of trouble is wilting and browning leaves, which often means the cutting has dried out, or mushy, blackened stems, which usually indicates rot from overwatering and poor air circulation. If you see rot, it’s best to discard that cutting and start again, ensuring your soil is well-draining and your humidity isn’t excessive.
A Little Encouragement
Propagating plants is a journey of observation and a bit of hopeful anticipation. Don’t be disheartened if a few cuttings don’t make it – it happens to the best of us! Celebrate the successes, learn from any setbacks, and most importantly, enjoy the quiet satisfaction of nurturing new life from your beloved Tordylium apulum. Happy growing!
Resource:
https://identify.plantnet.org/k-world-flora/species/Tordylium%20apulum%20L./data