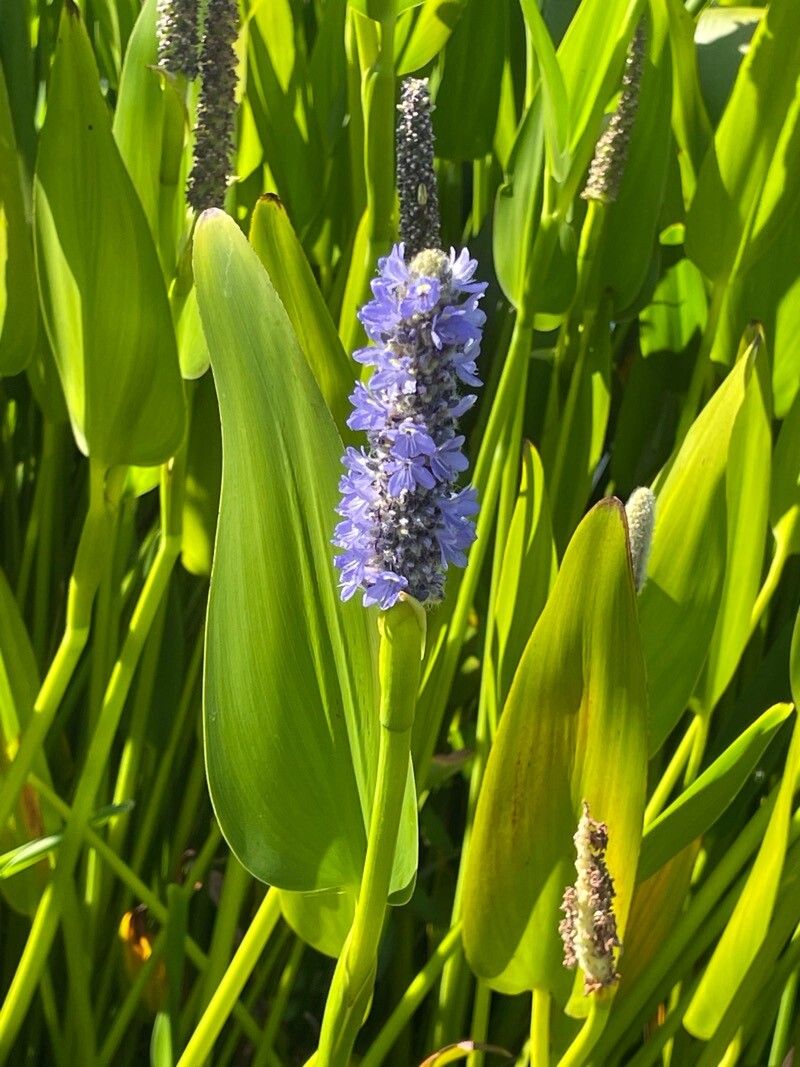
Hello there, fellow garden enthusiasts! I’m so delighted you’re here today to chat about one of my garden favorites: Pickerelweed, or Pontederia cordata. If you’ve ever seen its lovely spires of blue-purple flowers gracing a pond or water garden, you know exactly why I adore it. It adds such a vibrant splash of color and life! And the best part? It’s surprisingly easy to share its beauty. Propagating Pickerelweed is a wonderfully rewarding journey, and I promise, even if you’re just starting out with water plants, you’ll find this process quite forgiving.
The Best Time to Start
Now, when should you get your hands dirty (or… wet!) to begin propagating Pickerelweed? Generally, the late spring or early summer is your golden window. This is when the plant is actively growing and has the most energy to put into developing new roots. You’ll see lots of fresh growth, making it the perfect time to take cuttings or divide established clumps.
Supplies You’ll Need
A few bits and bobs will make your propagation efforts even smoother. Here’s what I usually have on hand:
- Sharp pruning shears or a clean knife: For making precise cuts.
- A pot or container: For your new cuttings or divisions. Shallow trays work well for divisions.
- Well-draining potting mix: For potting up rooted divisions. A mix of compost and sand is a good starting point.
- A bucket or tub: For placing potted plants in a water garden or for water propagation.
- Small pebbles or gravel: To help anchor cuttings if needed.
- Rooting hormone (optional): Sometimes helpful, especially for cuttings.
Propagation Methods
Pickerelweed offers a couple of straightforward ways to multiply your collection.
1. Division (The Easiest Method)
This is hands-down the simplest way to propagate Pickerelweed. Established plants will naturally form clumps that get bigger each year.
- Gently unearth the plant: In late spring or early summer, carefully lift the entire clump from its pot or spot in the pond. It’s okay if some mud comes along for the ride!
- Separate the divisions: Look for healthy shoots that have their own roots attached. You can often gently pull these apart with your hands. For tougher clumps, use your clean pruning shears or knife to cut through the rhizomes (the thick underground stems). Aim for divisions that have at least a few leaves and a good root system.
- Pot them up: If you’re not replanting them immediately, pop your divisions into pots filled with a bit of compost and sand. You can keep these in a bucket of water for a short while.
- Replant: Place your new divisions back into your water garden or in pots submerged in water. Make sure the crown (where the leaves emerge from the roots) is at or just below the water level.
2. Stem Cuttings (A Little More Patience)
This method works well for encouraging new plants from actively growing stems.
- Select healthy stems: Look for strong, non-flowering stems that are about 4-6 inches long.
- Make the cut: Using your sharp shears or knife, cut a healthy stem just below a leaf node (where a leaf attaches to the stem). It’s best if the stem has a few leaves.
- Prepare the cutting: Remove the lower leaves, leaving just a couple at the very top. This prevents them from rotting in the water. If you’re using rooting hormone, dip the cut end into it now.
- Place in water: Put the prepared cutting into a jar or vase filled with clean water. Make sure none of the leaves are submerged. You want only the stem end to be in the water.
- Find a bright spot: Place your cuttings in a location that receives bright, indirect light. Avoid direct, harsh sunlight.
- Watch for roots: With a bit of luck and patience, you should start seeing tiny white roots emerge from the cut end in a few weeks. Once the roots are an inch or two long, you can pot them up into a shallow container of moist potting mix, keeping them consistently damp.
The “Secret Sauce” (Pro Tips)
Here are a couple of little tricks I’ve picked up over the years that can really boost your success rate:
- Don’t let those leaves touch the water on cuttings! Seriously, this is a big one. Submerged leaves are a fast track to rot. Keep them high and dry, and it’ll make a world of difference.
- Give newly divided plants a little help. When I replant divisions, I like to give them a gentle rinse of diluted liquid fertilizer specifically for aquatic plants. It’s like a little energy drink to help them settle in.
Aftercare & Troubleshooting
Once your divisions are replanted or your cuttings have rooted, the real magic begins!
- Keep them moist: For potted divisions, ensure the soil stays consistently damp. For water-propagated plants, make sure they are at the correct depth in their new water home.
- Acclimatize gradually: If you’ve started cuttings indoors, slowly introduce them to outdoor conditions before planting them permanently.
- Watch for rot: If you see stems or leaves turning yellow and mushy, it’s usually a sign of too much moisture or poor air circulation. This is common with cuttings if leaves are submerged. If you see this with divisions, ensure they aren’t planted too deeply or in stagnant, stagnant water.
- Pests are rare: Pickerelweed is pretty tough, but occasionally, you might see some aphids. A gentle blast of water from the hose usually does the trick.
A Grateful Farewell
So there you have it! Propagating Pickerelweed is a wonderfully accessible way to expand your water garden or simply share these beauties with friends. Be patient with the process, enjoy observing the new growth, and don’t be afraid to experiment. Happy gardening, and may your waters be ever blue with the charm of Pickerelweed!
Resource:
https://identify.plantnet.org/k-world-flora/species/Pontederia%20cordata%20L./data