Oh, hello there! Come on in and grab a mug. Today, we’re diving into the wonderful world of propagating Paspalum repens, also known as creeping shoregrass. If you’ve ever admired its lush, trailing foliage and its ability to create a beautiful, natural groundcover, you’re in for a treat. I find propagating Paspalum repens to be incredibly rewarding, and honestly, it’s a fantastic plant for beginners looking to get their propagation hands dirty. You’ll be amazed at how quickly you can multiply this beauty!
The Best Time to Start
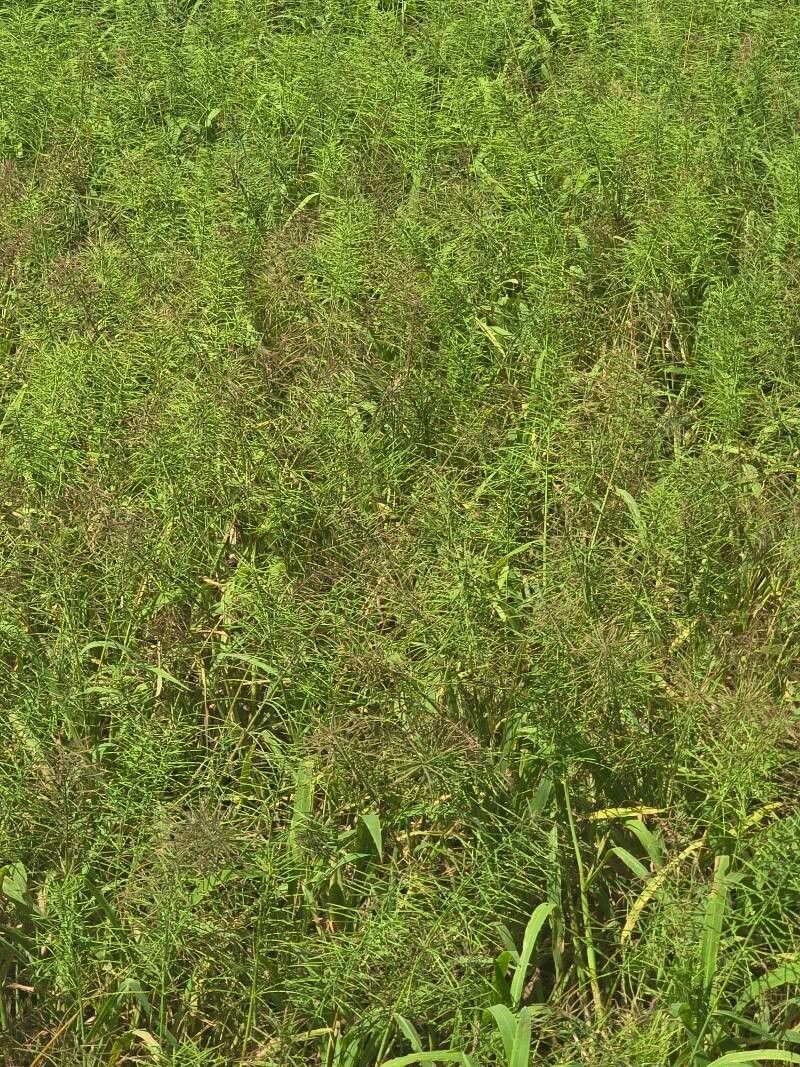
For the highest success rate, I always recommend propagating Paspalum repens during its active growing season. This typically means late spring through summer. The warmer temperatures and longer daylight hours really give those cuttings the boost they need to root. You’re looking for healthy, vigorous growth – think bright green stems that aren’t struggling or showing any signs of stress.
Supplies You’ll Need
Gathering your supplies beforehand makes the whole process so much smoother. Here’s what I usually have on hand:
- Sharp, clean pruning shears or scissors: You want to make clean cuts, not crush the stems.
- Small pots or containers: About 4-6 inches in diameter are perfect. Make sure they have drainage holes!
- Well-draining potting mix: A good blend for this is often half potting soil and half perlite or coarse sand. You want it to dry out between waterings.
- Rooting hormone (optional but recommended for beginners): This just gives those cuttings an extra little nudge to form roots.
- Watering can or spray bottle: For gentle watering.
- Labels or plant markers: Trust me, you’ll thank yourself later!
Propagation Methods
Paspalum repens is a real trooper when it comes to propagation. You’ve got a couple of easy-to-manage methods that work like a charm.
Stem Cuttings
This is my go-to method. It’s super simple and almost always successful.
- Take your cuttings: Using your clean shears, select healthy stems that are at least 4-6 inches long. Make a cut just below a leaf node – that’s the little bump where a leaf emerges from the stem. You’ll find that this is where the magic happens for rooting.
- Prepare the cuttings: Gently remove the lower leaves, leaving just a few at the top. This is important because any leaves submerged in soil or water will likely rot.
- Apply rooting hormone (if using): Dip the cut end of each stem into the rooting hormone powder, tapping off any excess.
- Plant the cuttings: Fill your small pots with your well-draining potting mix. Make a small hole with your finger or a pencil and insert the prepared cutting, ensuring the nodes where you removed the leaves are below the soil surface. Gently firm the soil around the stem.
- Water gently: Give them a good but gentle watering. You want the soil to be moist, not soaking wet.
Water Propagation
This is a fun one to watch!
- Take your cuttings: Same as above, select healthy stems and cut just below a leaf node.
- Prepare the cuttings: Remove the lower leaves.
- Place in water: Put the cuttings in a jar or glass of water. Make sure no leaves are touching the water. Any leaves submerged will just decay. Keep them in a bright spot, but out of direct, harsh sunlight.
- Change the water: Refresh the water every few days to keep it clean and oxygenated. You should start to see tiny roots forming from the nodes within a couple of weeks.
- Plant when ready: Once the roots are about 1-2 inches long, you can carefully transplant them into pots filled with your well-draining potting mix.
Division
If you have a mature plant that’s looking a bit crowded or has grown too large for its pot, division is a great option.
- Gently remove the plant: Carefully take the entire plant out of its container.
- Inspect the root ball: Loosen any compacted soil around the roots. You’ll see where the plant naturally wants to separate into smaller sections.
- Divide the plant: Gently pull or use a clean trowel to separate the root ball into smaller clumps. Each clump should have healthy roots and some leafy shoots.
- Replant: Pot up these divisions into their own containers with fresh potting mix, or replant them back into the same pot if you’re just dividing to manage size. Water them in well.
The “Secret Sauce” (Pro Tips)
Here are a couple of little tricks I’ve learned over the years that really help get those propagations off to a flying start.
- Mimic Humidity: For stem cuttings, creating a little humid environment can work wonders. You can pop a clear plastic bag loosely over the pot. Just make sure there’s some air circulation so you don’t create a soggy disaster. It helps prevent the cuttings from drying out before they can root.
- Consider Bottom Heat: If you’re propagating in cooler weather, or just want to speed things up, placing your pots on a heat mat designed for seedlings can make a huge difference. Warmer soil encourages faster root development. It’s like giving them a warm hug!
Aftercare & Troubleshooting
Once you see those little roots peeking out or your cuttings start to sprout new growth, that’s a wonderful sign!
- For cuttings in soil: Continue to keep the soil consistently moist but not waterlogged. Gradually introduce them to more light as they establish. You can gently tug on a cutting after a few weeks; if it resists, you’ve got roots!
- For cuttings moved from water to soil: Be extra gentle during transplanting. Keep the soil moist for the first week or two to help them adjust.
- Signs of Trouble: The most common issue is rot. If your stem cuttings turn mushy, black, or slimy, it’s usually a sign of too much moisture and not enough drainage, or they’ve been sitting in stagnant water. If you notice rot, unfortunately, it’s usually best to discard the affected cutting before it spreads. Overwatering is the main culprit, so always err on the side of slightly drier rather than constantly soggy soil.
A Encouraging Closing
Propagating Paspalum repens is a joy. It’s a great way to share your love of gardening with friends or simply to fill your own spaces with more of this lovely plant. Be patient with your new babies. Not every cutting will take, and that’s perfectly normal! Enjoy the process, celebrate your successes, and learn from any little setbacks. Happy propagating!
Resource:
https://identify.plantnet.org/k-world-flora/species/Paspalum%20repens%20P.J.Bergius/data