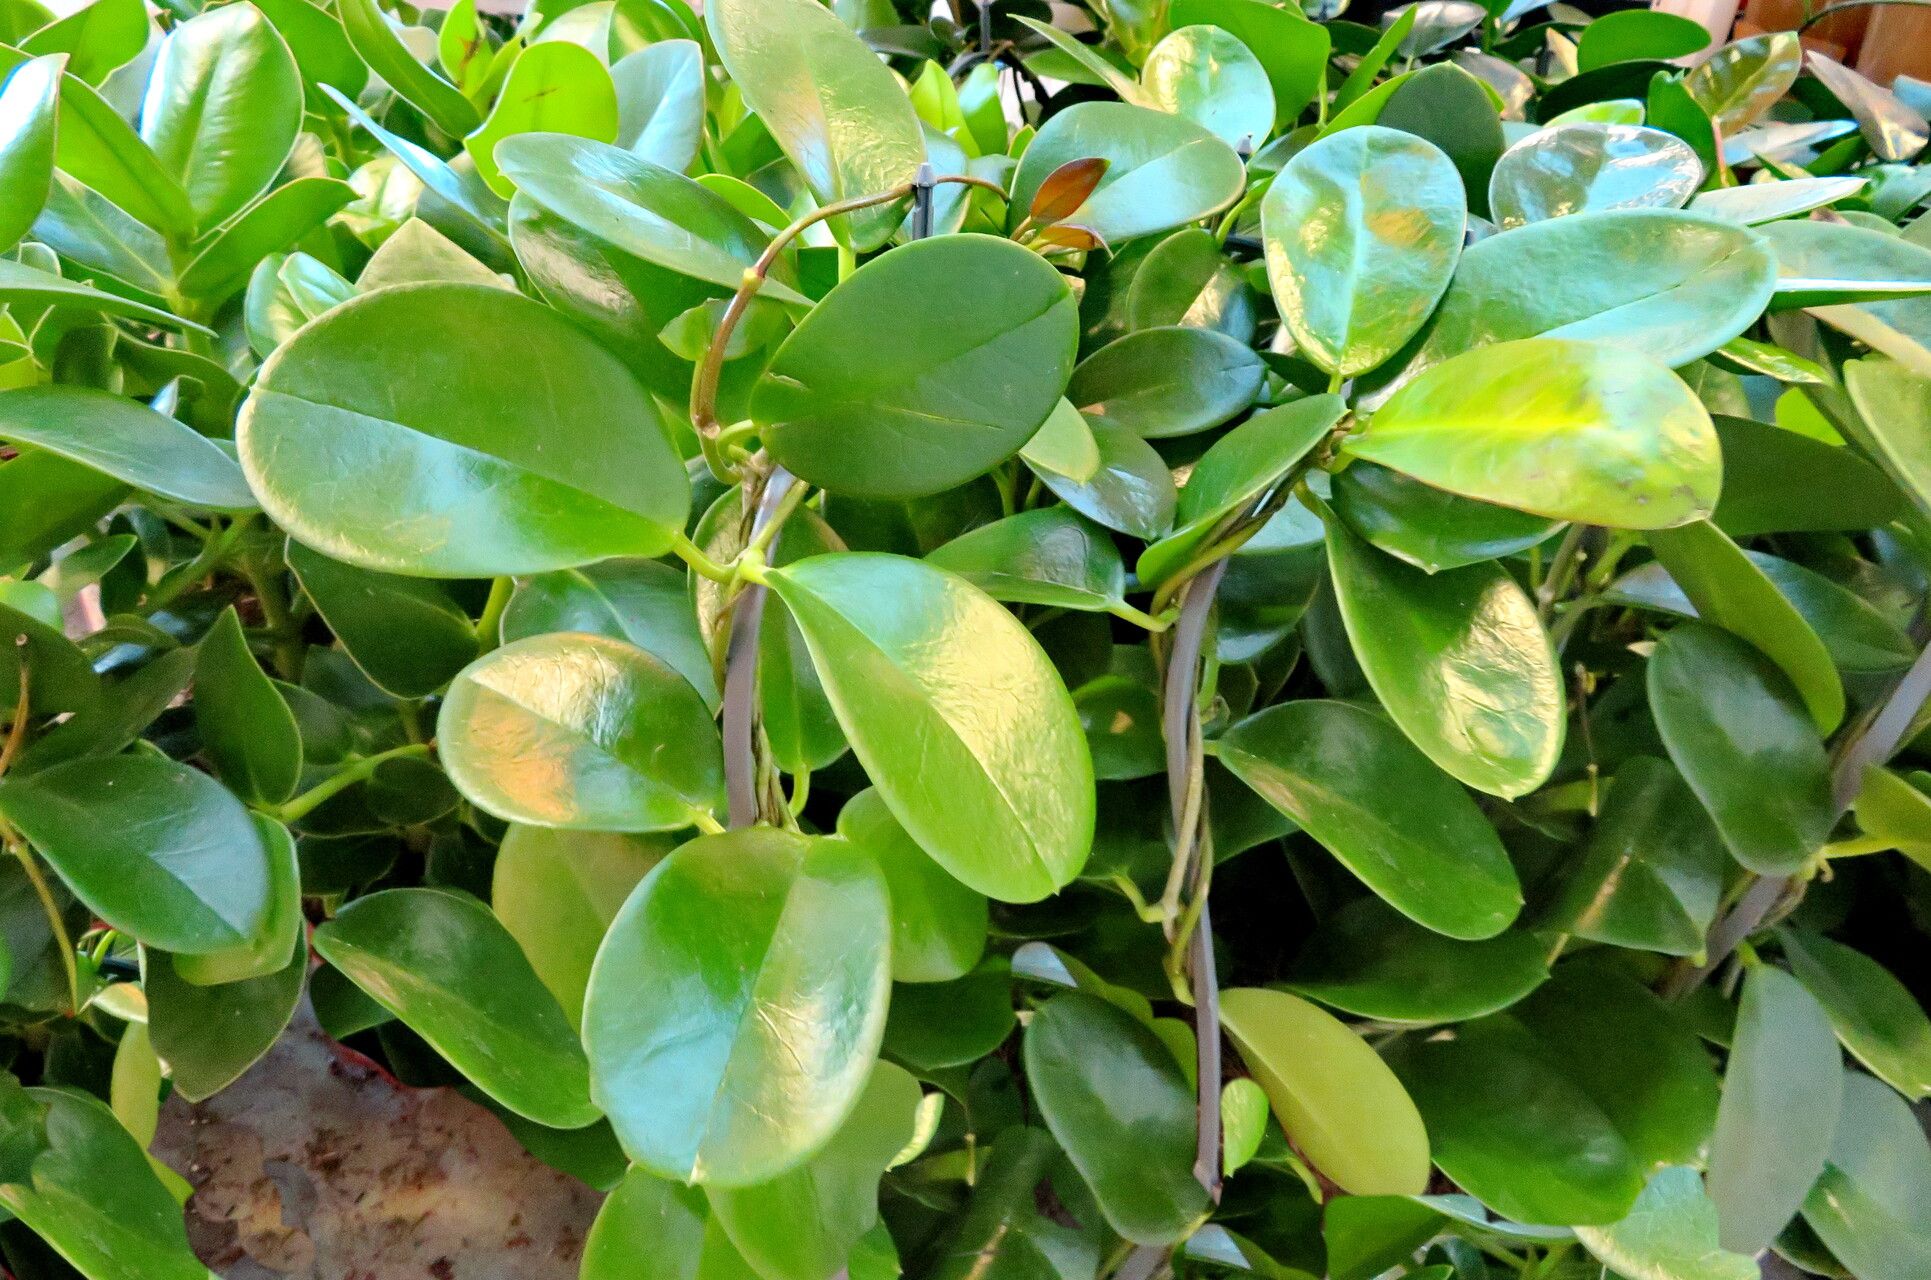
Oh, Hoya australis! What a delightful plant to have in your collection. I remember the first time I saw its waxy, heart-shaped leaves cascading down a basket. It truly is a beauty, and the fact that you can easily create more of your own from a well-loved specimen? Pure gardening joy!
Many of you might be wondering if Hoya propagation is for the faint of heart. Let me tell you, Hoya australis is wonderfully generous. It’s a fantastic plant for beginners looking to dip their toes into the world of propagation. With a little patience and these tips, you’ll be well on your way to creating your own little Hoya family.
The Best Time to Start
Generally, the warmer months are your best bet for propagating Hoya australis. Think spring and summer. This is when the plant is actively growing, and its energy is buzzing. You’ll find cuttings are more likely to root quickly and healthily. When you see new growth emerging on your plant, that’s a great cue that it’s ready to share some of its vigor!
Supplies You’ll Need
Here’s what you’ll want to have on hand before you get started:
- Sharp, clean pruning shears or a knife: Sanitize them with rubbing alcohol to prevent disease.
- Rooting hormone (optional but recommended): I like the powder kind, but liquid works too. It just gives your cuttings a little boost.
- A good potting mix: A well-draining mix is crucial. I often use a blend of peat moss, perlite, and a little bit of orchid bark. You can also find specific succulent or cactus mixes.
- Small pots or seed trays: Whatever you choose, make sure they have drainage holes.
- Clear plastic bags or a small greenhouse: This helps maintain humidity around your cuttings.
- Water: For the water propagation method.
Propagation Methods
Hoya australis is pretty forgiving, and you have a couple of lovely ways to grow new plants.
Stem Cuttings
This is my go-to method, and it’s incredibly straightforward.
- Take a Cutting: Find a healthy stem that has at least two sets of leaves. Using your clean shears, make a cut just below a leaf node (that’s the little bump where the leaf joins the stem). You want a cutting that’s about 4-6 inches long.
- Remove Lower Leaves: Gently remove the leaves from the bottom inch or so of the cutting. This prevents them from rotting when they’re in the soil.
- Apply Rooting Hormone: If you’re using rooting hormone, lightly dip the cut end into the powder or liquid. Tap off any excess.
- Plant Your Cutting: Fill your small pot with your well-draining potting mix. Make a small hole with your finger or a pencil, and gently insert the cut end of the Hoya cutting. Press the soil gently around the stem to secure it.
- Water Lightly: Give the soil a gentle watering. You want it to be moist, but not soggy.
- Create Humidity: Place a clear plastic bag over the pot, or put the pot inside a small greenhouse. This creates a humid environment that encourages rooting. You can use a few chopsticks to prop up the bag so it doesn’t touch the leaves.
Water Propagation
This method is visually rewarding as you can watch the roots grow!
- Prepare Your Cutting: Follow steps 1 and 2 from the stem cutting method above. You don’t need to remove all the leaves, just the ones that would be submerged in water.
- Place in Water: Fill a clean glass or jar with clean water. Place your Hoya cutting into the water, making sure the leaf nodes are submerged. Crucially, do not let the leaves be in the water. They will rot quickly.
- Find a Good Spot: Place the jar in a bright spot with indirect light.
- Change Water Regularly: Change the water every few days, or whenever it looks cloudy, to keep it fresh and prevent bacterial growth.
The “Secret Sauce” (Pro Tips)
Here are a few things I’ve learned over the years that really make a difference:
- Bottom Heat: Hoyas love a little warmth to get their roots going. Placing your pots on a seedling heat mat can significantly speed up the rooting process, especially if your home is on the cooler side. It mimics the warmth of spring soil.
- Patience is Key (and Observation): Don’t be discouraged if you don’t see roots immediately. Some cuttings can take weeks, even a couple of months, to show signs of rooting. I often gently tug on a cutting – if there’s resistance, it means roots have formed! Also, avoid overwatering. This is the quickest way to rot a cutting before it even has a chance to root. Let the top inch of soil dry out between waterings.
- Consider Leaving a “Heel”: When taking a stem cutting, if possible, try to take a small piece of the older stem the cutting is attached to. This “heel” can sometimes provide extra energy and nutrients, leading to faster rooting.
Aftercare & Troubleshooting
Once you see those lovely roots forming, whether in water or starting to emerge from the soil, it’s time for them to join the big leagues!
- For Water Cuttings: Once your cuttings have developed a good root system at least an inch or two long, you can carefully transplant them into pots with your well-draining potting mix, following steps 4-6 from the stem cutting method.
- For Soil Cuttings: If your cutting feels secure in the soil and you suspect roots have formed (again, that gentle tug test!), you can gradually decrease the humidity. Start by opening the plastic bag for a few hours a day, then remove it entirely. Continue to water when the top inch of soil is dry.
- Troubleshooting: The most common issue you’ll face is rot. If your cutting turns brown and mushy, it’s likely succumbed to rot. This is usually due to too much moisture and not enough air circulation. Discard the rotted cutting. Another sign of a struggling cutting is yellowing leaves that then fall off. This can also be a sign of overwatering or insufficient light.
A Encouraging Closing
Propagating plants is such a rewarding journey. It’s a tangible way to connect with nature and expand your green family. Don’t be afraid to experiment, and most importantly, enjoy the process! Even if not every cutting takes, you’ll learn with each attempt. Happy propagating!
Resource:
https://identify.plantnet.org/k-world-flora/species/Hoya%20australis%20R.Br.%20ex%20J.Traill/data