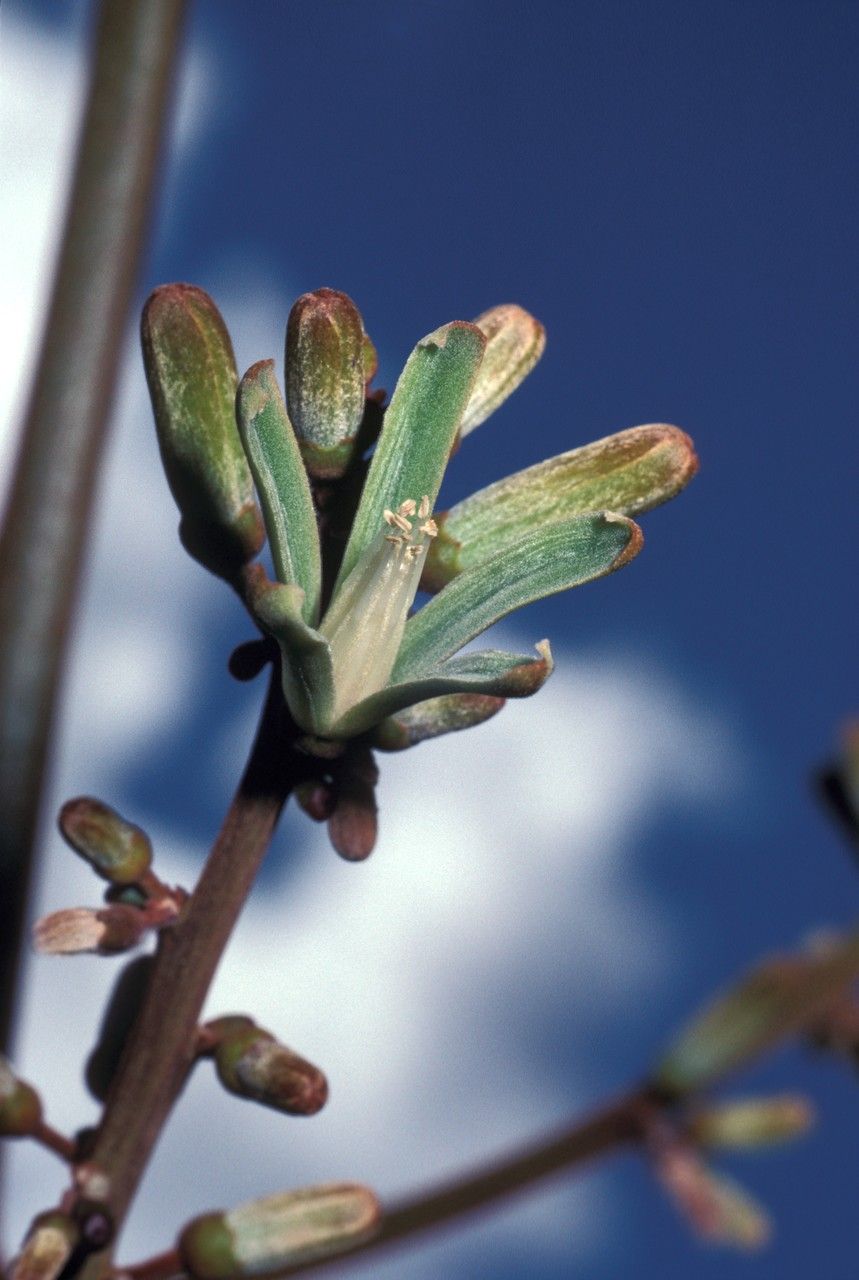
Hey there, fellow plant lovers! It’s so good to have you here. Today, we’re diving into the wonderful world of propagating Homalolepis cedron, a plant that truly brings a special kind of magic to any garden. I’ve been growing and working with plants for two decades now, and I can tell you, there’s a special kind of joy in watching a tiny cutting transform into a thriving new specimen. Homalolepis cedron is absolutely striking with its delicate foliage and often fragrant blooms, making it a real showstopper.
Now, if you’re new to the plant propagation game, you might be wondering if this is a good place to start. I’d say Homalolepis cedron is moderately easy to propagate. It requires a little bit of attention and understanding, but the rewards are so worth it. Think of this as a lovely step up as you build your confidence in the garden.
The Best Time to Start
For the highest chance of success with Homalolepis cedron, I always recommend working with softwood or semi-hardwood cuttings. The absolute best time for this is in late spring to early summer, right after it finishes its main flush of flowering, or even sometimes during a strong new growth spurt in early summer. The plant is actively growing and has plenty of energy to put into forming new roots. Avoid taking cuttings during very hot, dry periods or when the plant is stressed.
Supplies You’ll Need
Gathering your supplies beforehand makes the whole process much smoother. Here’s what I always have on hand:
- Sharp, clean pruning shears or a sharp knife: This is crucial for making clean cuts to avoid damaging the plant.
- Rooting hormone powder or gel: This isn’t strictly mandatory for all plants, but it significantly boosts the success rate for cuttings. Find one formulated for softwood cuttings.
- Well-draining potting mix: I like a blend of perlite and peat moss or coco coir, roughly in equal parts. You can also use a good quality seed-starting mix.
- Small pots or seedling trays: Clean containers are a must! Make sure they have drainage holes.
- Plastic bags or a propagator lid: This helps maintain humidity around your cuttings, which is vital.
- Small watering can or mister: For gentle watering.
- Labels and a marker: You’ll thank me later when you forget which cutting is which!
Propagation Methods
Let’s get our hands dirty! The most reliable way to propagate Homalolepis cedron is through stem cuttings.
- Select and take your cuttings: Choose healthy, vigorous stems that are pencil-thick and have new growth at the tip, but aren’t yet woody. You want stems that are slightly flexible. Using your clean shears, cut a section about 4-6 inches long, just below a leaf node (where a leaf attaches to the stem). Remove any flowers or flower buds from the cutting – they steal energy needed for root formation.
- Prepare the cutting: Gently remove the lower leaves from the bottom half of the cutting. This prevents them from rotting once buried in the soil. You can leave 2-3 leaves at the very top to help with photosynthesis.
- Apply rooting hormone: Dip the cut end of the stem into your rooting hormone powder or gel. Tap off any excess.
- Pot up your cuttings: Fill your clean pots with your prepared well-draining potting mix. Make a small hole in the center with your finger or a pencil. Insert the treated end of the cutting into the hole, ensuring the leaf nodes that were below the soil line are covered. Gently firm the soil around the cutting.
- Water gently: Water thoroughly but gently, ensuring the soil is moist but not soggy.
The “Secret Sauce” (Pro Tips)
Here are a couple of things I’ve learned over the years that really make a difference:
- Mimic a humid environment, but don’t drown it: Once potted, cover your cuttings with a clear plastic bag or place them in a small propagator. Ensure the leaves don’t touch the plastic, as this can lead to mildew. This creates a mini-greenhouse effect, keeping the humidity high, which is essential for cuttings to survive before they develop roots.
- Consider bottom heat: If you have a seedling heat mat, placing your pots on it can significantly speed up root development. Homalolepis cedron loves a bit of warmth to encourage those roots to form. It’s like giving them a little spa day!
Aftercare & Troubleshooting
Once your cuttings are potted and covered, place them in a location that receives bright, indirect light. Avoid direct sun, which can scorch the delicate cuttings. Keep the soil consistently moist, but never waterlogged. This is where that well-draining mix truly shines.
You’ll know your cuttings are rooting when you see new leaf growth or when you gently tug on a cutting and feel resistance. This typically takes 4-8 weeks, but can sometimes take longer. Be patient!
What if things go wrong? The most common issue is rot. If you see your cuttings turning black and mushy, it’s usually a sign of too much moisture and not enough air circulation. If you spot this early, you might be able to salvage healthy parts of the stem, but often, it’s best to discard the rotten ones to prevent spreading any fungal issues. Ensure your drainage is good and consider slightly reducing watering frequency if rot is a persistent problem.
A Encouraging Closing
Propagating plants is a journey, and with Homalolepis cedron, it’s a particularly rewarding one. Don’t be discouraged if your first few attempts aren’t perfect. Each plant and each cutting is a learning opportunity. Celebrate the successes, learn from the challenges, and most importantly, enjoy the process of bringing new life into your garden. Happy propagating!
Resource: