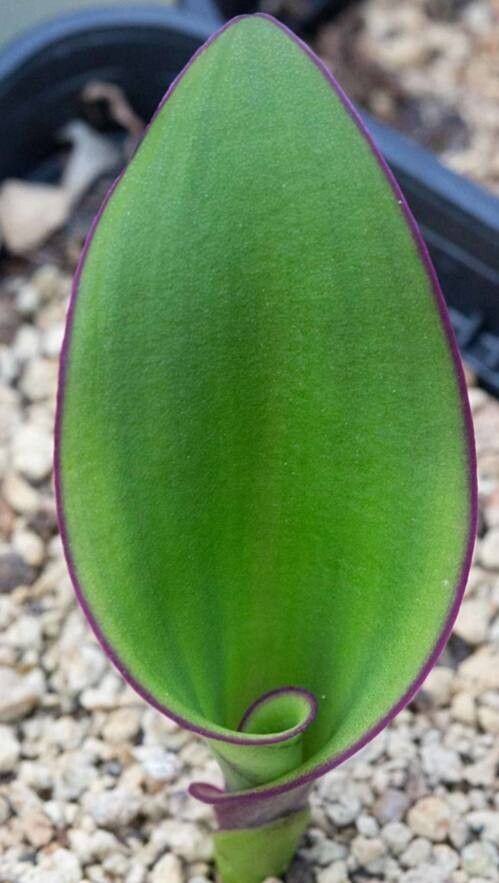
Oh, Eucomis! Those pineapple lilies, aren’t they just delightful? Those quirky, star-shaped blooms topped with a tuft of greenery always bring a smile to my face. And the best part? Growing more of them from your existing plants is surprisingly rewarding, and thankfully, not too intimidating for us home gardeners! Let’s get you started on creating your own little pineapple lily patch.
The Best Time to Start
When it comes to Eucomis humilis, the magic really happens in late spring or early summer. This is when the plant is actively growing and has plenty of energy to spare for creating new life. You’ll be looking for healthy, established plants that have finished their blooming cycle or are just showing signs of slowing down. Avoid trying to propagate from a plant that looks stressed or is just coming out of dormancy – we want a happy donor, after all!
Supplies You’ll Need
Gathering your tools beforehand makes the whole process much smoother. Here’s what I reach for:
- Sharp, clean pruning shears or a small knife: For making clean cuts.
- Well-draining potting mix: I like a blend of regular potting soil with perlite and a bit of sand. Something that won’t hold onto too much moisture is key.
- Small pots or propagation trays: With drainage holes, of course!
- Rooting hormone (optional but helpful): Especially for the bulb division method.
- Watering can or spray bottle: For gentle watering.
- Labels: To keep track of your new arrivals!
Propagation Methods
Eucomis humilis is a forgiving plant, and you’ve got a couple of really effective ways to multiply it.
Bulb Division
This is my go-to method for Eucomis because it’s straightforward and yields results relatively quickly.
- Digging Up: In late spring or early summer, gently dig up your established Eucomis clump. You want to be careful not to damage the bulbs.
- Cleaning: Carefully brush off as much of the soil as you can. You’re looking for the main bulb and any smaller offsets or bulblets that have formed around its base.
- Separating: Using your hands or a clean knife, carefully twist or cut away the smaller bulblets from the main bulb. Each bulblet should have at least one growth point. Don’t worry if you get a tiny bit of the main bulb attached to the smaller ones; that’s perfectly fine.
- Drying (Optional but good for preventing rot): Let the divided bulbs sit in a dry, airy spot for a day or two to allow any cut surfaces to callus over. This helps prevent rot when they’re replanted.
- Planting: Fill your small pots with your well-draining potting mix. Plant the bulblets so that the top of the bulb is just at soil level. Water them in gently.
Leaf Propagation (A Bit More Advanced!)
While not as common for Eucomis as bulb division, you can sometimes get new plants from the leaves. This takes patience!
- Select Healthy Leaves: Choose one or two of the thickest, healthiest leaves from the base of a mature plant.
- Make the Cut: Using your sharp knife, cut the leaf away at its base, as close to the bulb as possible. You want to include a small piece of the basal PLATE where the roots and new growth will form.
- Allow to Dry: Let the cut end of the leaf dry and callus over for a few days in a cool, dry spot.
- Prepare for Rooting: Fill a shallow tray or small pots with your well-draining mix.
- Plant the Leaf: Insert the callused end of the leaf into the soil so it’s about an inch deep. You can plant several leaves this way, spaced a few inches apart.
- Mist Regularly: Keep the soil lightly moist, but not waterlogged. A misting bottle works well here to avoid disturbing the leaf.
The “Secret Sauce” (Pro Tips)
These are a few tricks I’ve learned over the years that really boost your chances of success.
- Bottom Heat is Your Friend: For both bulb division and leaf propagation, sitting your pots or trays on a gentle heat mat can significantly speed up root development. Eucomis likes it warm!
- Don’t Drown Your Divisions: This is probably the most crucial tip for bulb division. While they need some moisture, overwatering is the quickest way to invite rot. Water only when the top inch of soil feels dry.
- Patience with Leaf Cuttings: If you try the leaf method, don’t be discouraged if nothing happens for weeks, or even months. Eucomis is slow to start from leaf cuttings, but when those tiny new bulbs finally appear at the base, it’s so worth it!
Aftercare & Troubleshooting
Once you start seeing signs of new growth – that’s your cue!
- New Growth: For divided bulbs, you’ll see new leaves emerge from the top of the bulb. For leaf cuttings, you’ll notice tiny bulblets forming at the base of the cut leaf.
- Watering: Continue to water as needed, allowing the soil to dry out slightly between waterings. As the new plants grow larger, you can gradually move them into slightly larger pots.
- Light: Give your young Eucomis plenty of bright, indirect light. They’ll appreciate it as they develop.
- Troubleshooting Rot: The biggest enemy here is overwatering, which leads to bulb rot. If you see your bulb or leaf looking mushy and brown, it’s likely rotted. Unfortunately, there’s usually no coming back from that. Make sure your soil is free-draining and you’re not keeping the soil too wet.
A Encouraging Closing
Growing more of these delightful pineapple lilies is such a satisfying journey. Don’t get discouraged if your first attempt isn’t a roaring success. Gardening is all about learning and experimenting. Be patient with your new little plants, enjoy the process of nurturing them, and soon you’ll have a whole cluster of these quirky beauties to enjoy. Happy planting!
Resource:
https://identify.plantnet.org/k-world-flora/species/Eucomis%20humilis%20Baker/data