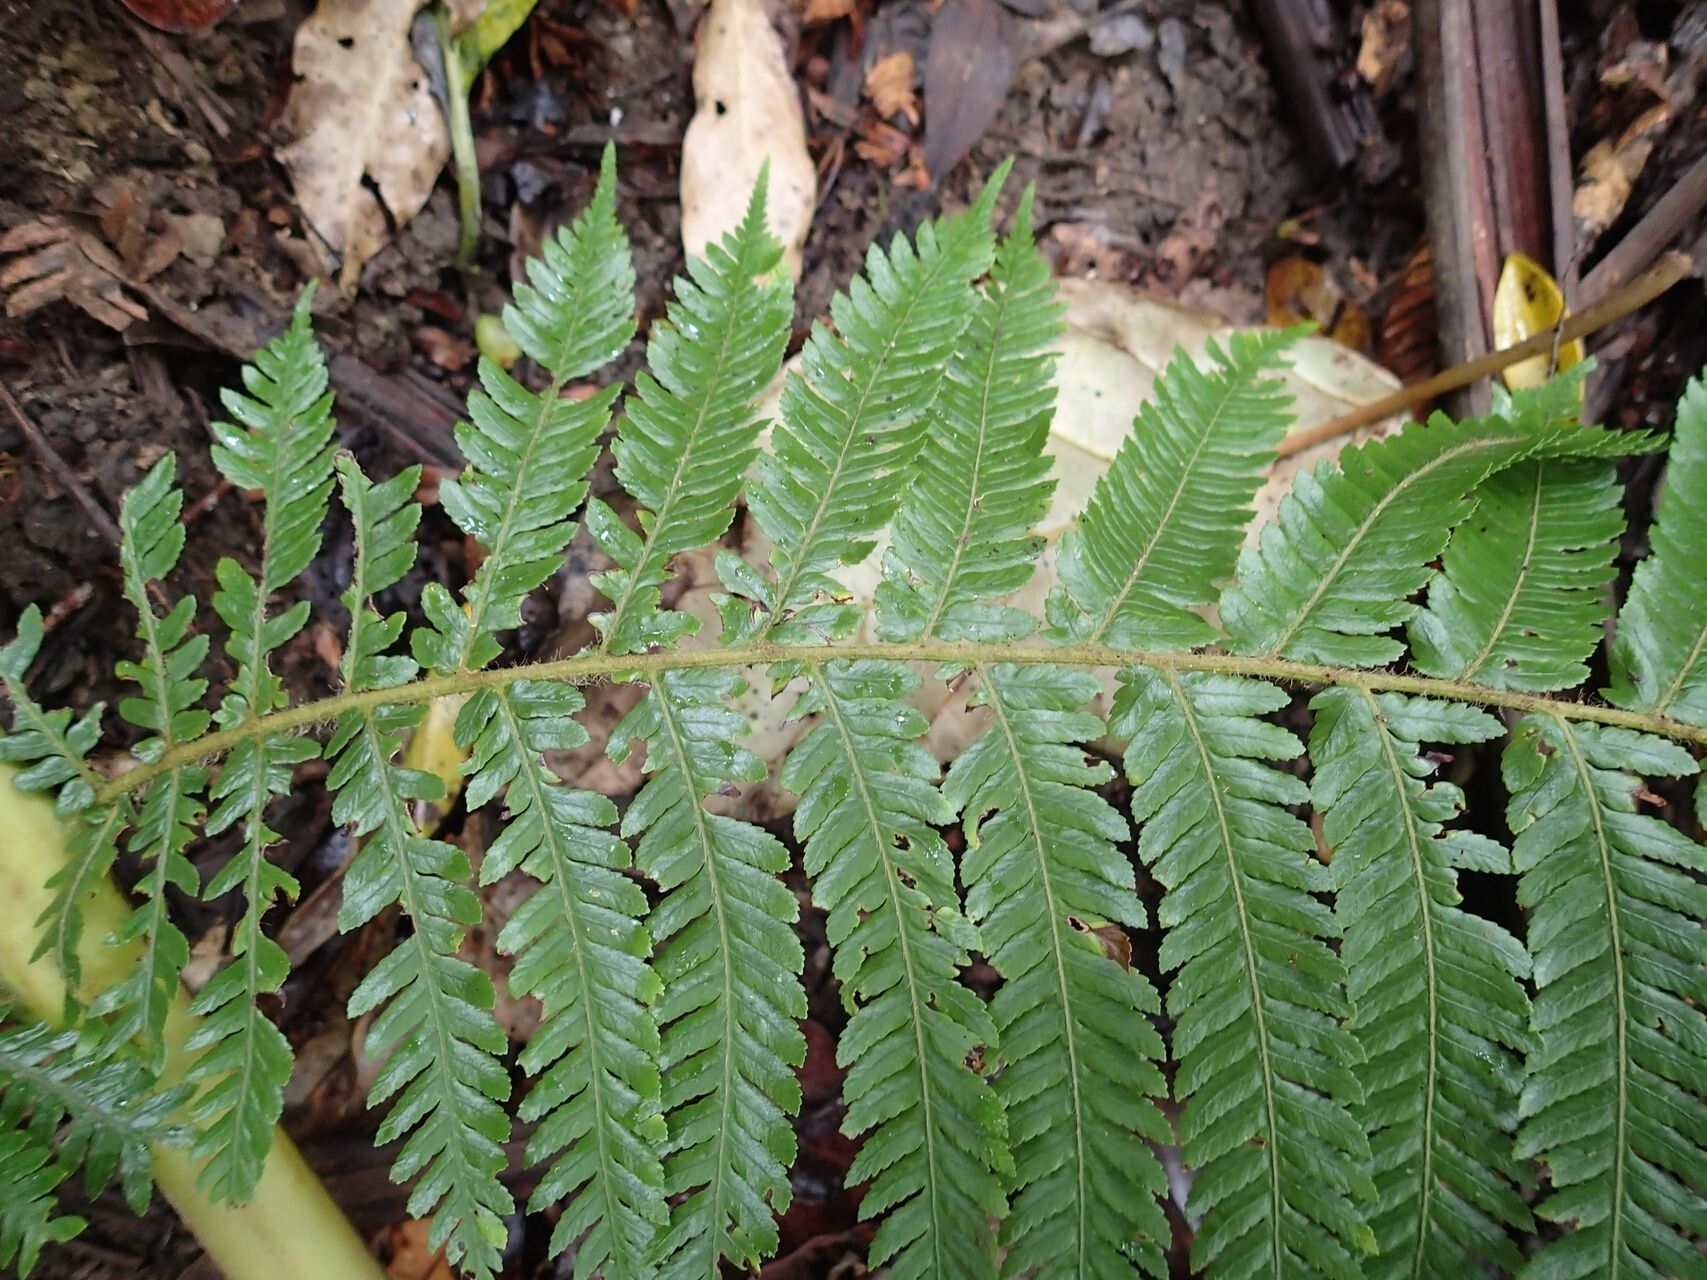
Oh, the beauty of a Dicksonia perrieri! If you’ve ever marvelled at the elegant, feathery fronds of these tree ferns, you’ve likely fallen under their spell. There’s something so primal and deeply green about them, bringing a touch of ancient forest to even the most manicured garden. And the idea of creating more of these living sculptures from an existing one? Pure gardening joy!
Now, let’s be real. Propagating Dicksonia perrieri isn’t quite like whipping up a batch of cuttings from a begonia. These are slow-growing, a bit particular beauties. So, while it’s certainly achievable, I wouldn’t call it a beginner’s “set it and forget it” project. But with a little patience and the right approach, you absolutely can succeed! It’s incredibly rewarding to nurture these ferns from a tiny start into something magnificent.
The Best Time to Start
Timing is everything, as they say, and with Dicksonia perrieri, the sweet spot is during active growth. Think late spring through early summer, just as the new fronds are starting to unfurl. This is when the plant has the most energy reserves to dedicate to new growth elsewhere, making it more receptive to propagation attempts. Trying this when the plant is dormant or stressed is a recipe for disappointment.
Supplies You’ll Need
Gathering your tools beforehand makes the process so much smoother. Here’s what I always have on hand:
- Sharp, sterile pruning shears or a clean knife: For making precise cuts. Sterilization is key to preventing disease. A quick wipe with rubbing alcohol does the trick.
- Well-draining potting mix: A blend of peat moss, perlite, and a bit of orchid bark works wonderfully. You want something that holds moisture but also allows for good aeration – soggy roots are the enemy!
- Rooting hormone (optional but recommended): Powdered or gel forms can give your cuttings a helpful boost.
- Small pots or rooting containers: Seedling pots or even small plastic containers with drainage holes will work.
- Plastic bags or a propagation dome/tent: To create a humid environment for your cuttings.
- A spray bottle: For misting.
- A warm location: Ideally with bottom heat, like a heat mat.
Propagation Methods
While Dicksonia perrieri are often propagated by division, my preferred method for creating new plants from a mature specimen is through stem cuttings taken from the trunk. It’s a bit more involved but often yields fantastic results.
Here’s how I do it:
- Identify a Suitable Section: Look for a section of the trunk that is at least 4-6 inches long. It should appear healthy and free from any rot or damage. Often, you can find some natural growth points or smaller root systems already emerging from the trunk.
- Make the Cut: Using your sterilized pruning shears or knife, make a clean, horizontal cut through the trunk. Try to disturb the main plant as little as possible.
- Prepare the Cutting: Gently remove any lower fronds or debris from the bottom of your cutting. If there are any emerging fronds, you can leave them, but be aware they will draw energy. Some folks prefer to remove these very young fronds to encourage root development.
- Apply Rooting Hormone (If Using): Dip the cut end of the trunk into your rooting hormone, ensuring it’s well coated. Tap off any excess.
- Plant Your Cutting: Fill your pot with your well-draining mix. Make a hole in the center and insert the cut end of the trunk into the mix, burying it about 2-3 inches deep. Firm the soil gently around it.
- Create Humidity: Water the potting mix thoroughly until it’s evenly moist, but not waterlogged. Then, cover the pot with a plastic bag or place it under a propagation dome. Ensure the plastic doesn’t touch the trunk itself if possible.
- Provide Warmth and Light: Place your potted cutting in a warm, bright location, but out of direct sunlight. If you have a heat mat, place the pot on it. This bottom heat is really beneficial.
The “Secret Sauce” (Pro Tips)
Here are a couple of tricks that have consistently helped me over the years:
- Don’t Over-Water: This is crucial. While humidity is important, soggy soil is the fastest way to rot your cutting. Let the top inch of soil dry out slightly between waterings. It’s better to err on the drier side initially.
- Patience is Your Best Friend: Dicksonia perrieri are not fast growers, especially from cuttings. It can take months, sometimes even up to six months or more, for you to see any significant signs of root development, like new frond growth appearing. Don’t give up too soon!
Aftercare & Troubleshooting
Once you start seeing signs of life – new fronds unfurling from the top of the trunk – it’s a good indication that roots have formed!
- Gradually Acclimatize: Once you see consistent new growth, slowly begin to remove the plastic bag or open the dome, gradually increasing air circulation over a week or two.
- Continue Watering: Keep the soil consistently moist but not soggy. You can now water directly onto the soil surface.
- Feeding (Once Established): Once your new fern is actively growing and you’ve removed the humidity cover, you can begin to feed it with a diluted, balanced liquid fertilizer every 4-6 weeks during the growing season.
The most common issue you’ll encounter is rot. This usually stems from overwatering and poor drainage. If the trunk cutting feels slimy or has a foul smell, it’s likely rotted and you’ll need to start again. Sometimes, a cutting might just fail to root for no apparent reason – that’s gardening for you! Don’t take it personally; just try again.
A Encouraging Closing
So there you have it! Propagating Dicksonia perrieri is a journey, not a race. Embrace the process, be attentive to your cutting’s needs, and celebrate every tiny sign of success. With a bit of care and a good dose of patience, you’ll soon have your own beautiful tree fern offspring to admire. Happy growing!
Resource:
https://identify.plantnet.org/k-world-flora/species/Dicksonia%20perriei%20Noben%20&%20Lehnert/data