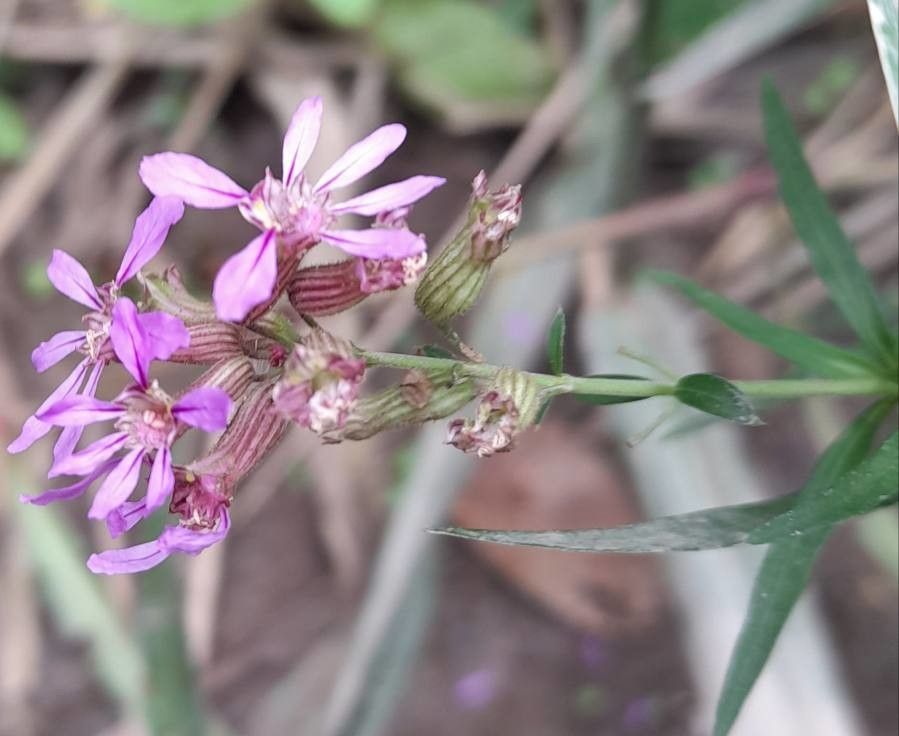
Hello fellow garden lovers! Oh, cuphea. If you don’t grow it, you should. Their delicate, vibrant flowers, often in shades of fuchsia, purple, and red, bring such a cheerful burst of color to any garden or container. They’re real workhorses, blooming for months on end. And the best part? They’re surprisingly easy to share! Propagating cuphea, specifically Cuphea fruticosa, is a joy, and I’ve found it’s a wonderfully rewarding project, even for those just dipping their toes into the world of plant propagation.
So, when’s the magic time to get your hands dirty? For cuphea, the sweet spot is definitely late spring to early summer. This is when the plant is in full swing of active growth. You’ll find it’s much easier to take cuttings and for them to root enthusiastically during this period. Avoid trying to propagate from old, woody stems. You want nice, fresh, but not yet flowered growth.
To get started on your cuphea propagation journey, here’s what you’ll want to gather:
- Sharp Pruning Shears or a Craft Knife: Cleanliness is key for preventing disease.
- Well-Draining Potting Mix: A standard houseplant mix amended with perlite or a dedicated propagation mix works beautifully.
- Small Pots or Seed Trays: Clean ones, please!
- Rooting Hormone (Optional but Recommended): A little dip can make all the difference.
- Plastic Bags or a Clear Dome: To create a mini-greenhouse effect.
- Watering Can with a Fine Rose or Spray Bottle: For gentle watering.
Let’s talk about how to get new little cuphea plants from your existing beauties!
Stem Cuttings: My Go-To Method
This is my absolute favorite way to propagate Cuphea fruticosa. It’s reliable and yields plenty of new plants.
- Select Your Cuttings: Look for healthy, non-flowering stems on your mature cuphea plant. Aim for stems that are about 4-6 inches long. You want them to be somewhat firm but not completely woody.
- Make the Cut: Using your clean shears or knife, make a cut just below a leaf node. This is the point where a leaf emerges from the stem. It’s where the magic of rooting usually happens!
- Prepare the Cutting: Gently remove the leaves from the bottom half of the cutting. You don’t want any foliage to be buried in the soil or touching the water (if you go that route). Leave about 2-3 sets of leaves at the top. If the remaining leaves are very large, I sometimes give them a little trim to reduce water loss.
- Dip in Rooting Hormone (Optional): If you’re using rooting hormone, dip the cut end into the powder, tapping off any excess.
- Plant Them Up: Fill your clean pots or trays with your potting mix. Make a small hole with your finger or a pencil. Insert the cutting into the hole, ensuring the lowest leaf nodes are below the soil surface. Gently firm the soil around the stem.
- Water Gently: Water the potting mix thoroughly, but don’t drown it. You want it to be moist but not soggy.
Water Propagation: A Visual Treat
I love seeing the roots develop in water! It’s so satisfying.
- Prepare the Cuttings: Follow steps 1-3 from the stem cutting method above.
- Place in Water: Fill a small jar or glass with clean water. Don’t overfill it; you don’t want the leaves to be submerged.
- Change the Water Regularly: This is crucial! Change the water every 2-3 days to keep it fresh and prevent bacteria buildup.
- Wait for Roots: You should start to see tiny white roots appearing from the leaf nodes in a few weeks. Once the roots are about an inch long, it’s time to plant them in soil.
Now for those little nuggets of wisdom I’ve picked up over the years.
- The Power of Humidity: New cuttings get stressed easily. Pop your potted cuttings into a plastic bag, sealing it loosely, or cover them with a clear plastic dome. This creates a humid microclimate that greatly increases their chances of survival and rooting. Just make sure the plastic doesn’t touch the leaves too much, as this can encourage rot.
- Bottom Heat is Your Friend: If you have a heat mat designed for propagation, and especially if your house is on the cooler side, giving your cuttings a little warmth from below can really speed up root development. Think of it like a cozy blanket for their roots!
Once you see those first signs of life – new growth emerging from the top, or a good set of roots when you gently tug on a cutting – it’s time to nurture your new darlings.
Aftercare:
- Gradual Acclimation: If you used a plastic bag or dome, slowly start to introduce your new plant to less humid conditions over a week. Open the bag a little more each day.
- Watering: Once they’re potted, water them when the top inch of soil feels dry. It’s better to underwater slightly than to overwater at this stage.
- Light: Keep them in bright, indirect light while they establish. Avoid direct sun for the first few weeks.
- Potting Up: When they’ve grown a bit and their roots are filling their initial pot, you can move them into a slightly larger container.
Troubleshooting: My most common foe here is rot. If you see your cutting turning mushy or black at the base, it’s a sign of overwatering or fungal issues. If this happens, try to take a healthy section from higher up and start again, ensuring better drainage and less frequent watering. Yellowing leaves can sometimes mean too much direct sun too soon, or they’re just adjusting. Don’t despair if not every cutting makes it – gardening is a journey of learning and experimentation!
So there you have it! Propagating cuphea is a delightful way to expand your collection and share the joy with friends. Be patient, give them a good start, and watch them thrive. Happy growing!
Resource:
https://identify.plantnet.org/k-world-flora/species/Cuphea%20fruticosa%20Spreng./data