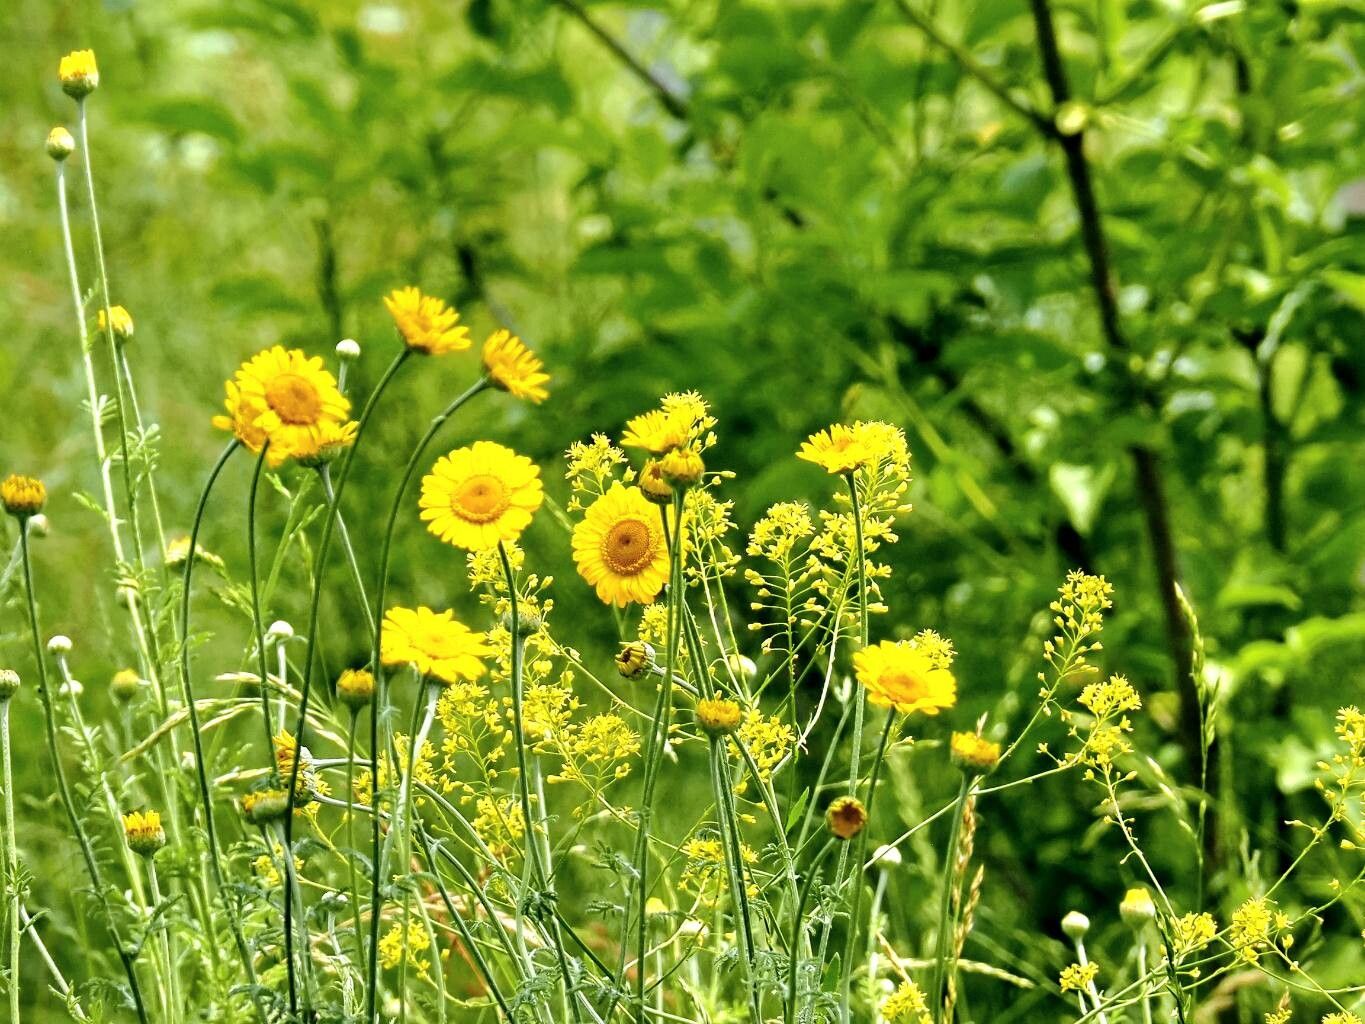
Oh, hello there, fellow plant enthusiast! Pull up a chair and let’s chat about a truly delightful charmer in the garden: Cota tinctoria. You might know it better as Dyer’s Chamomile, and for good reason – those sunny yellow, daisy-like blooms have been used for centuries to create beautiful natural dyes. But beyond its historical uses, it’s just a joy to have. It brings such cheerful color to the late summer garden, and who doesn’t love a plant that practically begs to be shared? The best part? Propagating it is wonderfully rewarding, and I’m happy to report it’s quite beginner-friendly. You’ll be surprised how easy it is to fill your garden and your friends’ gardens with these sunny little fellas.
The Best Time to Start
My favorite time to get busy with Cota tinctoria is late spring to early summer. This is when the plant is actively growing and has plenty of energy to put into developing new roots. You can take cuttings just as it’s really getting going, or even a little later when it’s putting on a good amount of leafy growth. This timing gives the new cuttings plenty of time to establish themselves before the cooler weather arrives.
Supplies You’ll Need
To set yourself up for success, here’s what I usually gather:
- Sharp pruning shears or clean scissors: A clean cut makes all the difference.
- Rooting hormone (optional but helpful): Powder or gel works well.
- Well-draining potting mix: I like a blend of peat moss or coir, perlite, and a bit of compost. Store-bought is fine, but always check that it’s not too heavy.
- Small pots or propagation trays: Make sure they have drainage holes.
- A watering can with a fine rose: Gentle watering is key.
- Labels and a marker: Trust me, you’ll be glad you labeled everything!
- A plastic bag or clear dome: To create a mini greenhouse effect.
Propagation Methods
Cota tinctoria is a trooper when it comes to propagation. The easiest and most reliable method for me is taking stem cuttings.
Stem Cuttings:
- Select your parent plant: Choose a healthy, vigorous Cota tinctoria that’s not flowering profusely (it’s putting its energy into blooms, not roots at that point).
- Take the cutting: Using your clean shears, snip off a healthy stem about 4-6 inches long. Try to take it from new growth, just below a leaf node (where a leaf meets the stem).
- Prepare the cutting: Gently remove the lower leaves, leaving just a few at the top. This prevents them from rotting when they’re tucked into the soil. If the leaves are quite large, you can even cut them in half horizontally to reduce water loss.
- Apply rooting hormone (if using): Dip the cut end of the stem into the rooting hormone, tapping off any excess.
- Plant the cutting: Make a small hole in your prepared potting mix with a pencil or your finger. Insert the cut end of the stem into the hole and firm the soil gently around it.
- Water gently: Water the pot thoroughly but gently until water runs out of the drainage holes.
- Create a humid environment: Cover the pot with a clear plastic bag (you can poke a few small holes in it for air circulation) or a clear propagation dome. Place it in a bright spot but out of direct, hot sunlight.
The “Secret Sauce” (Pro Tips)
Here are a couple of tricks I’ve learned over the years that really boost my success rate:
- Don’t let those lower leaves touch the soil! I cannot stress this enough. Any leaf material in contact with moist soil is a prime spot for fungal diseases. Always clear them away.
- Bottom heat is your friend. While Cota tinctoria can root without it, placing your pots on a heat mat designed for seedlings can significantly speed up root development. It mimics the warmth of spring and encourages those roots to get a move on.
Aftercare & Troubleshooting
Once your cuttings are planted and covered, the waiting game begins. Keep the soil consistently moist but not waterlogged. Check it every couple of days – it should feel like a wrung-out sponge.
You’ll know your cuttings are starting to root when you see new leaf growth or feel a slight resistance when you gently tug on the stem. This usually takes anywhere from 3 to 6 weeks.
The main thing to watch out for is rot. If you see leaves turning yellow and mushy, or the stem itself looks dark and slimy at the soil line, it’s a sign of too much moisture and poor air circulation. Remove any affected cuttings immediately and ensure your watering is more judicious. If you’ve used bottom heat, keep an eye on it to make sure it doesn’t get too hot, which can also stress the cuttings.
A Encouraging Closing
So there you have it! Propagating Cota tinctoria is a simple, rewarding process that brings so much joy. Be patient with your little cuttings. Gardening is always a journey, and sometimes the most beautiful things take a little time to unfurl. Enjoy the process, and soon you’ll have a whole army of these sunny blooms to brighten your days! Happy propagating!
Resource:
https://identify.plantnet.org/k-world-flora/species/Cota%20tinctoria%20(L.)%20J.Gay/data