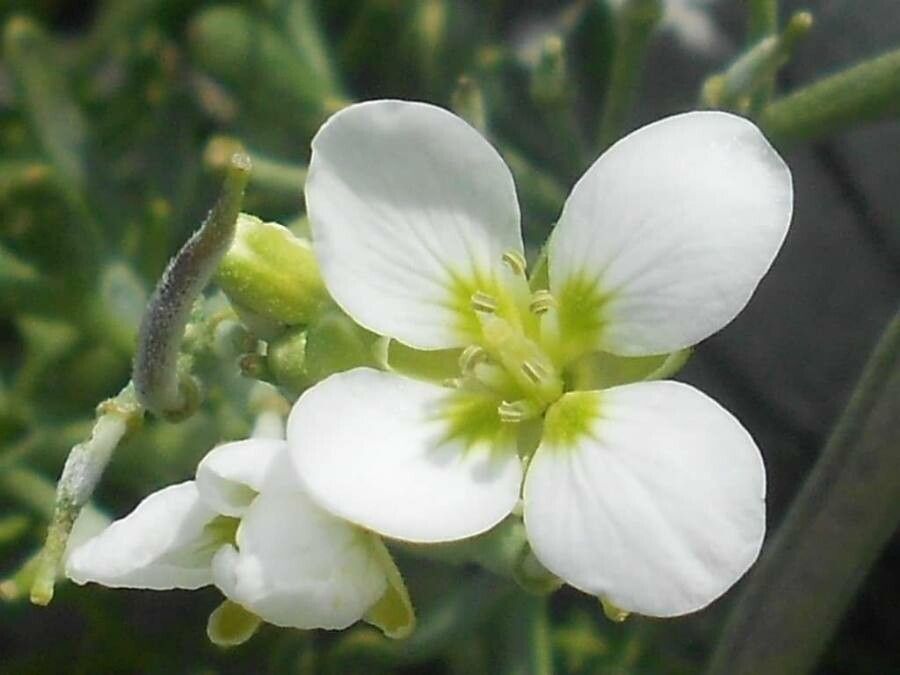
Oh, hello there! Come on in, grab a cuppa. Today, we’re going to talk about one of my absolute favorites: Cardamine carnosa. If you’re unfamiliar, it’s a sweet little plant, often blooming with charming white flowers. It has this lovely, often ruffled foliage that adds a delicate touch to any garden edge or pot. And the best part? It’s surprisingly easy to multiply! For beginners, this is a fantastic plant to get your propagation-gums working. You’ll be sharing these beauties with friends in no time.
The Best Time to Start
The absolute sweet spot for propagating Cardamine carnosa is in the spring, right as the plant is waking up from its winter rest and starting to produce fresh, new growth. You can also have success in early summer if you catch it before it gets too hot and stressed. The goal is to work with vigorous, healthy material. Avoid taking cuttings from plants that look tired or are just finishing their bloom cycle.
Supplies You’ll Need
Here’s what you’ll want to have handy to make this a breeze:
- Sharp, clean pruning shears or a craft knife: For making clean cuts. A dull tool will just crush the stems.
- Potting mix: A well-draining mix is key. I like to use a blend of seed-starting mix or perlite-rich potting soil. You can even add a bit of horticultural sand to improve drainage further.
- Small pots or seed trays: Whatever you have available, as long as they have drainage holes!
- Rooting hormone (optional but recommended): This can give your cuttings a helpful boost. Look for a powder or gel form.
- Plastic bag or propagation dome: To create a humid environment for your cuttings.
- Watering can with a fine rose attachment: To water gently without disturbing your new babies.
Propagation Methods
Cardamine carnosa is wonderfully versatile! Here are my go-to methods:
Stem Cuttings
This is my absolute favorite way to propagate Cardamine carnosa. It’s fast and usually very successful.
- Find a healthy stem: Look for a non-flowering stem that’s about 4-6 inches long.
- Make the cut: Using your clean shears, make a clean cut just below a leaf node (where a leaf attaches to the stem). Remove the lower leaves, leaving just a couple at the very top. This prevents them from rotting in the soil.
- Dip in rooting hormone (optional): If you’re using rooting hormone, dip the cut end into the powder or gel. Tap off any excess.
- Plant your cutting: Fill your small pots with your damp potting mix. Make a small hole with your finger or a pencil and insert the stem, firmly pressing the soil around it.
- Create humidity: Water the soil gently. Then, either cover the pot with a clear plastic bag (make sure the bag doesn’t touch the leaves) or place it under a propagation dome.
- Place in bright, indirect light: Find a spot that gets plenty of light but no direct, harsh sun.
Division
If your Cardamine carnosa has gotten a bit bushy, dividing it is a fantastic way to get multiple plants.
- Gently unpot: Carefully remove the entire plant from its pot.
- Loosen the soil: Gently tease apart the soil from the root ball. You can use your fingers or a small trowel.
- Separate the clumps: Look for natural divisions in the plant’s root system. Gently pull or cut apart the clumps, ensuring each division has plenty of healthy roots and some foliage.
- Pot up: Pot each division into its own container with fresh, well-draining soil.
- Water well: Give them a good drink after planting.
The “Secret Sauce” (Pro Tips)
Here are a couple of things I’ve learned over the years that can really make a difference:
- Don’t overcrowd your cuttings: Give each stem some breathing room. If they’re too crowded, they compete for light and can encourage fungal diseases. I usually aim for one or two cuttings per small pot.
- Bottom heat is your friend: If you can, placing your pots on a gentle heat mat can significantly speed up root development. It mimics the warmth of spring soil and encourages those roots to form quicker.
- Mist, don’t drench (initially): Until your cuttings have rooted, spraying the foliage with water instead of really soaking the soil can help prevent overly wet conditions that can lead to rot while still keeping humidity up.
Aftercare & Troubleshooting
Once you see signs of new growth – tiny leaves pushing out from the top of your cutting – it’s a good indication that roots are forming! Continue to keep the soil consistently moist but not waterlogged. As they get bigger, you can gradually remove the plastic bag or dome to acclimate them to normal humidity.
The most common issue you’ll encounter is rot. If you see your cutting turning black and mushy, or if it wilts dramatically even when the soil is moist, it’s likely rot. This usually happens from too much moisture and poor air circulation. If you catch it early, you might be able to salvage a healthy piece of the stem, but often, it’s best to discard it and start fresh. Don’t get discouraged – it happens to the best of us!
A Encouraging Closing
See? Not so scary, is it? Propagating Cardamine carnosa is a wonderful way to connect with your plants and expand your garden. Be patient, trust the process, and most importantly, enjoy the journey of nurturing these little green wonders. Happy propagating!
Resource:
https://identify.plantnet.org/k-world-flora/species/Cardamine%20carnosa%20Waldst.%20&%20Kit./data