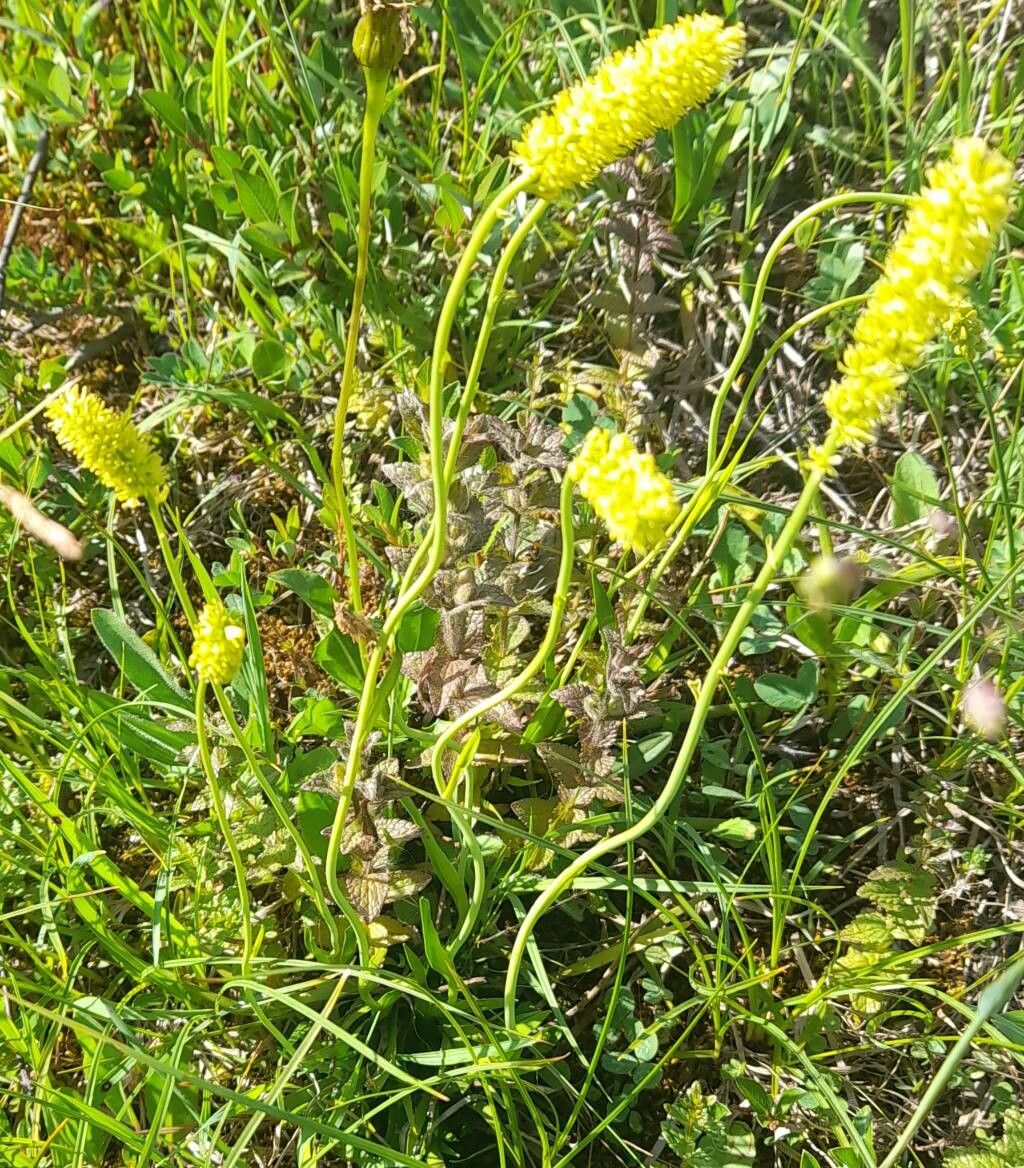
Ah, Tofieldia calyculata! If you’re looking for a truly charming addition to your woodland garden, you’ve found a gem. Its delicate, grassy foliage and intriguing, bell-shaped flowers always bring a smile to my face. And the best part? Sharing its beauty by propagating it yourself is incredibly rewarding. Now, I’ll be honest, Tofieldia isn’t quite as straightforward as, say, a busy Lizzie from a cutting. It requires a bit more finesse. But for those who are a touch more adventurous in their gardening, it’s absolutely achievable. Let’s dig in!
The Best Time to Start
For Tofieldia calyculata, I’ve found the late spring or early summer, just as the plant is finishing its flowering cycle, is your golden window. This is when the plant has accumulated good energy reserves, making it more resilient. You want to catch it when it’s actively growing but before the intense heat of midsummer stresses it out too much.
Supplies You’ll Need
Here’s what you’ll want to have ready:
- Sharp, sterile pruning shears or a sharp knife: For clean cuts.
- Small pots or trays: Ensure they have good drainage holes.
- A well-draining potting mix: I like to use a blend of peat moss or coco coir, perlite, and a bit of coarse sand. About a 1:1:1 ratio usually does the trick. Some finely composted bark can also be lovely.
- Rooting hormone (optional but recommended): A powder or liquid that can give your cuttings a little boost.
- A misting bottle: For keeping moisture levels consistent.
- A clear plastic bag or propagator lid: To create a humid environment.
- A label and waterproof pen: To mark your plants.
Propagation Methods
The most reliable way to propagate Tofieldia calyculata is through division. While you might get lucky with seed, it’s a much slower and less predictable route for us home gardeners.
Here’s how to do it by division:
- Gently excavate the plant. Carefully dig around the root ball of your mature Tofieldia plant. I like to do this after watering, as the soil will hold together better.
- Clean off excess soil. Gently brush away some of the soil from the root ball so you can see the individual growths.
- Identify natural divisions. Look for sections where the plant is naturally splitting into separate crowns. You should see where roots are already connecting these sections.
- Separate the divisions. Using your hands to tease them apart is best if they’re easy to separate. For more stubborn divisions, a sharp, sterile knife or the pruners can be used to cut through the connecting roots. Aim to keep as many roots attached to each division as possible. Each division should have its own set of roots and at least one growing point (which looks like a small tuft of leaves).
- Pot up your new plants. Fill your prepared pots with your well-draining mix. Make a hole in the center of the soil, place the division in, and gently firm the soil around it. The top of the root ball should be level with the soil surface.
- Water them in. Water thoroughly after planting to settle the soil.
The “Secret Sauce” (Pro Tips)
Here are a couple of things I’ve learned over the years that can really make a difference:
- Don’t overwater after division. This is crucial. While you want them to be moist, waterlogged soil is the quickest way to invite rot. Let the top inch of soil dry out slightly between waterings.
- Provide a humid microclimate. After potting them up, I immediately tuck them into a propagator or cover them loosely with a clear plastic bag (making sure the foliage doesn’t touch the sides). This dramatically reduces water loss from the leaves while the roots re-establish.
Aftercare & Troubleshooting
Once your divisions are potted, keep them in a bright, but indirect light location. Direct sun will scorch those tender new leaves. Water them when the top inch of soil feels dry.
Keep an eye out for signs of trouble. The most common issue is root rot, which will manifest as the leaves turning yellow and mushy, and potentially a foul smell from the soil. If you see this, act fast. You might need to unpot the division, trim away any rotted roots with your sterile knife, and repot it in fresh, dry soil. Sometimes, a division is just too far gone, and that’s part of gardening. Don’t beat yourself up over it.
A Encouraging Closing
Propagating Tofieldia calyculata is a thoughtful process. Be patient with your new divisions; they’ll take their time settling in and showing you new growth. Enjoy the quiet satisfaction of multiplying your garden’s beauty, one division at a time. Happy gardening!
Resource:
https://identify.plantnet.org/k-world-flora/species/Tofieldia%20calyculata%20(L.)%20Wahlenb./data