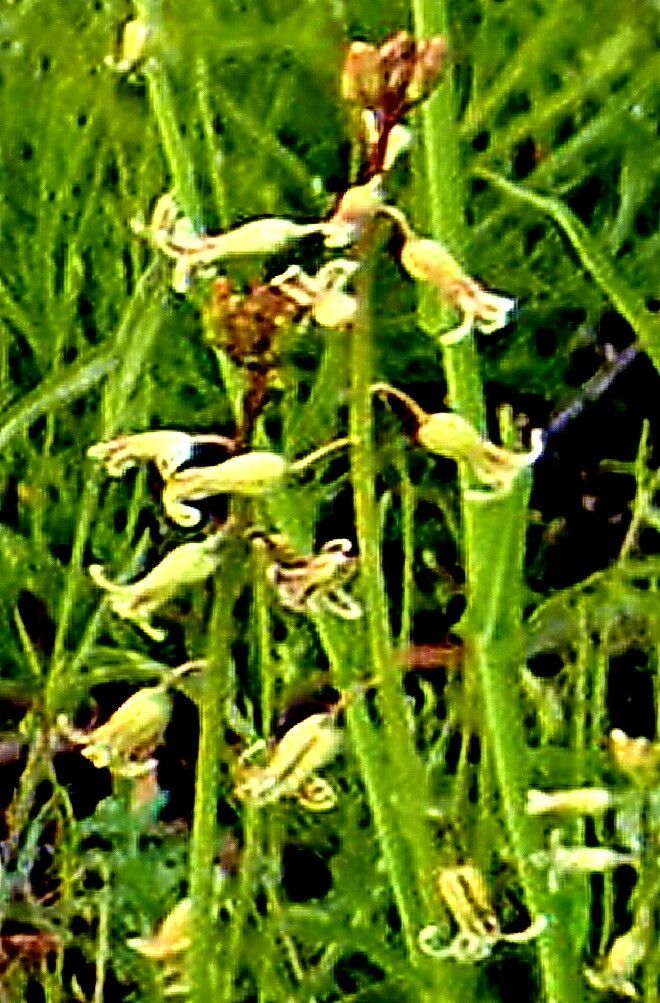
Hello, fellow plant lovers! Today, we’re diving into the wonderful world of propagating Streptanthus heterophyllus, also known as the California jewelflower. If you’ve ever admired its delicate, sometimes jewel-toned blooms and unique foliage, you’re in for a treat. Growing these beauties from cuttings is a truly rewarding experience. Don’t worry, it’s not as daunting as it might sound! I find it to be a pretty accessible plant for those just dipping their toes into propagation.
The Best Time to Start
For Streptanthus heterophyllus, my personal favorite time to take cuttings is late spring or early summer. This is when the plant is actively growing and has plenty of energy. You’ll be looking for new, non-flowering stem growth. Avoid taking cuttings from plants that are already heavily in bloom; the energy is focused on those flowers, not root development.
Supplies You’ll Need
Gathering your supplies beforehand makes the whole process so much smoother. Here’s what I usually have on hand:
- Sharp, clean pruning shears or a sharp knife: Crucial for making clean cuts to prevent damage and disease.
- Rooting hormone (optional but recommended): A little helps kickstart root formation. Look for powdered or gel forms.
- Well-draining potting mix: I like a mix of equal parts peat moss or coco coir, perlite, and a bit of compost. This ensures good aeration, which is key.
- Small pots or seed trays: Clean ones, of course!
- Plastic bags or a clear dome: To create a humid environment for your cuttings.
- Watering can with a fine rose: For gentle watering.
Propagation Methods
I’ve found stem cuttings to be the most reliable method for Streptanthus heterophyllus.
Stem Cuttings:
- Select your cutting: Look for a healthy stem that’s about 4-6 inches long. Gently twist or cut it from the parent plant, making sure to cut just below a leaf node. A leaf node is where a leaf attaches to the stem; this is a prime spot for root initiation.
- Prepare the cutting: Gently remove the lower leaves from the stem, leaving just the top few leaves intact. If the leaves are quite large, you can even cut them in half to reduce water loss.
- Apply rooting hormone (if using): Dip the cut end of the stem into your rooting hormone, tapping off any excess.
- Plant the cutting: Make a small hole in your prepared potting mix with a pencil or your finger. Insert the cutting into the hole, ensuring that at least one leaf node is below the soil surface. Gently firm the soil around the stem.
- Provide humidity: Water the soil lightly. Then, cover the pot with a plastic bag or place it under a clear dome. This creates a mini-greenhouse effect that keeps the humidity high, which is vital for the cutting to root without drying out.
- Place in bright, indirect light: Find a bright spot, but avoid direct sunlight, which can scorch the tender new cuttings.
The “Secret Sauce” (Pro Tips)
After years of fiddling with plants, a few little tricks always seem to up my success rate:
- Bottom heat is your friend! For cuttings that are a bit stubborn, I’ve found that placing them on a gentle heated propagation mat can dramatically speed up root development. It mimics the warmth of spring soil.
- Don’t let those leaves touch the water. If you’re experimenting with water propagation (though I find soil is better for these beauties), always ensure that no leaves are submerged. Rot happens quickly when leaves sit in water.
- Take multiple cuttings. Not every cutting will make it, and that’s perfectly normal! Take more than you think you’ll need. It’s a numbers game, and the more you try, the higher your chances of success.
Aftercare & Troubleshooting
Once your cuttings have been happily sitting in their humid environments, patience is key. You’ll know they’re ready to be moved out of the “greenhouse” and into slightly less humid conditions when you start to see new leaf growth, typically after 3-6 weeks, but sometimes longer.
Be gentle when you check for roots by giving the cutting a very light tug. If you feel some resistance, you likely have roots! Gradually introduce them to a bit more air circulation by opening up the bag or dome a little each day. Keep the soil consistently moist but not waterlogged.
The most common issue you’ll face is rot. If your cutting turns brown, mushy, or black, it’s likely rotted. This usually happens due to too much moisture and not enough air circulation. If you see this, unfortunately, that cutting is probably lost. Learn from it, and try again, perhaps with a slightly less damp soil mix or more frequent airing.
A Encouraging Closing
Propagating Streptanthus heterophyllus is a beautiful way to multiply these delightful plants. It takes a little patience and a watchful eye, but the satisfaction of nurturing a new life from a simple stem is truly unmatched. So, grab your shears, get your hands in some soil, and enjoy the journey! Happy growing!
Resource:
https://identify.plantnet.org/k-world-flora/species/Streptanthus%20heterophyllus%20Nutt./data