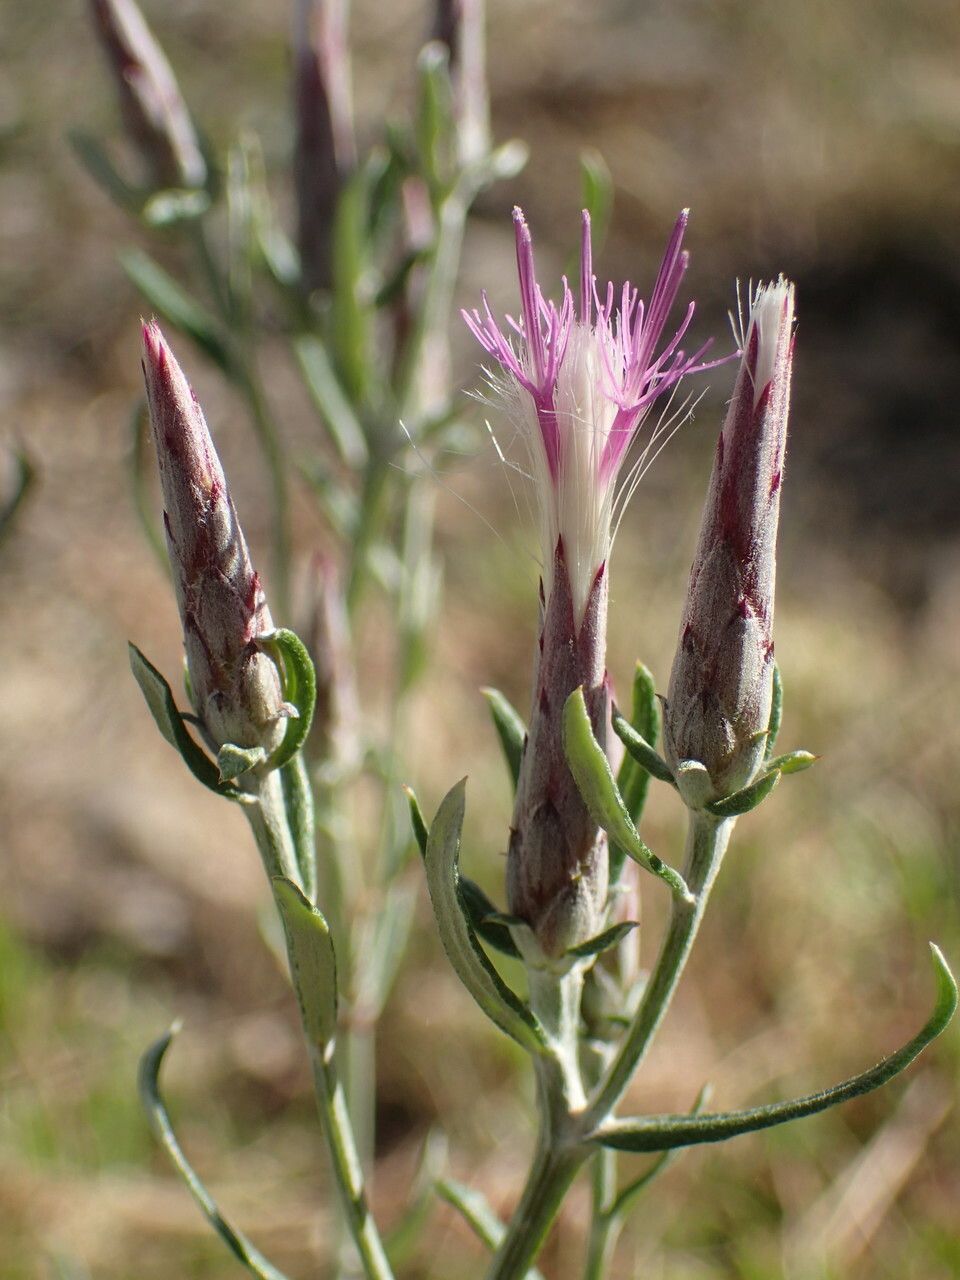
Hello fellow garden enthusiasts! Today, we’re diving into the wonderful world of propagating Staehelina dubia. If you’re unfamiliar with this gem, imagine a delightful burst of delicate, silvery foliage, often crowned with charming small flowers. It’s a real charmer in any garden, especially for those seeking a bit of texture and a touch of elegance. The joy of coaxing new life from an existing plant is just incredible, and with Staehelina dubia, it’s a journey that’s absolutely worth taking. Now, for beginners, I’d say this plant is moderately easy to propagate. It has a good success rate if you get a few key things right, but it’s not quite as foolproof as, say, a pothos.
The Best Time to Start
For the highest chance of success with Staehelina dubia, I find late spring to early summer to be your sweet spot. This is when the plant is actively growing and has plenty of energy to dedicate to rooting. You’re looking for stems that are semi-hardwood, meaning they’re not brand new and floppy, but not old and woody either. Think of a pencil-thick stem that still has a bit of flexibility to it.
Supplies You’ll Need
Here’s what you’ll want to have on hand before you get started:
- A clean, sharp pair of pruning shears or a hobby knife. Sanitation is key!
- A well-draining potting mix. I like a blend of 50% peat moss or coco coir and 50% perlite or coarse sand. You can also find commercial cactus/succulent mixes that work well.
- Rooting hormone (optional, but highly recommended). A powder or gel form works fine.
- Small pots or seed trays with drainage holes.
- A spray bottle filled with water.
- A clear plastic bag or propagator lid. This will create a mini-greenhouse effect.
- Labels to mark your cuttings! Trust me, you’ll thank yourself later.
Propagation Methods
We’ll focus on the most reliable method for Staehelina dubia: stem cuttings.
- Prepare your cuttings: Using your sharp shears or knife, take cuttings that are about 4-6 inches long. Make the cut just below a leaf node (where a leaf attaches to the stem). Remove the lower leaves, leaving just a few at the top. This reduces water loss and prevents the lower leaves from rotting in the soil.
- Apply rooting hormone (if using): Dip the cut end of each stem into your rooting hormone, tapping off any excess.
- Plant your cuttings: Fill your small pots or trays with the prepared potting mix. Make a small hole in the center of the mix with your finger or a pencil. Gently insert the cut end of the cutting into the hole, making sure it’s firm.
- Water gently: Water the soil thoroughly but gently. You don’t want to dislodge the cuttings. Let any excess water drain away.
- Create a humid environment: Cover the pots with a clear plastic bag or propagator lid. This traps humidity, which is crucial for cuttings to root. Make sure the leaves aren’t touching the plastic if possible.
The “Secret Sauce” (Pro Tips)
Here are a couple of my favorite tricks for boosting success:
- Bottom heat is your friend: If you have a seedling heat mat, place your pots on it. This gentle warmth from below encourages root development much faster than relying on ambient air temperature alone. It’s a game-changer for many propagations!
- Don’t overwater! This is a big one. While cuttings need moisture, soggy soil is the fastest way to rot them off. Let the top inch of the soil dry out slightly between waterings. You’ll get a feel for it.
Aftercare & Troubleshooting
Once your cuttings are planted and covered, place them in a bright location with indirect sunlight. Direct sun can scorch them, especially through the plastic.
You’ll want to check on your cuttings regularly. Lift the plastic bag daily to allow for air circulation and gently mist the cuttings if the soil looks dry.
Rooting can take anywhere from 4 to 8 weeks, sometimes longer. You’ll know they’ve rooted when you see new growth emerging at the top, or if you gently tug on a cutting and feel some resistance. Once roots have formed, gradually introduce them to less humidity by opening the plastic bag a little more each day over a week, then remove it completely. Continue to water as needed and keep them in bright, indirect light.
The biggest enemy here is rot. If you notice your cuttings turning mushy, black, or falling over, it’s usually a sign of too much moisture and not enough air circulation. Sadly, it’s hard to save a rotted cutting, so prevention is key!
Don’t be discouraged if not every cutting takes. Gardening is all about learning and experimenting. Be patient with your little green babies, celebrate each success, and enjoy the incredibly rewarding process of growing more of those beautiful Staehelina dubia plants. Happy propagating!
Resource:
https://identify.plantnet.org/k-world-flora/species/Staehelina%20dubia%20L./data