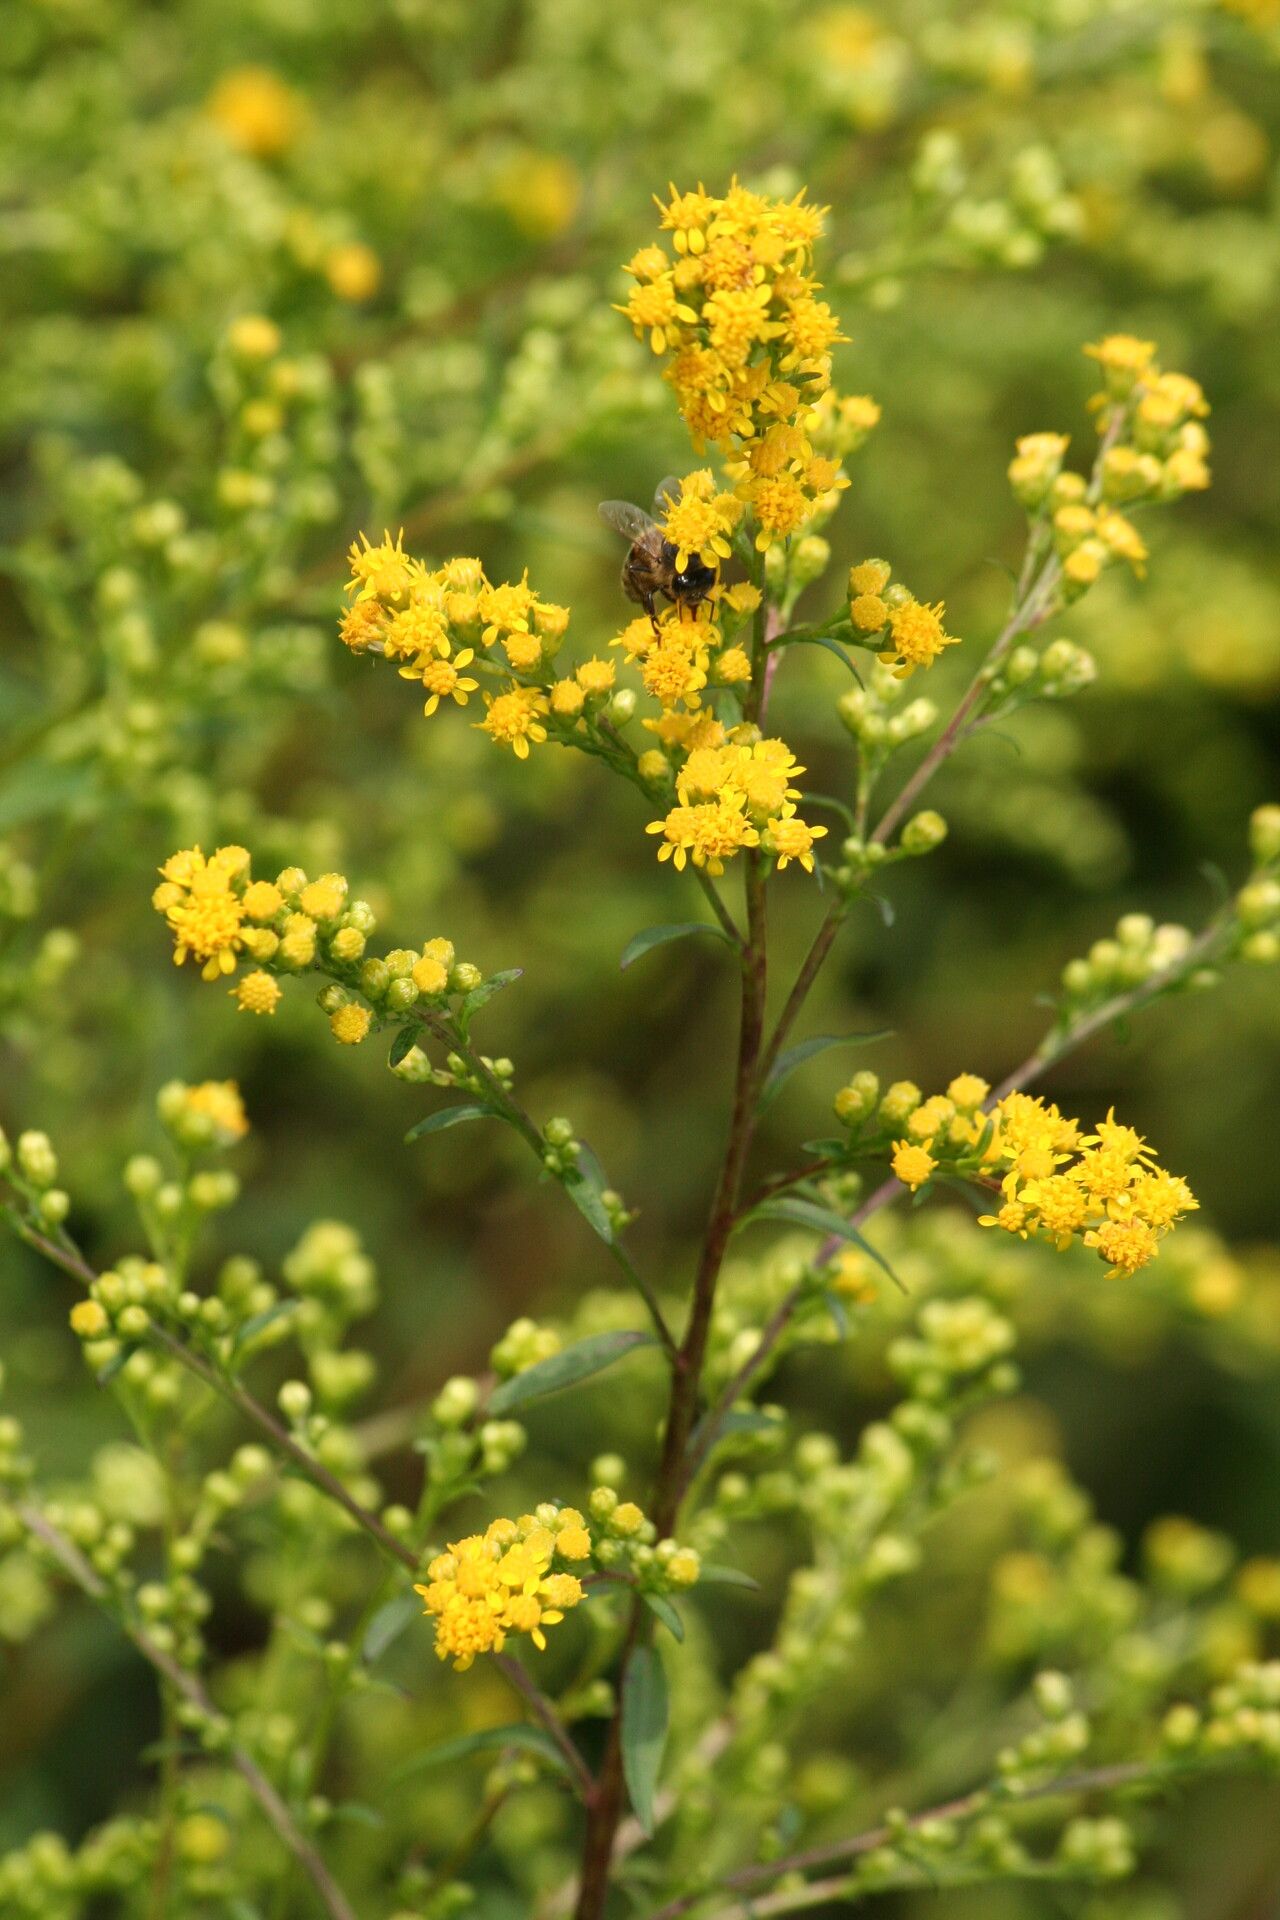
Oh, hello there! I’m so glad you’re thinking about bringing more Goldenrod into your life. Solidago uliginosa, or Bog Goldenrod, is such a gem. Its vibrant yellow spires are a burst of sunshine in the late summer and fall garden, attracting a hum of pollinators like nothing else. And the best part? It’s surprisingly easy to share! If you’re new to the gardening world, this is a fantastic plant to get your hands dirty with. You’ll feel such a thrill watching a tiny cutting transform into a thriving new plant.
The Best Time to Start
Honestly, Bog Goldenrod is quite forgiving, but to get the best results, late spring to early summer is your sweet spot. This is when the plant is actively growing and has plenty of energy to put into developing new roots. Aim for young, vigorous shoots that haven’t yet flowered.
Supplies You’ll Need
Here’s what you’ll want to have on hand:
- Sharp pruning shears or a clean knife: For making clean cuts.
- Rooting hormone: While not strictly necessary for Solidago, it can give your cuttings a little boost.
- A good quality potting mix: A well-draining mix is key. I like a blend of peat moss, perlite, and a bit of compost.
- Small pots or trays: With drainage holes, of course!
- A spray bottle: For misting.
- Labels and a marker: To keep track of your precious propagations.
- A clear plastic bag or propagation dome: To create a humid environment.
Propagation Methods
For Bog Goldenrod, I find division to be the easiest and most reliable method. It’s like giving your existing plant a bit of a haircut and getting new plants for free!
Division (My Top Pick!)
- Dig it up: In late spring or early fall, when the plant is dormant or just starting its active growth, carefully dig up your Solidago uliginosa. Try to disturb the roots as little as possible.
- Loosen the soil: Gently shake off excess soil. You’ll see lots of fleshy roots and shoots emerging from the base.
- Find your divisions: You can usually see natural breaks where the plant wants to divide. Use your hands or a clean trowel to gently pull apart sections. Each division should have at least one strong root system and a few healthy shoots.
- Trim if needed: If the root ball is very dense, you can trim it back slightly to make it easier to plant.
- Pot it up: Plant each division into its own pot filled with your potting mix. Make sure the crown (where the shoots emerge from the roots) is just at soil level.
- Water well: Give them a good drink of water.
The “Secret Sauce” (Pro Tips)
Here are a couple of little things I’ve learned over the years that make a big difference:
- Don’t drown those divisions: While they need water, soggy soil is the quickest way to invite rot. Ensure your pots drain freely and don’t let them sit in a saucer full of water for extended periods.
- Think about airflow: Even though we want to keep things humid for cuttings (which we’re not focusing on here, but it’s good to know!), for divisions, good airflow around the base of the plant is crucial to prevent fungal issues. Don’t pack them too tightly together.
Aftercare & Troubleshooting
Once your divisions are planted, keep the soil consistently moist but not waterlogged. Think of it as a gently damp sponge. Place them in a spot with bright, indirect light.
If you start to see yellowing leaves, it could be a sign of overwatering or not enough light. Brown, mushy stems are definitely a sign of rot, and unfortunately, that division might be a goner. Just remove it and try to improve drainage and airflow for the others. With good care, you should see new growth emerging within a few weeks.
A Encouraging Closing
See? Propagating Bog Goldenrod is a truly accessible and rewarding endeavor. Be patient with your new plants, give them a little love, and before you know it, you’ll have more of that cheerful sunshine to enjoy. Happy gardening!
Resource:
https://identify.plantnet.org/k-world-flora/species/Solidago%20uliginosa%20Nutt./data